
Immersion Dyeing
November 2025
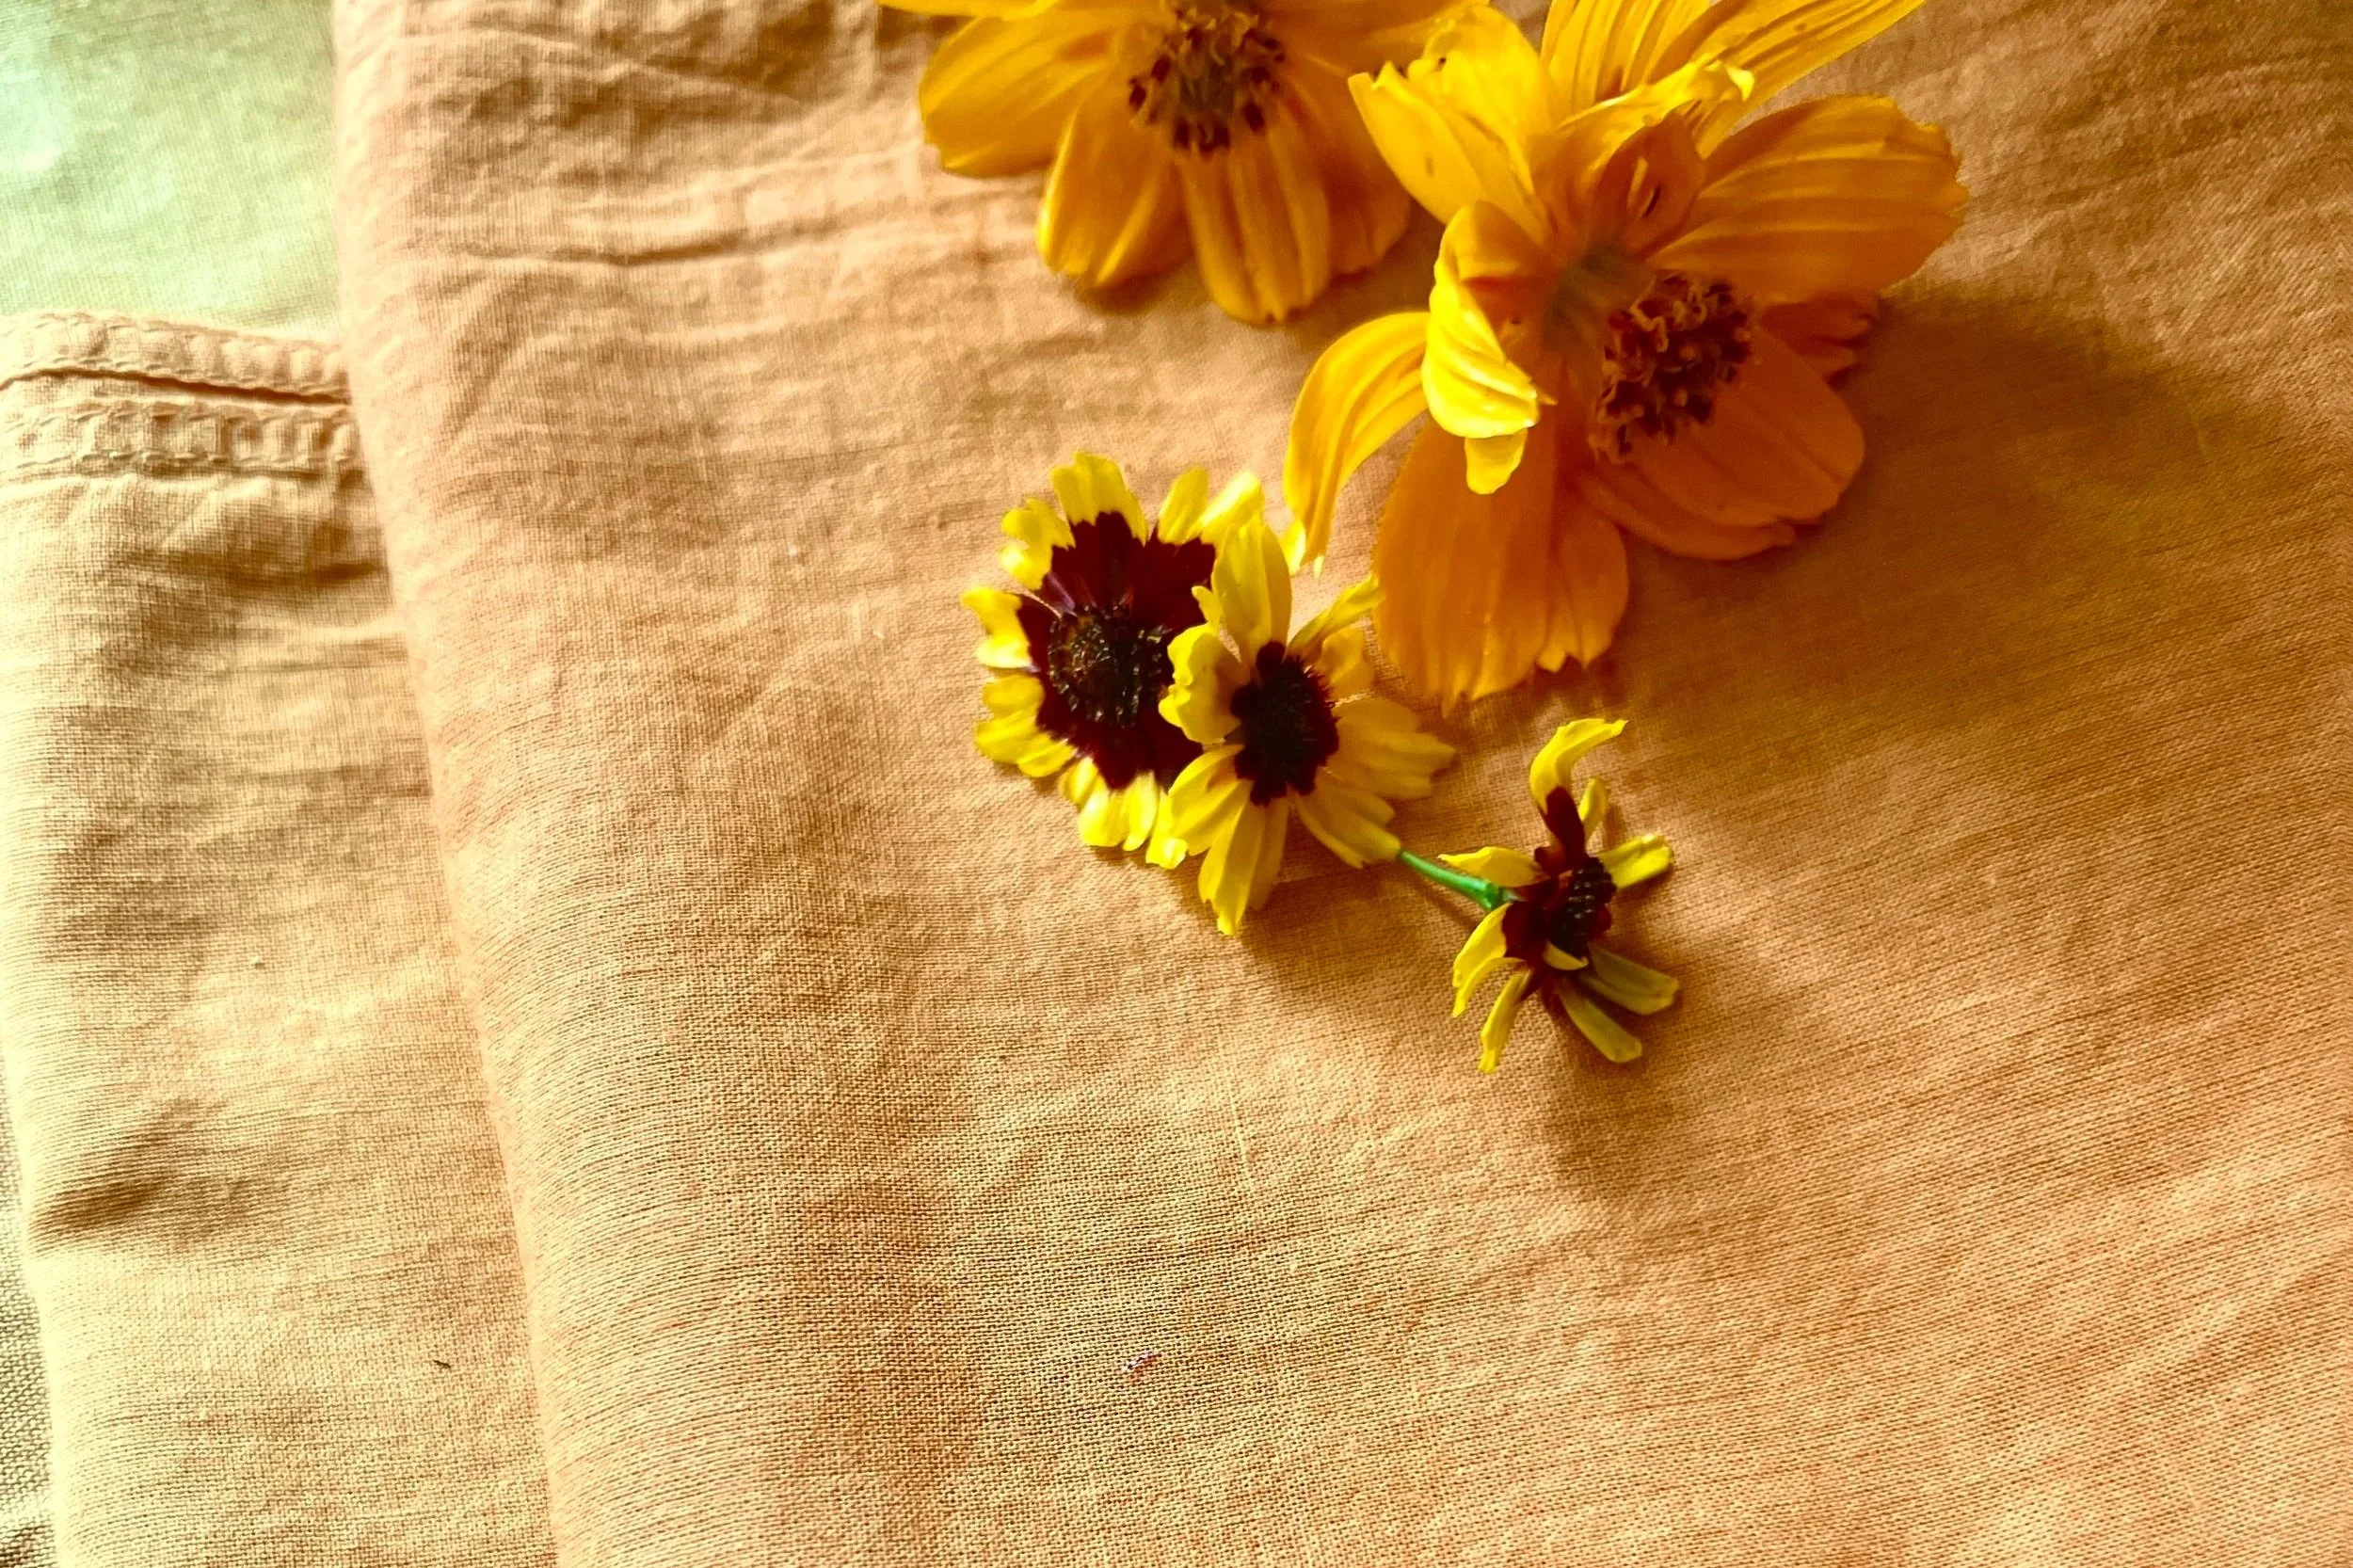
In the last post, we discussed dyestuffs: the various plants from which dye is sourced. If you have been following along and have your fabric scoured and mordanted, you are now ready to experience the magic of natural dyeing!
“Within many plants lie hidden treasures - remarkable tinctorial properites that bring a myriad of hues to the dy pot for those with the knowledge to unlock their secrets.”
There are three primary steps to immersion dyeing, which is the process of immersing prepared fabric into a dye pot in order to infuse it with color. They are:
Extract the dye from the dyestuff
Dye the fabric
Rinse and finish
I’ve also included a downloadable dye journal template to help you keep a record of your work. So read on!
Extracting the dye

If you are using dye stuff that is in its whole form (such as flowers, leaves, or bark) or in ground form (such as dried and ground roots), then you will need to extract the color before dyeing. This is generally accomplished by simmering the dyestuff in water for an hour or so, allowing the color to seep into the water. It’s not unlike steeping tea.
How much dyestuff do I need?
The amount of dyestuff you need will depend on the amount of fabric you are dyeing, they type of dyestuff you are using, and the desired saturation.
Here are some general guidelines for how much dyestuff you will need (based on WOF) for various dyestuff. Use this as a starting point; I encourage you to experiment on your own!
Fresh leaves and flowers: 100-200% WOF
Dries leaves and flowers: 25-50% WOF
Ground dyestuff: 15-30% WOF
Extract: 3-9% WOF
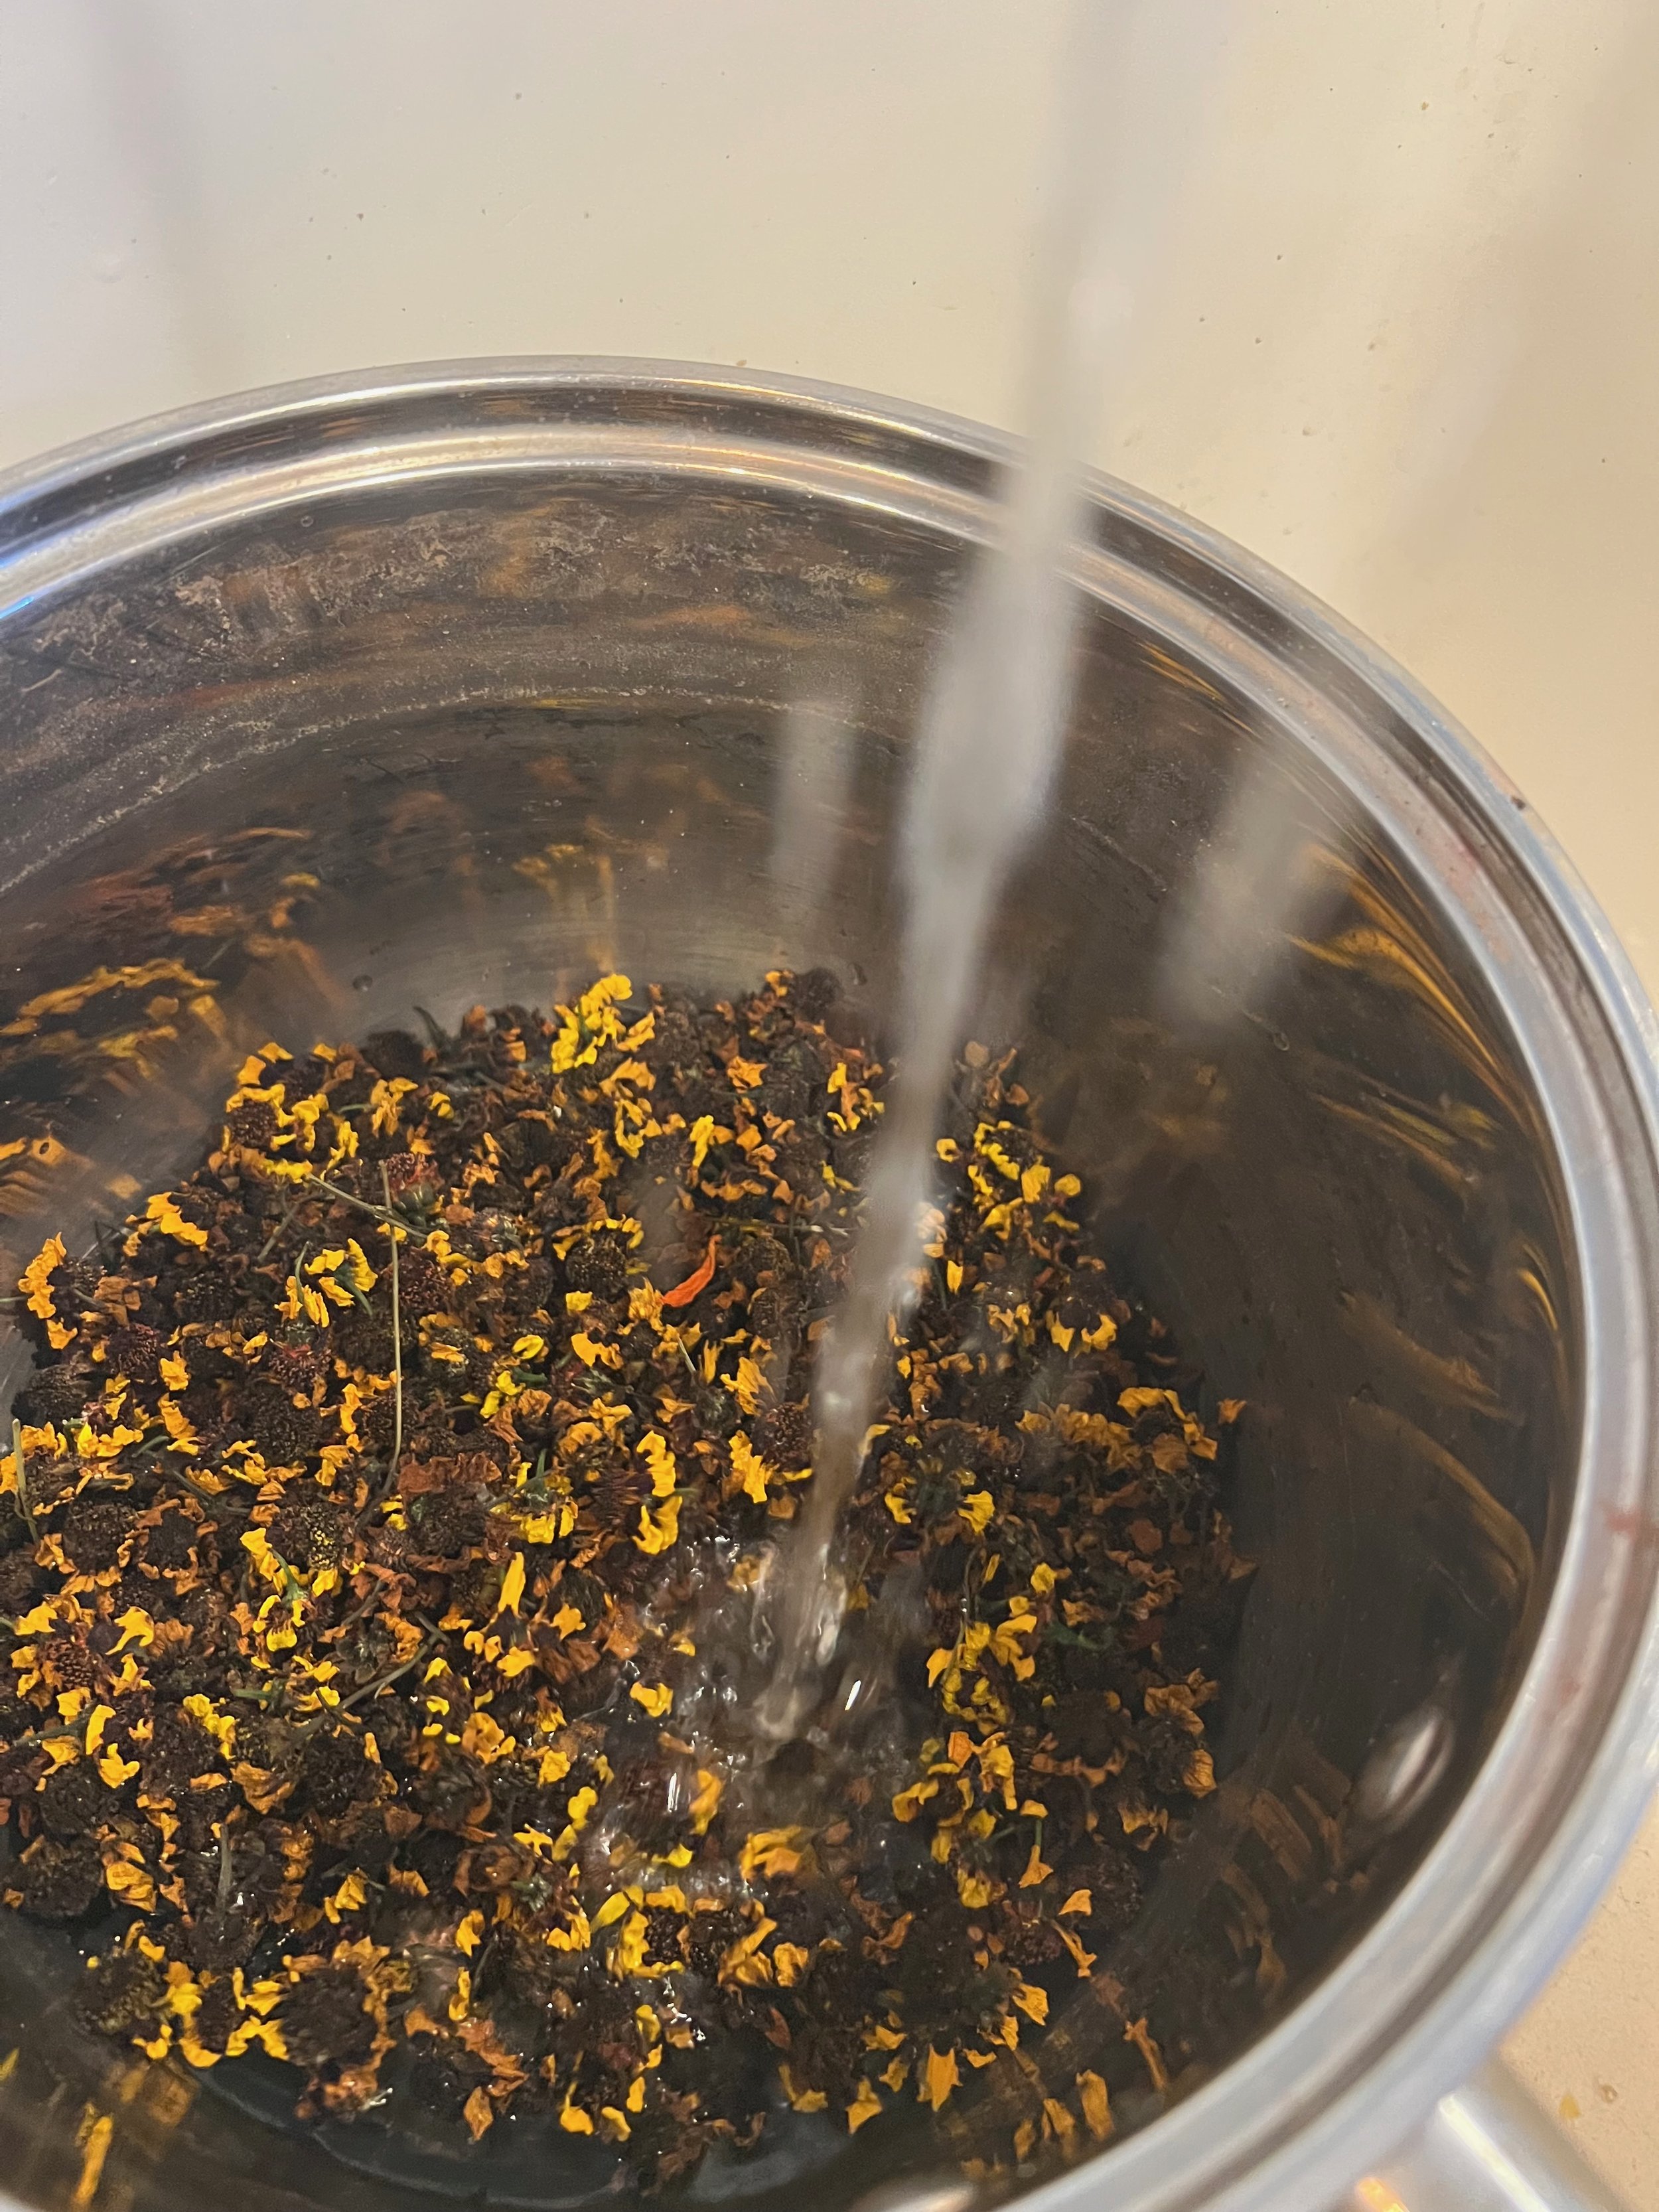
Extracting dye
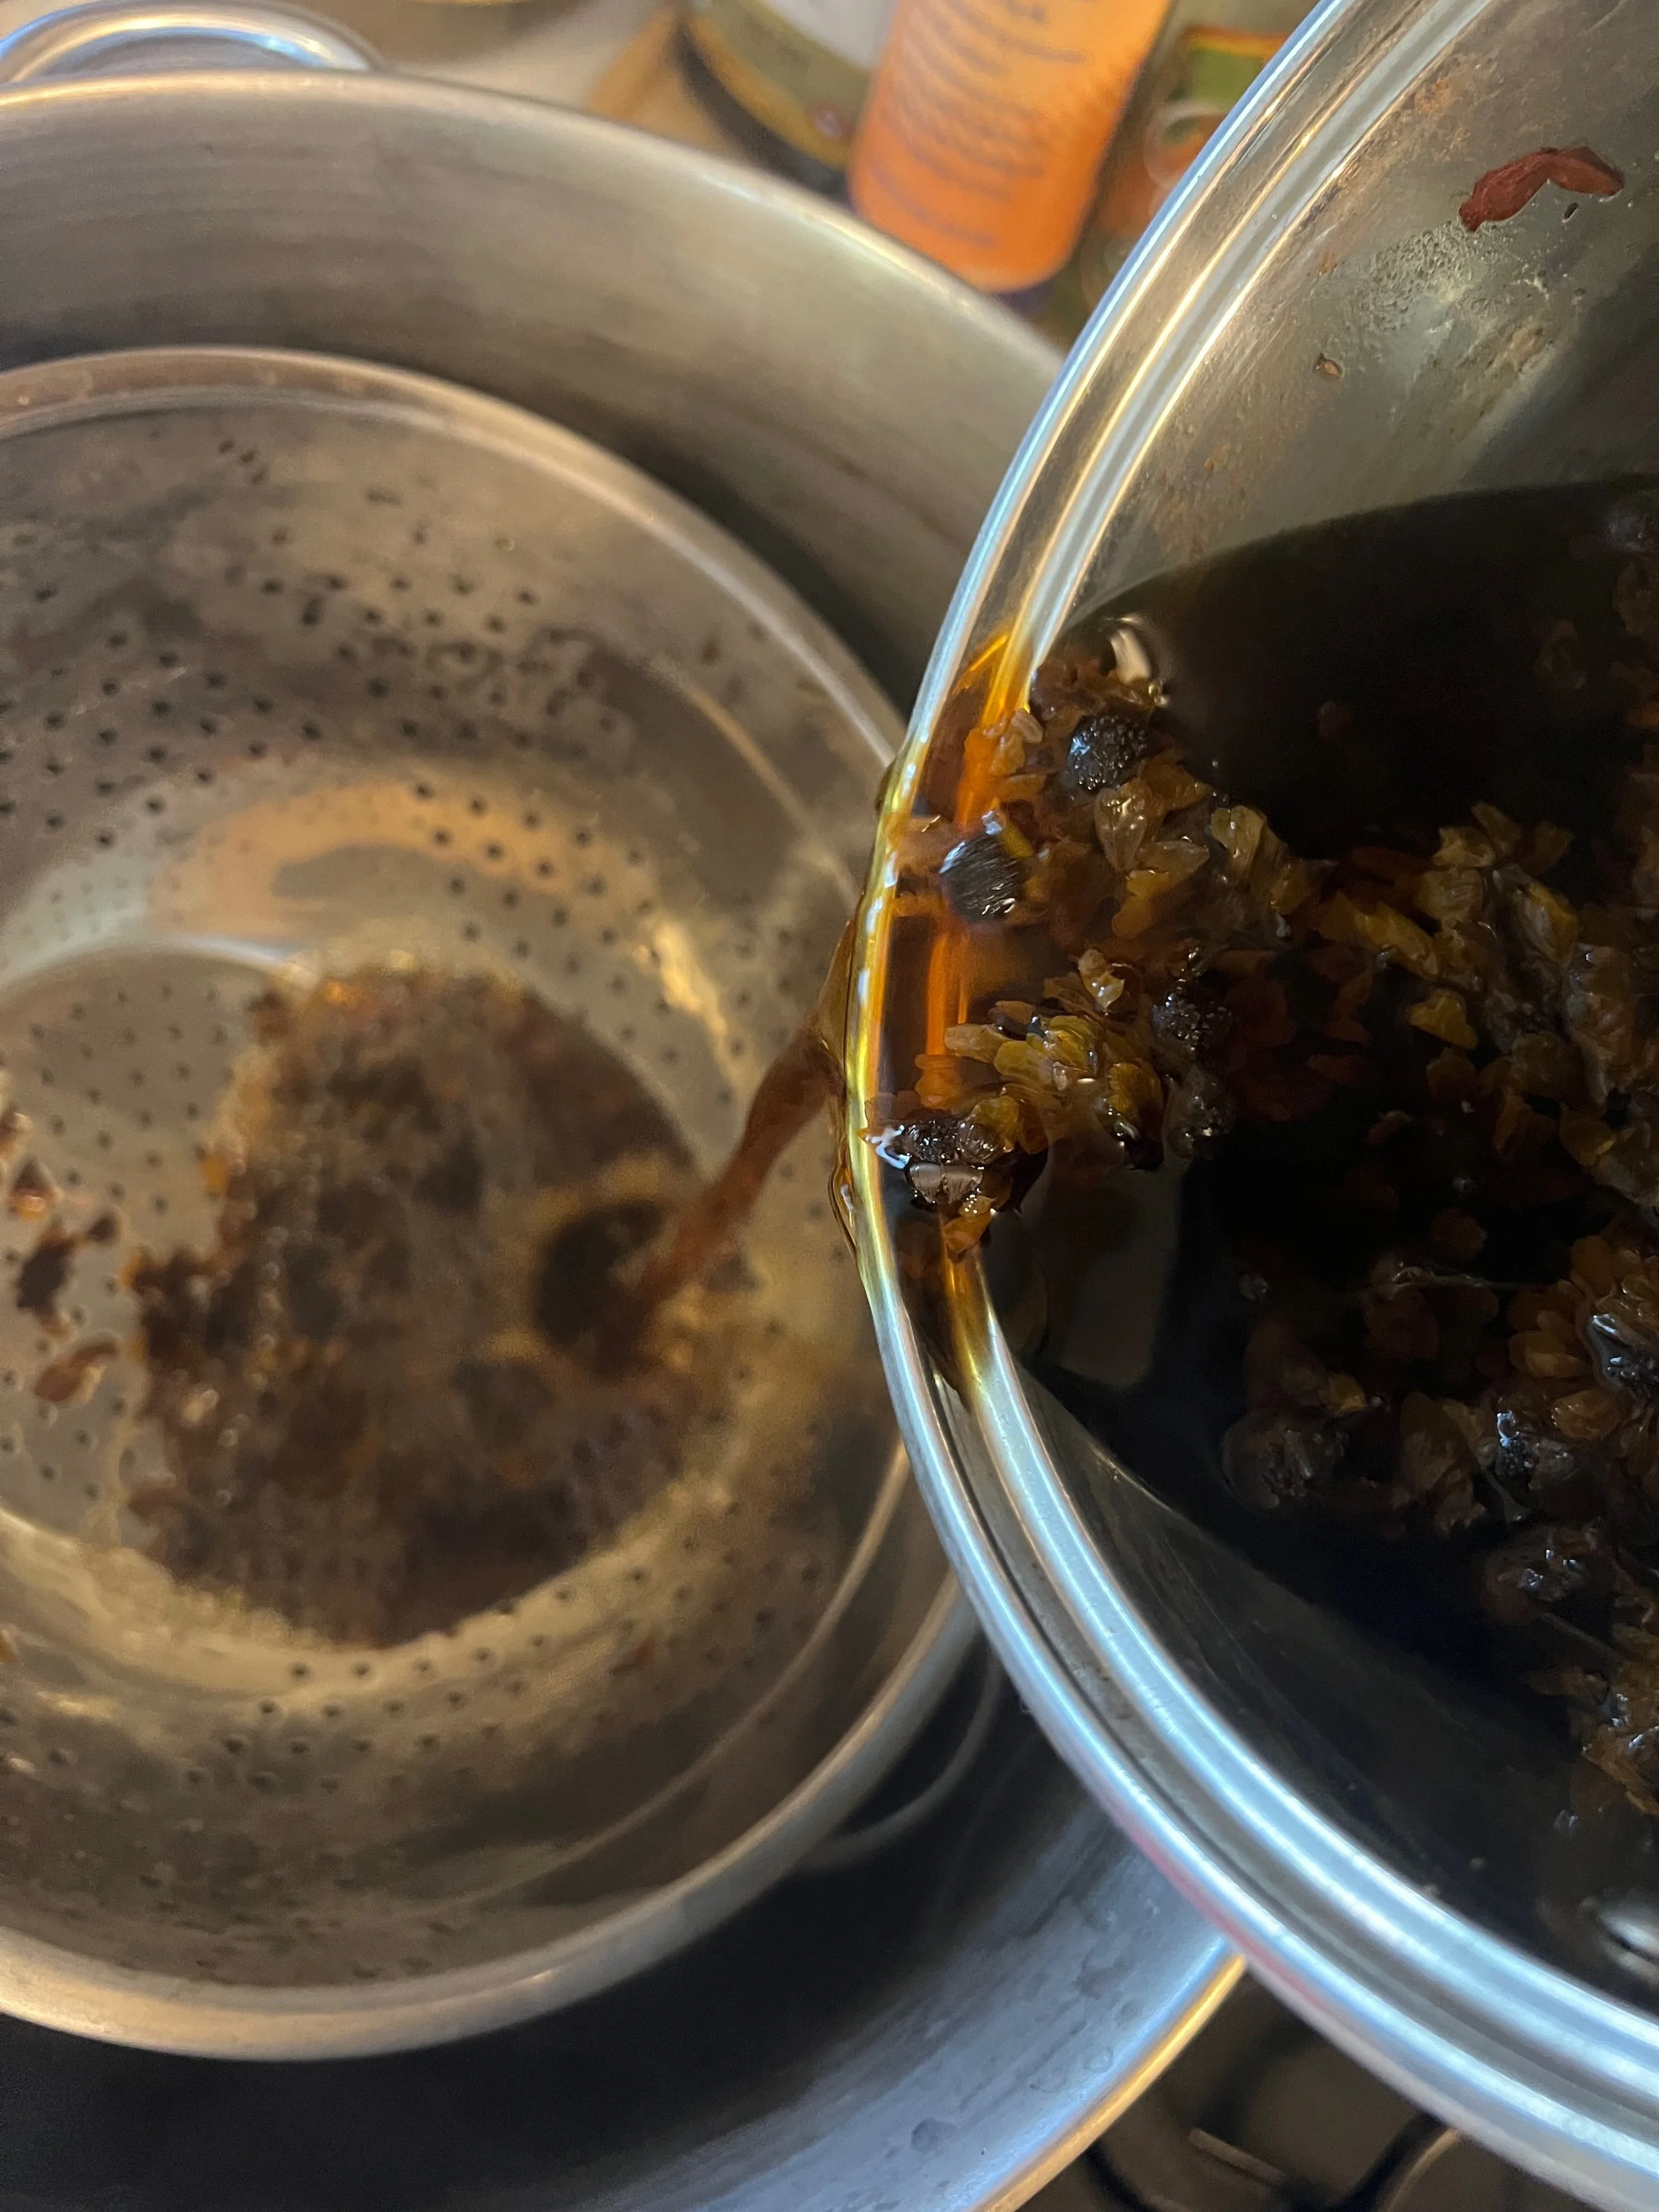
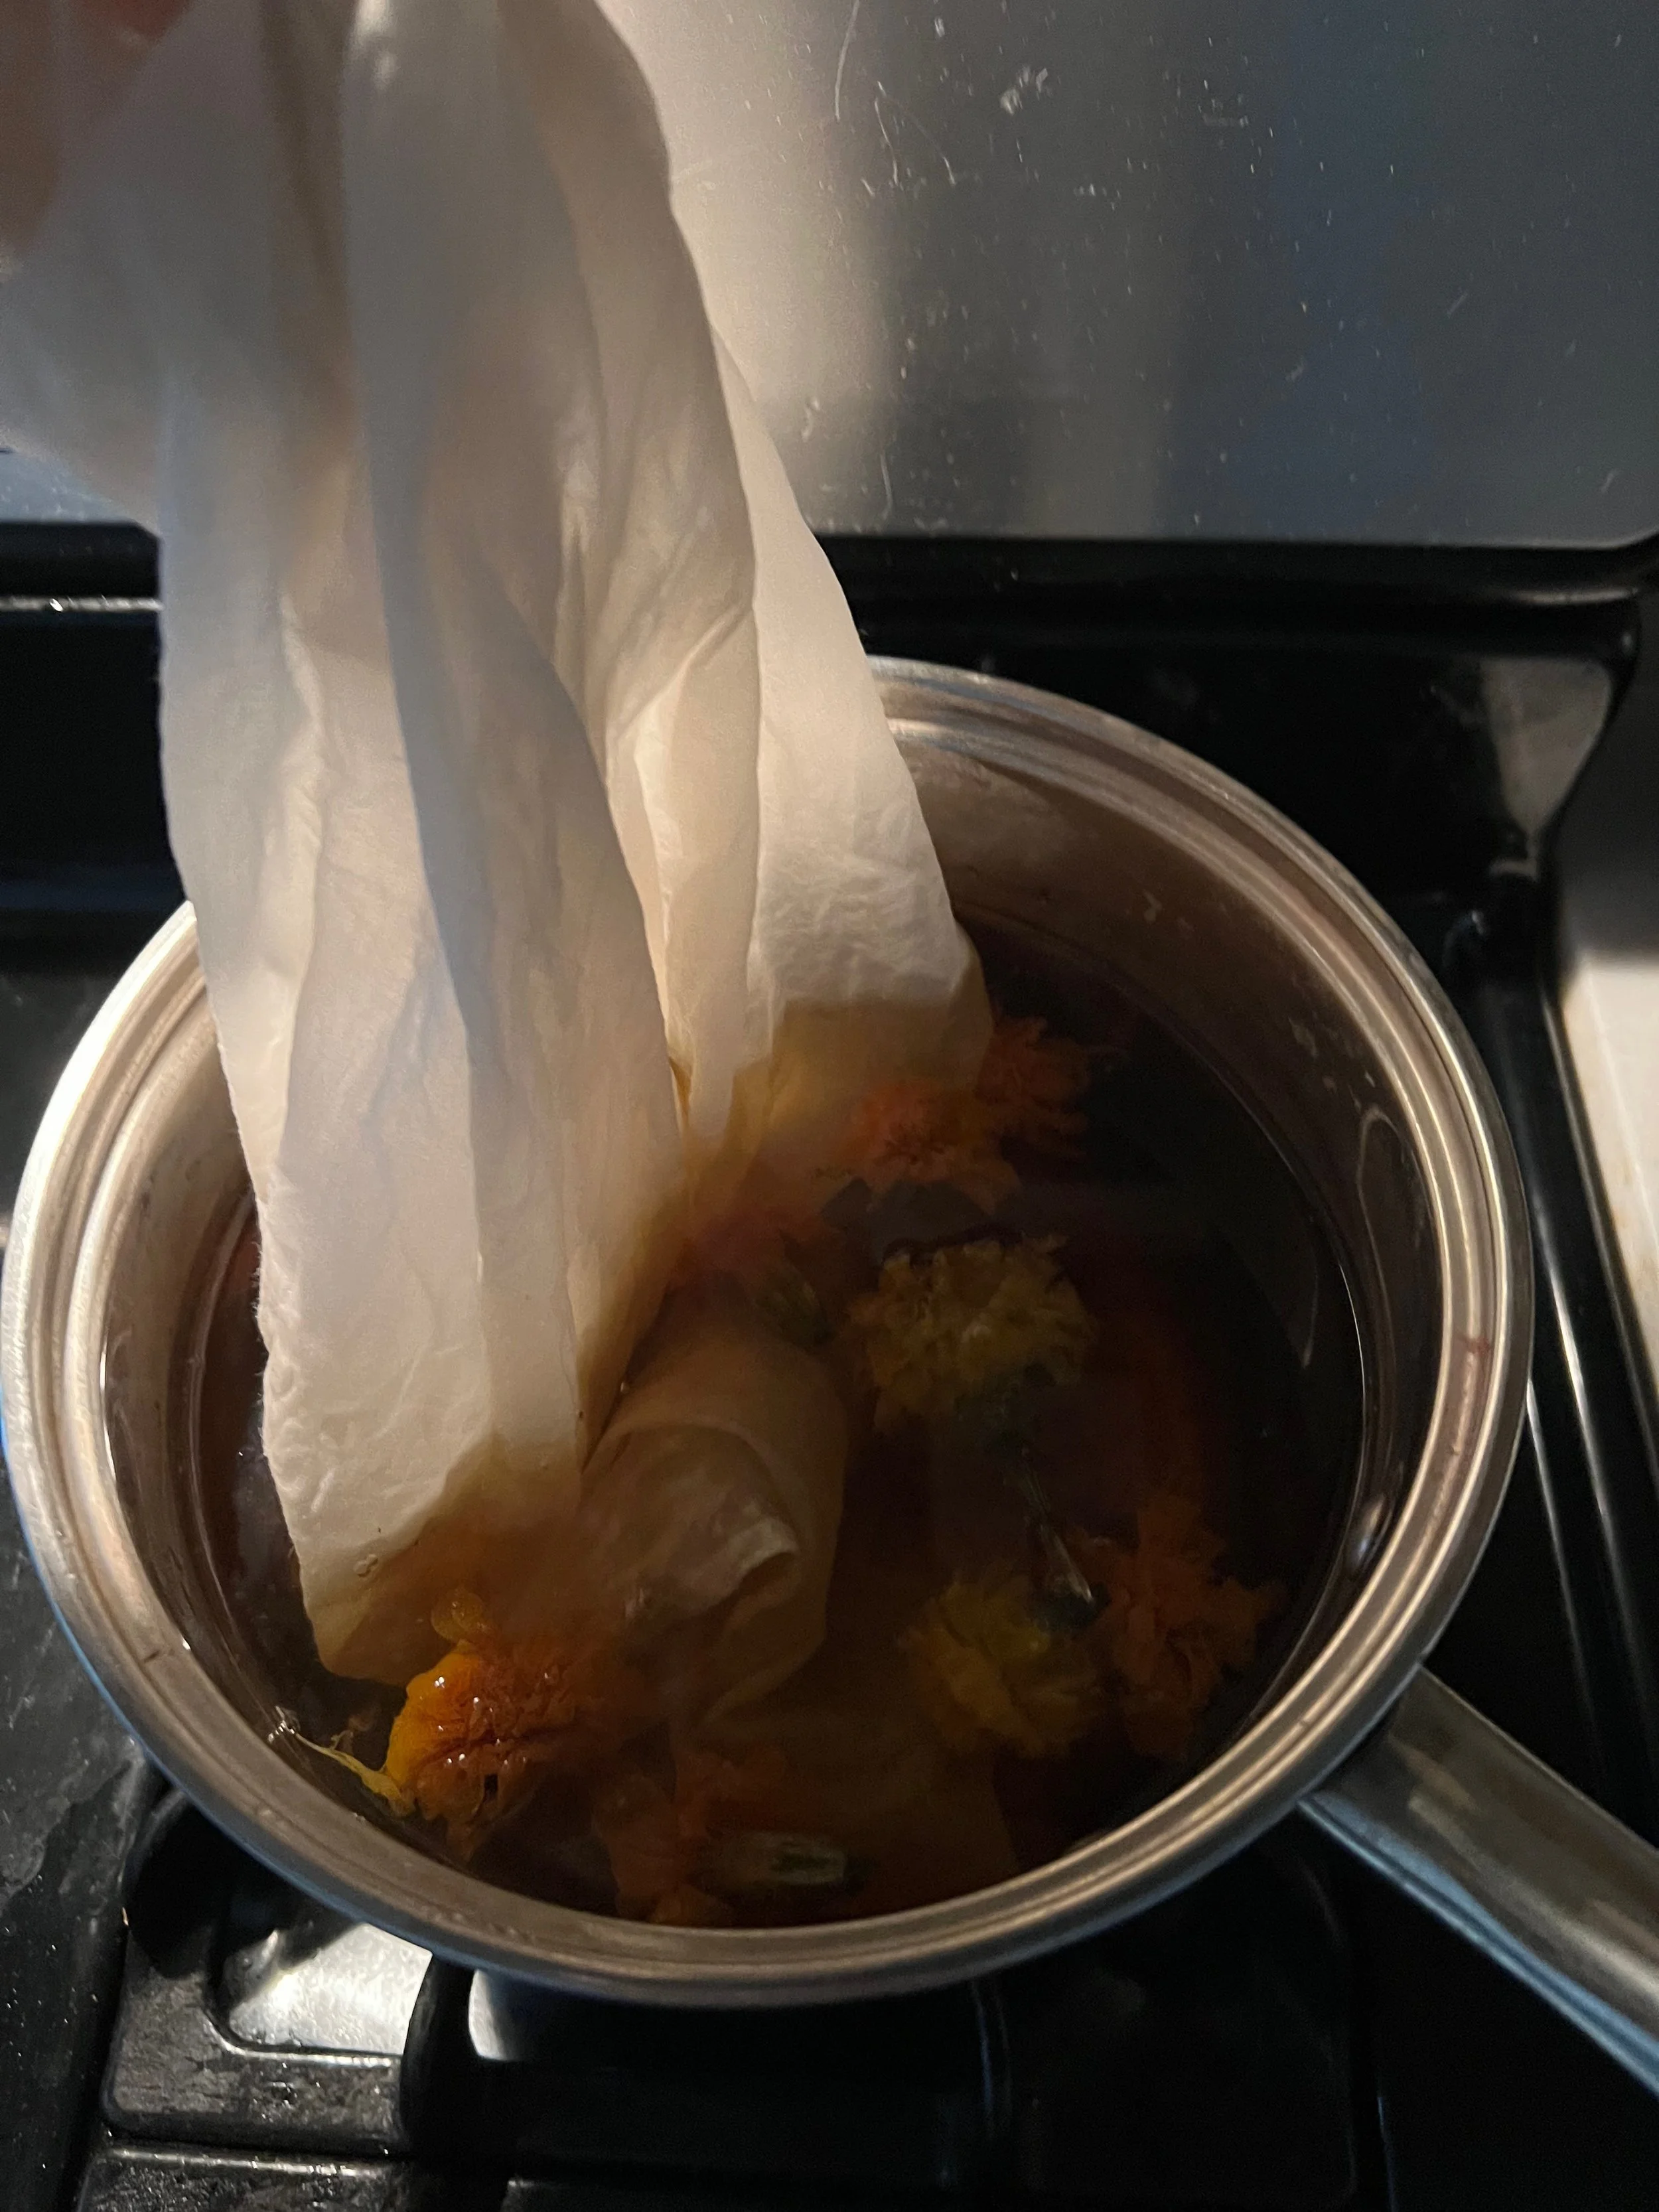
Place the dyestuff in a stainless steel pot and fill with a generous amount of water. You will be simmering this for an hour, so you want enough water to account for evaporation. Place the pot on heat source and simmer for about an hour. Avoid allowing the water come to a boil, especially for flowers which are quite delicate. After an hour, turn off the heat and let the dye water cool. I will often let the dyestuff continue to steep for 24 hours to extract as much of the color as possible. Strain and compost the dye material, reserving the dye water.


NOTE: If you are using dyestuff in an extract form, you do not need to extract the dye (this has been done for you!). Follow the instructions provided from the source where you purchased the dye extract and proceed directly to immersion dyeing.
Immersion Dye
Just before you are ready to dye, unfold fabric and place it in a bowl of clean water and allow to soak for 15-30 minutes, depending on the amount of fabric. This is called “wetting the fabric out.” The fibers should be completely saturated before proceeding to ensure even application of the dye. (If you are proceeding directly from the mordanting step, then no need to wet out your fabric, as it should already be saturated and ready to go!)
Place the reserved dye water into a large pot and add water so that there is enough for the fabric to float freely. It is importnt to avoid overcrowding the fabric, as this will lead to uneven dyeing. Adding water will not “water down the dye,” as the amount of dye extracted will bind to the fabric regardless of how much water is present.
Wring the excess water from the wetted out fabric and add it to the dye pot. Stir to ensure the dye can reach all surfaces. Heat to just below a simmer (around 180°F/82°C) and hold at that temperature for an hour, stirring periodically to ensure all fabric remains completely submerged. Turn off heat and let cool for an hour or up to 24 hours for the most saturated color.
Marvel at the miracle of transformation!

Rinse and Finish
Once the fabric is cool enough to handle, remove from the pot and rinse thoroughly until the water runs clear. Hang to dry.
I recommend storing the dyed fabric for a week or two to allow the color to set. After that, wash using a pH neutral detergent. Rinse thoroughly to ensure all of the excess dye is removed.


Exhaust baths
After dyeing a piece of fabric, you will notice that there is still color left in the dye pot. This is called the exhaust bath. I will often dye a second piece of fabric in this bath for a paler, less saturated color. This is a great way to build a collection of naturally dyed fabric with a variation of shade and value.
In a future post (probably late winter), I will discuss another option for reusing the exhaust bath by extracting the left over pigment. Stay tuned!

Several shades of madder root achieved from dyeing in the exhaust bath
Dye Journal
As you step into the world of natural dyeing, I strongly encourage you to keep a record of your processes. Every dye will produce different results and different conditions, and keeping a dye journal is a great way to begin to notice how changes in saturation, temptation, and amount of time in the dye pot can lead to different results. In my dye journal, this is what include:

Fabric: the substrate (kind of fabric) and weight
Mordant: % of tannin, type of tannin, and % of alum
Dye: dye stuff, % WOF used, and any additional notes (whether it was the exhaust bath, temperature, time in dye pot)
Sample swatch of the fabric
Click the link below to download a Dye Journal template.
I’d love to see your naturally dyed fabric! If you use social media, share it with me at @juliraeart so I can celebrate with you!
In next month’s post, I will be talking about modifiers. These are different elements and techniques you can use to modify the colors of your dyed fabric, helping expand your color palette and providing much opportunity for play and experimentation!