

“We express our being by creating”
-Rollo May
One of the things I love best (and despise most) about the creative process is that it's messy. I get to spread fabric scraps all over my floor, I can get paint on my face, I can scribble and erase as much as I need. It also means that the creative process isn't always as linear as I sometimes wish it were. It requires patience and trust and determination to continue forward even if I'm not sure where I'm going.
That said, come on into my studio and take a little peek at my general process for creating a landscape quilt.
Natural Fabric Dyeing
-

01/ Sow and Gather
All of my fabric is naturally dyed using elements from nature such as flowers, leaves, roots, seeds, and bark. Most of the plants I use for dyeing are harvested from my garden or are sustainably gathered from my local area.
-
02/ Prepare the Fabric
Before dyeing, all fabric is pretreated with mordant for about 24 hours. This helps ensure light and color fastness, which will prevent the colors from fading over time. I work exclusively with 100% cotton or linen fabric.
-

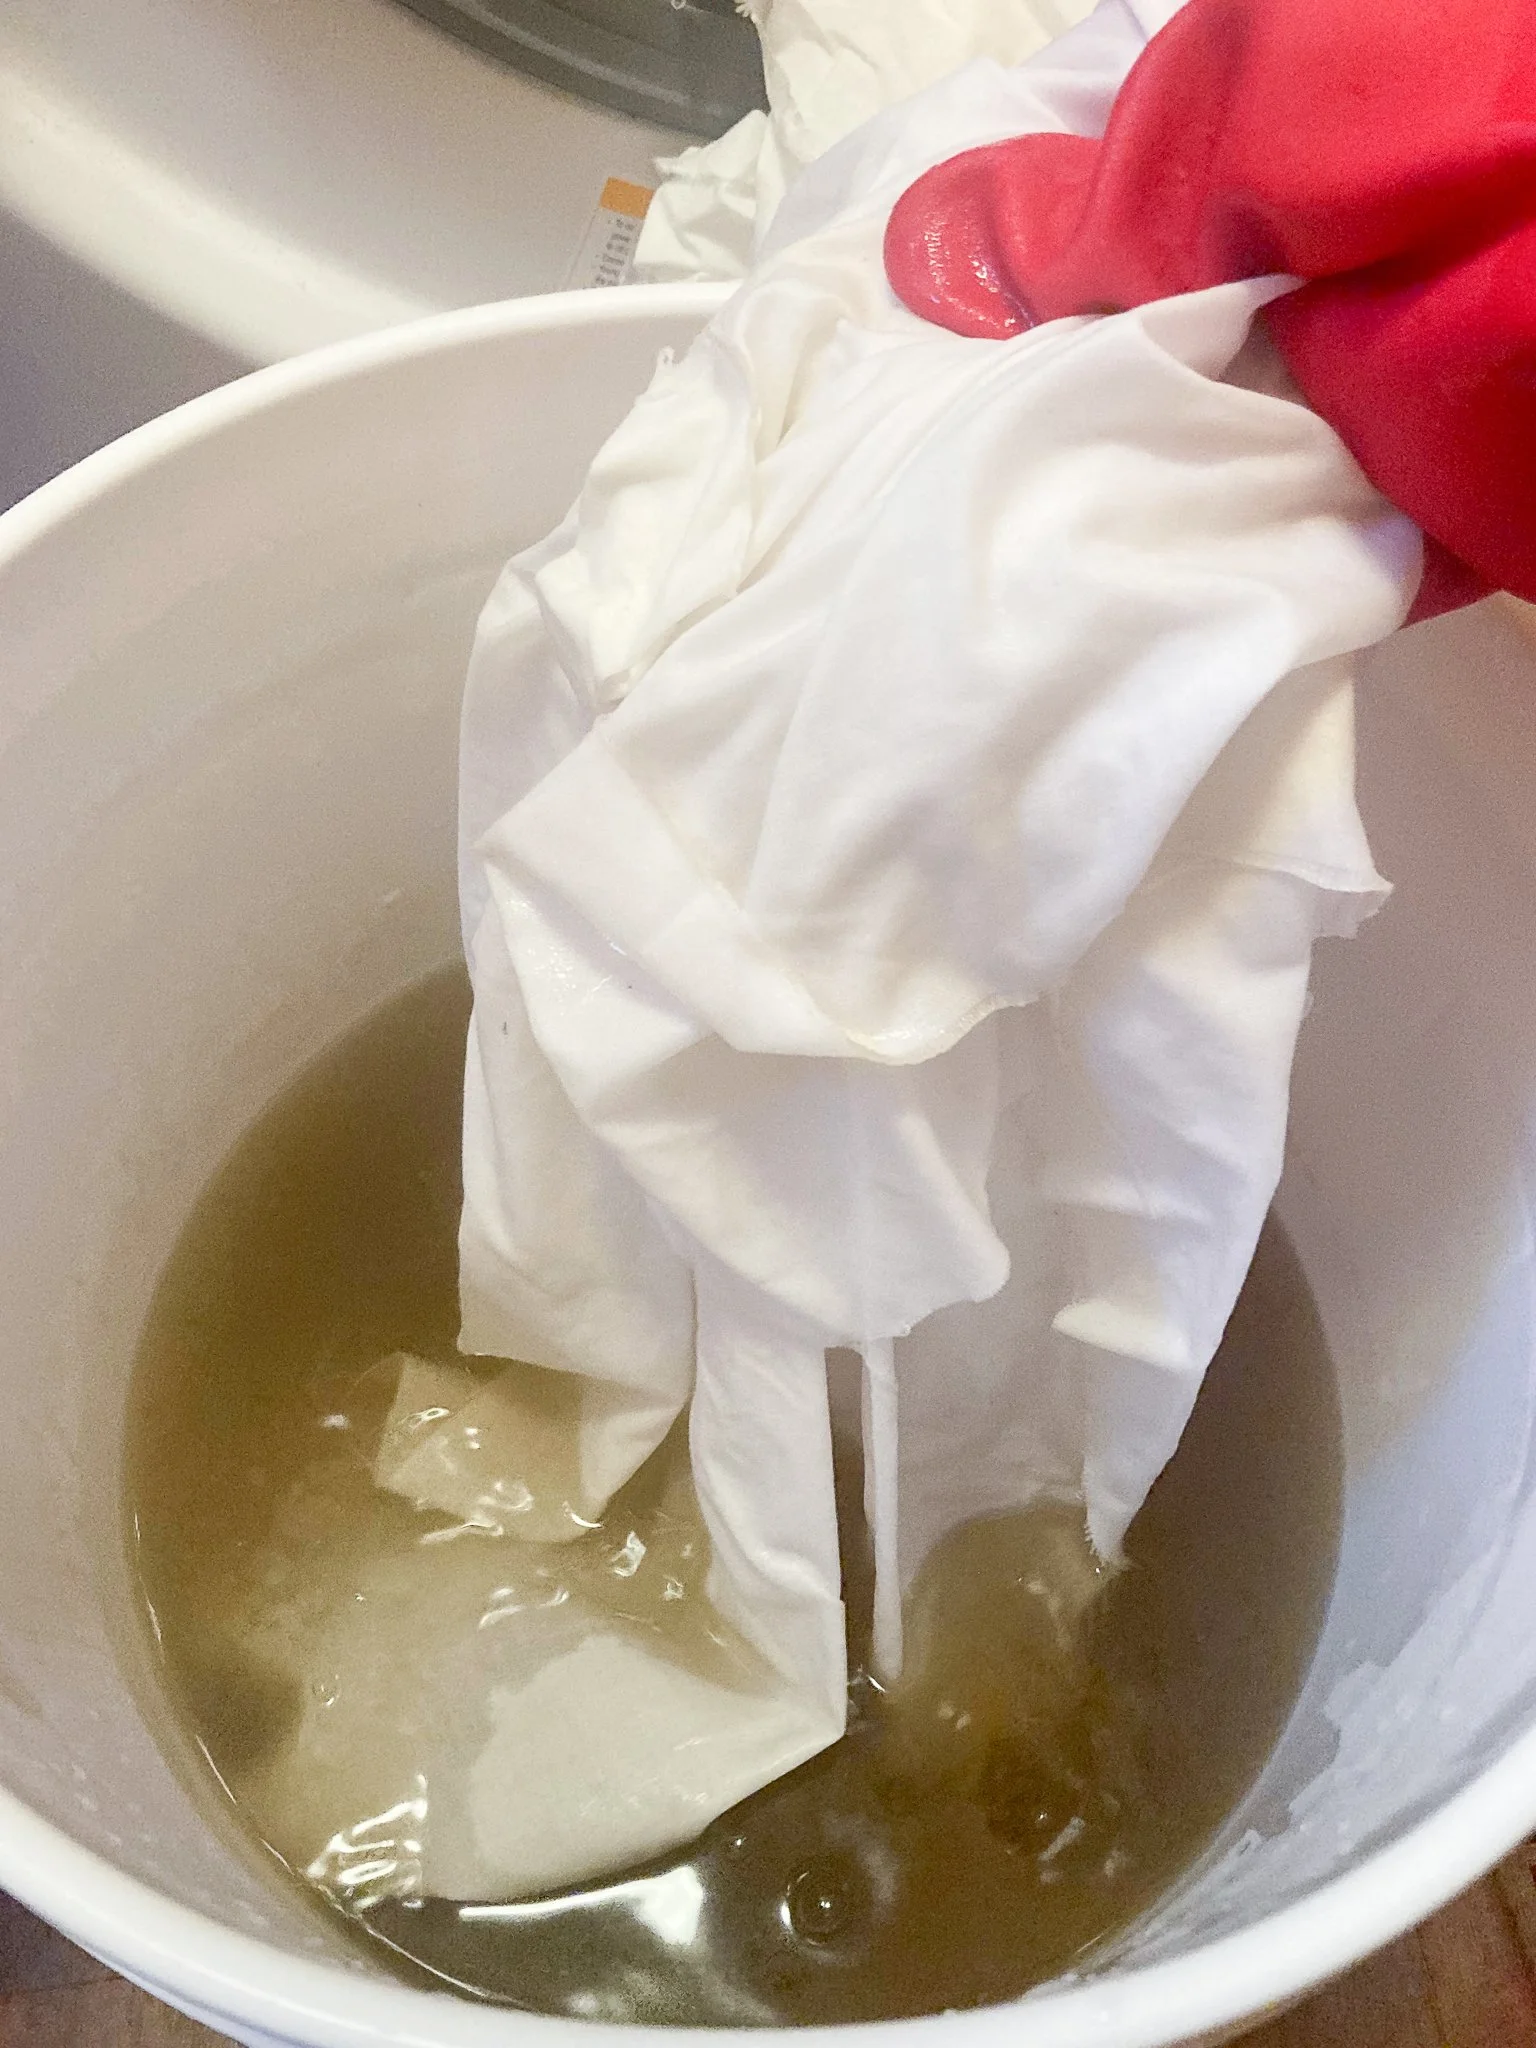
03/ Dye Bath
The flowers, roots, leaves, or bark that I am using for dyeing soak and simmer for an hour or more to extract the color. Then the pretreated fabric is placed in the dye bath for several hours until the desired color is reached. The fabric is then washed and hung to dry.
-

04/ Modifiers
The process of natural fabric dyeing is a great experiment, and it feels like a combination of science and magic! I will often take swatches and play with the effects of various modifiers, such as iron solutions, pH modifiers, or combinations of different dyes to see how these shift the color. This helps achieve a wide color palette.
-
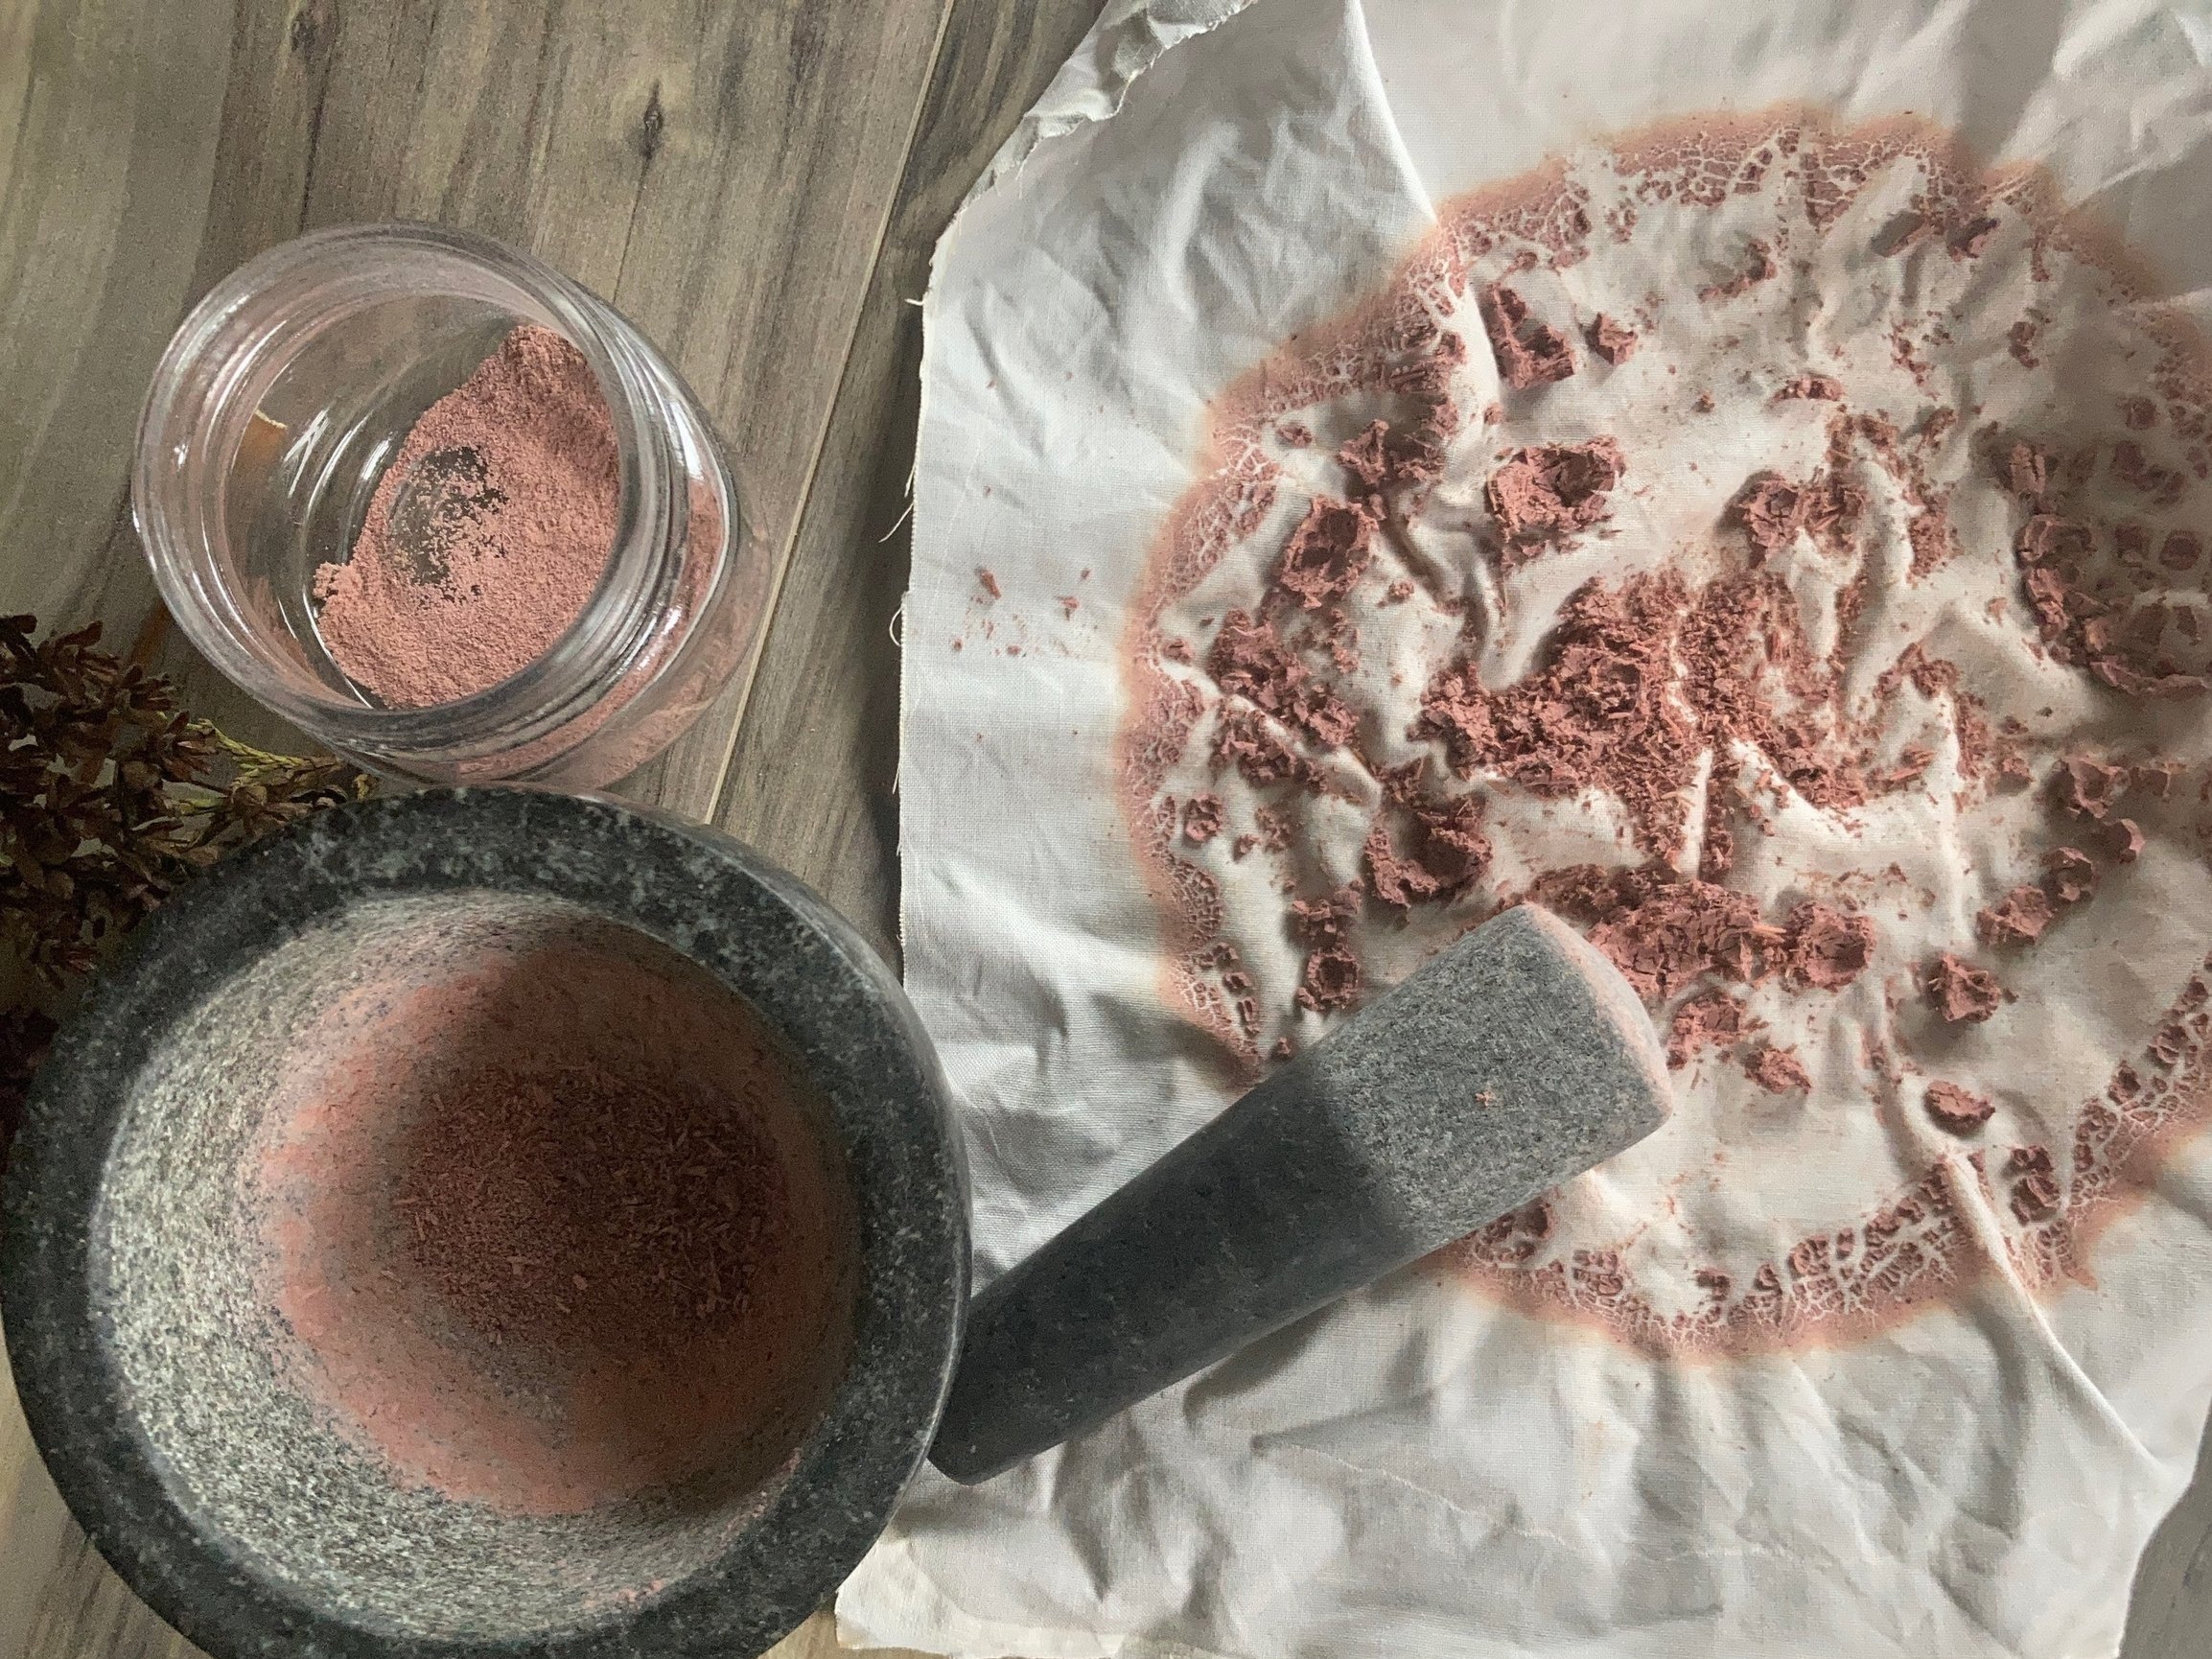
05/ Lake Pigments
Once the dye bath is exhausted, I create a lake pigment, which is the process of separating the left over pigment from the water. The extracted pigment is sifted, dried, and ground into a fine powder that can be used to make paint.
-

06/ Future Projects
I already have plans for what I will create with these plant pigments. Mother Earth so generously provides these beautiful colors, and I am committed to ensuring none of it goes to waste! Stay tuned to see how I plan to use these Earth pigments in future projects.
Interested in learning more about natural dyeing? Check out the Natural Dye Studio blog for information and tutorials!
The Quilt Design Process
-

01/ Sketch & Write
I always begin with pencil and paper. I write about what I'm feeling inspired by and sketch a few design ideas, not worrying too much about the final look. I just let ideas flow.
-

02/ Design
Using the sketches as inspiration, I create a mock up, usually in Adobe Illustrator. I play with color and composition until I am happy with the design.
-
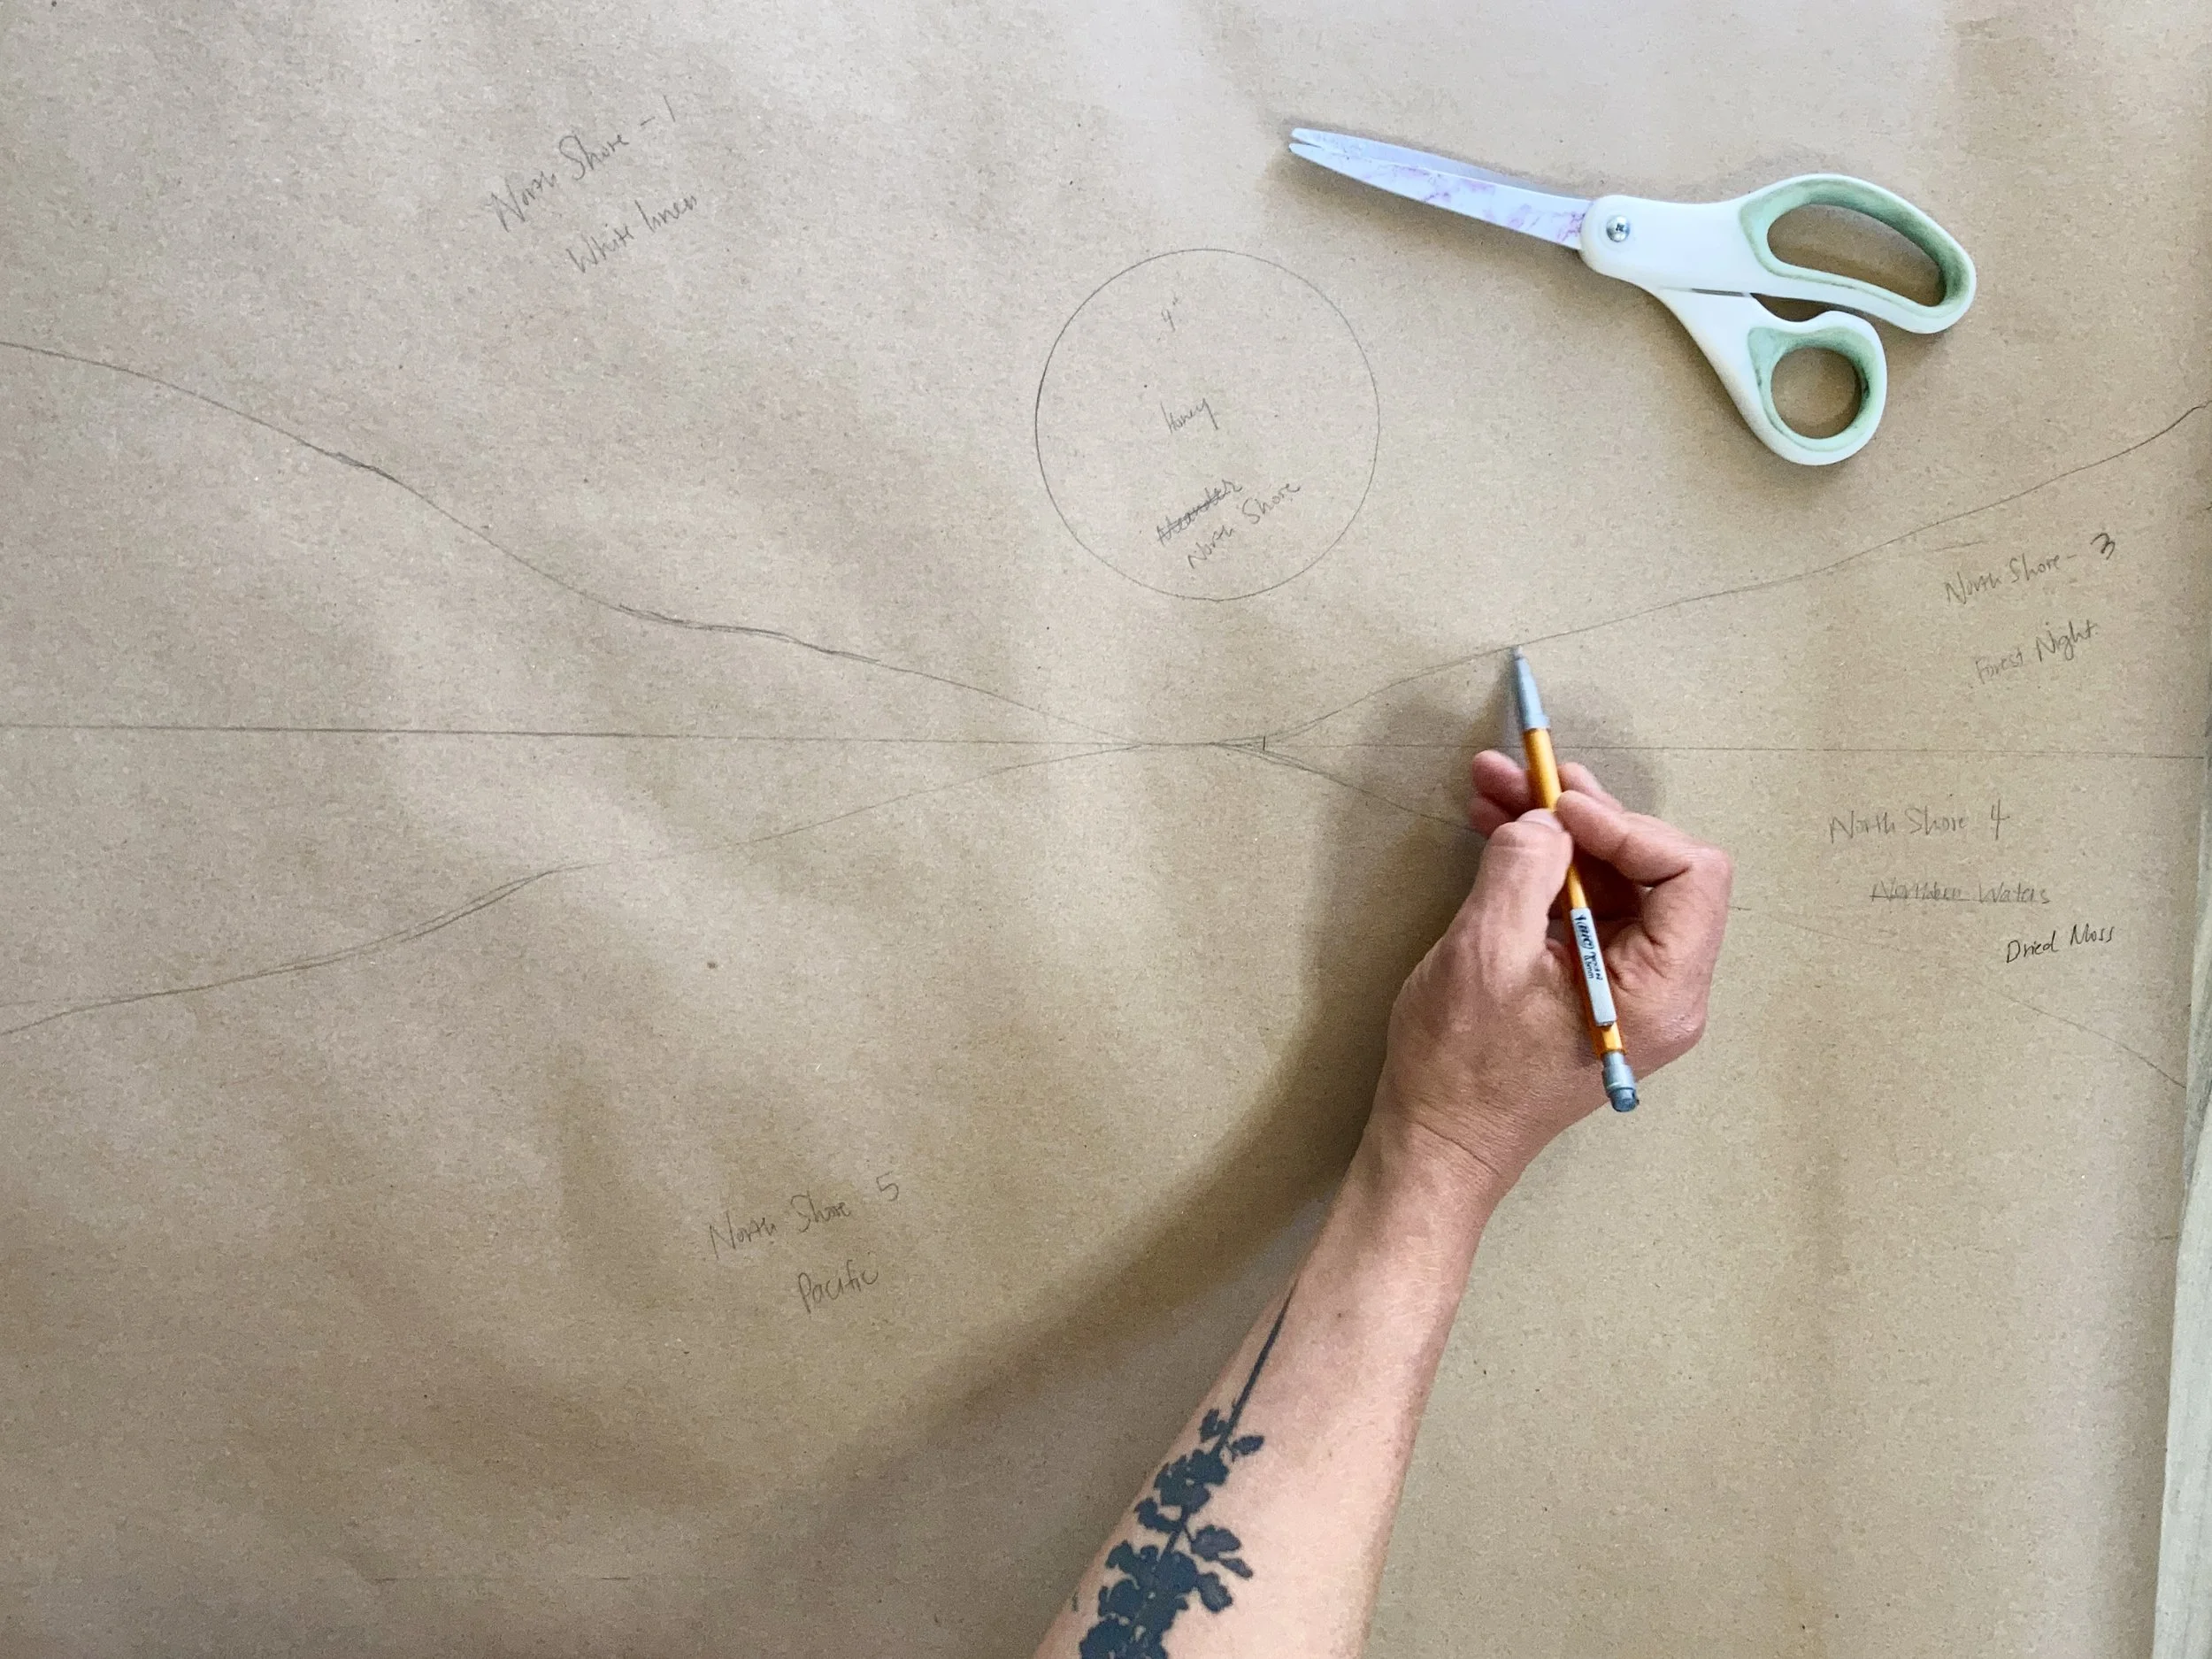
03/ Make Templates
Once I've decided on the final composition and color, I create templates out of kraft paper and cut out the pattern pieces.
-
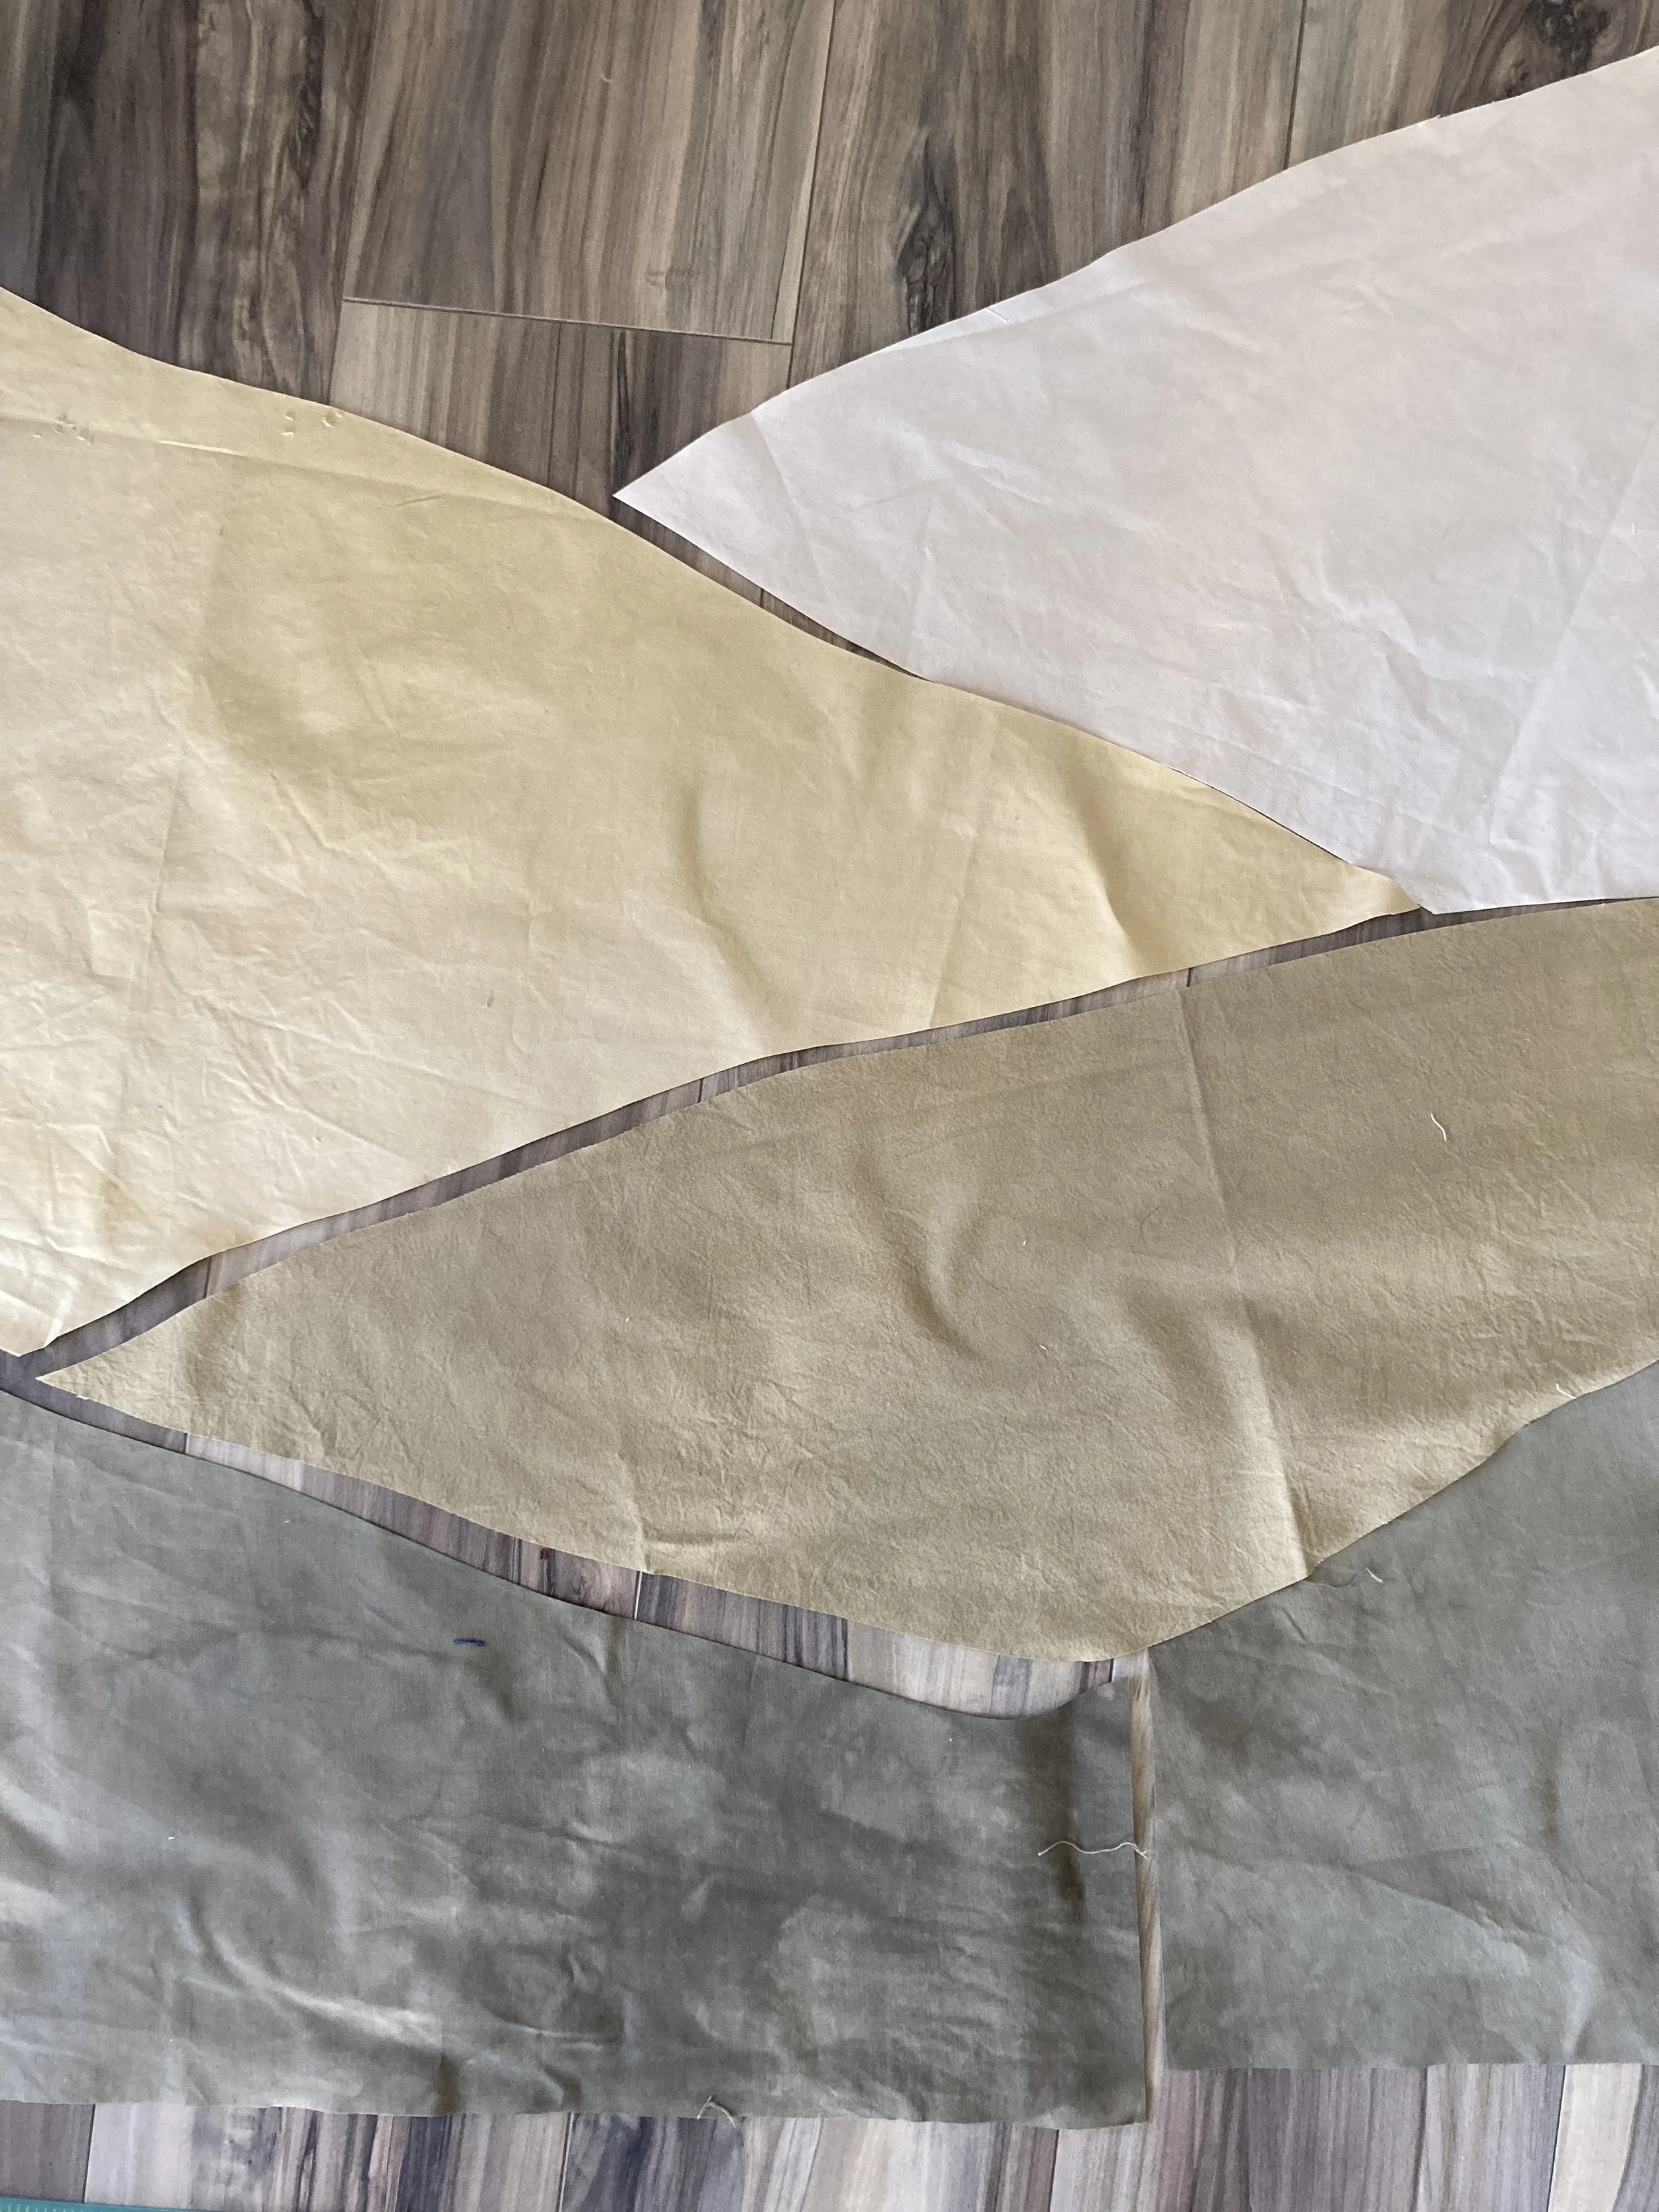
04/ Sew
Once the fabric pieces are cut out using the templates, I get to see the piece come to life as I sew the pieces together! I carefully pin each of the pieces together, cut the curves, and press each seam to ensure everything lines up properly and lies flat. This step requires patience and precision and is so satisfying.
-
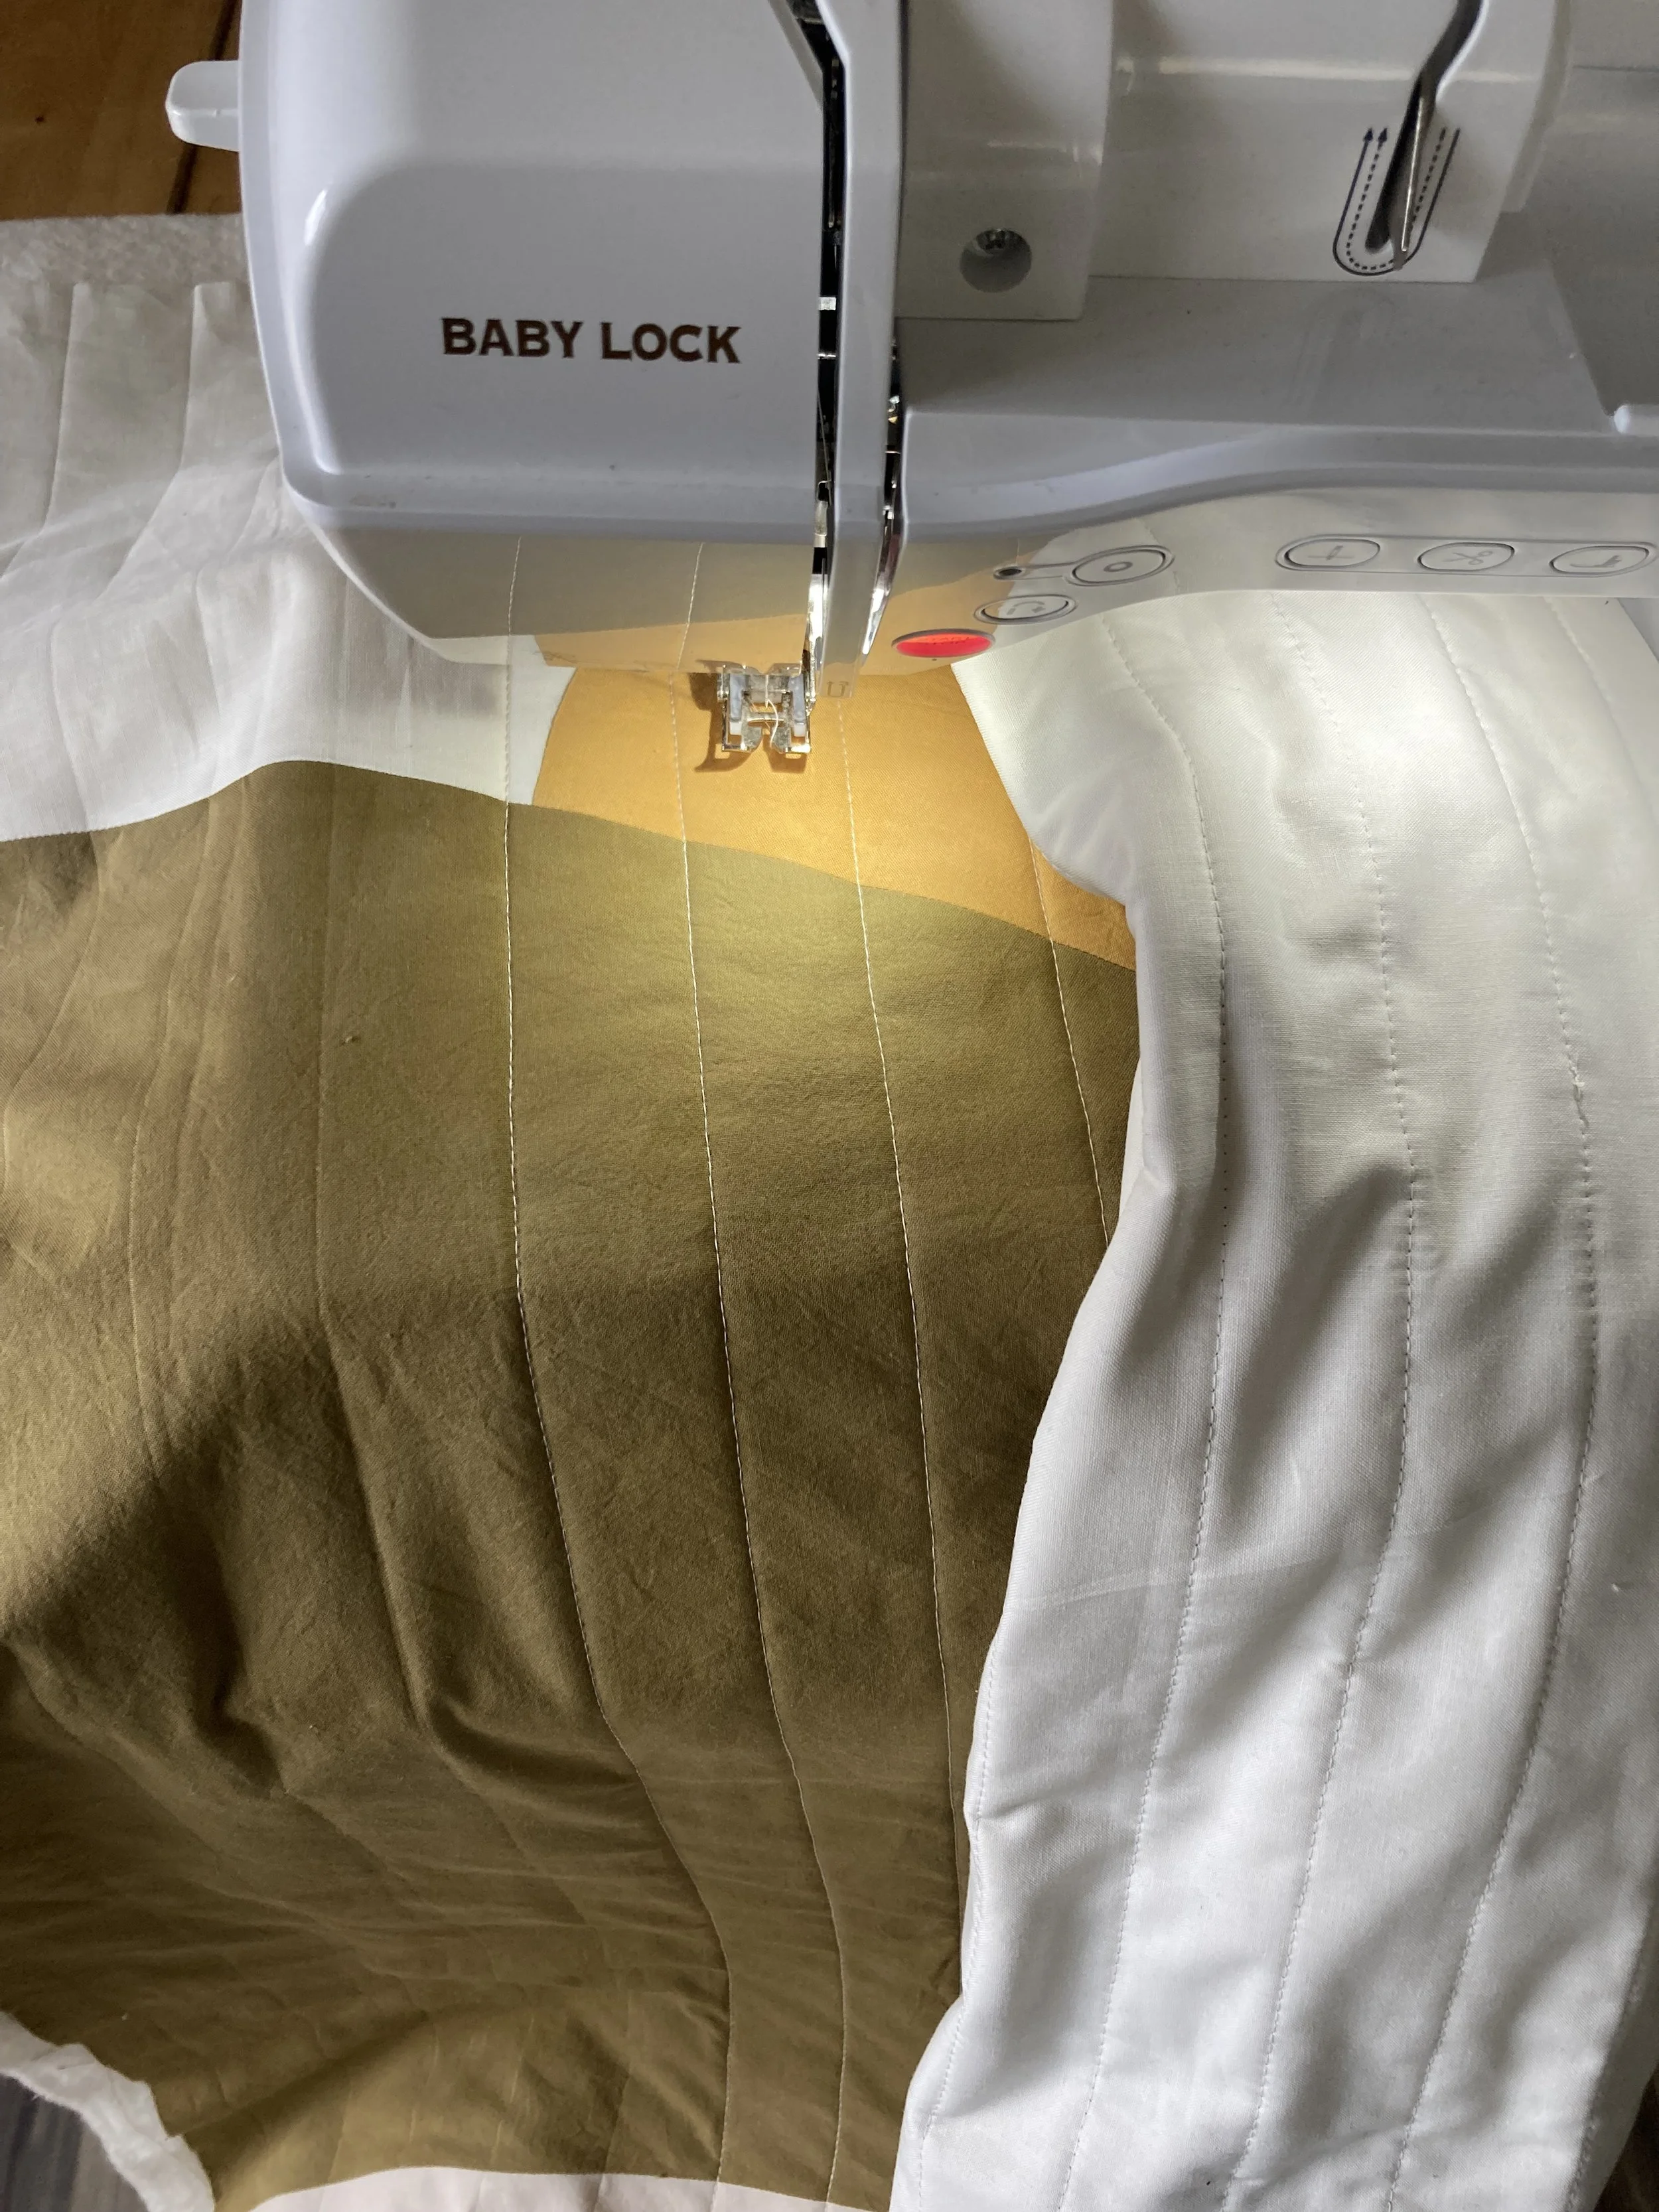
05/ Quilt and Bind
Each piece is generally finished with straight line quilting, as it is simple and provides contrast to the organic lines of the design. Binding secures the raw edges and frames the piece so that it is ready to be displayed or snuggled.
-

06/Finishing Touches
The final details of each piece, including hanging tabs and signature, are finished by hand with care and love.
Each piece is dyed, designed, and created by me. I take great care with each step of the process to ensure a truly unique and expertly handcrafted piece of art for your home.
All quilts arrive ready to display and ship beautifully packaged from my home in Portland, OR.
