
Expanding your Palette
December 2025
In the last post, we discussed the process of immersion dyeing. If you have been following along, you perhaps have a piece or two of fabric dyed! Now we will talk about ways to modify your colors and expand the palette of colors in your naturally-dyed stash.
In a previous post, I shared a list of many of the most common dye sources and what colors they generally produce.
There are several ways to modify these colors in order to achieve a sampling of colors from around the color wheel!
Exhaust baths
Over-dyeing
Combining dyes
pH
Iron (ferrous acetate or ferrous sulfate)
Exhaust Baths
Using an exhaust bath is not exactly a method for modifying colors, but this is a great technique for creating a varied range of saturations and values, especially if you’d like to create an ombre effect. I described using exhaust baths in the previous post, but I’ll describe the method here as well!
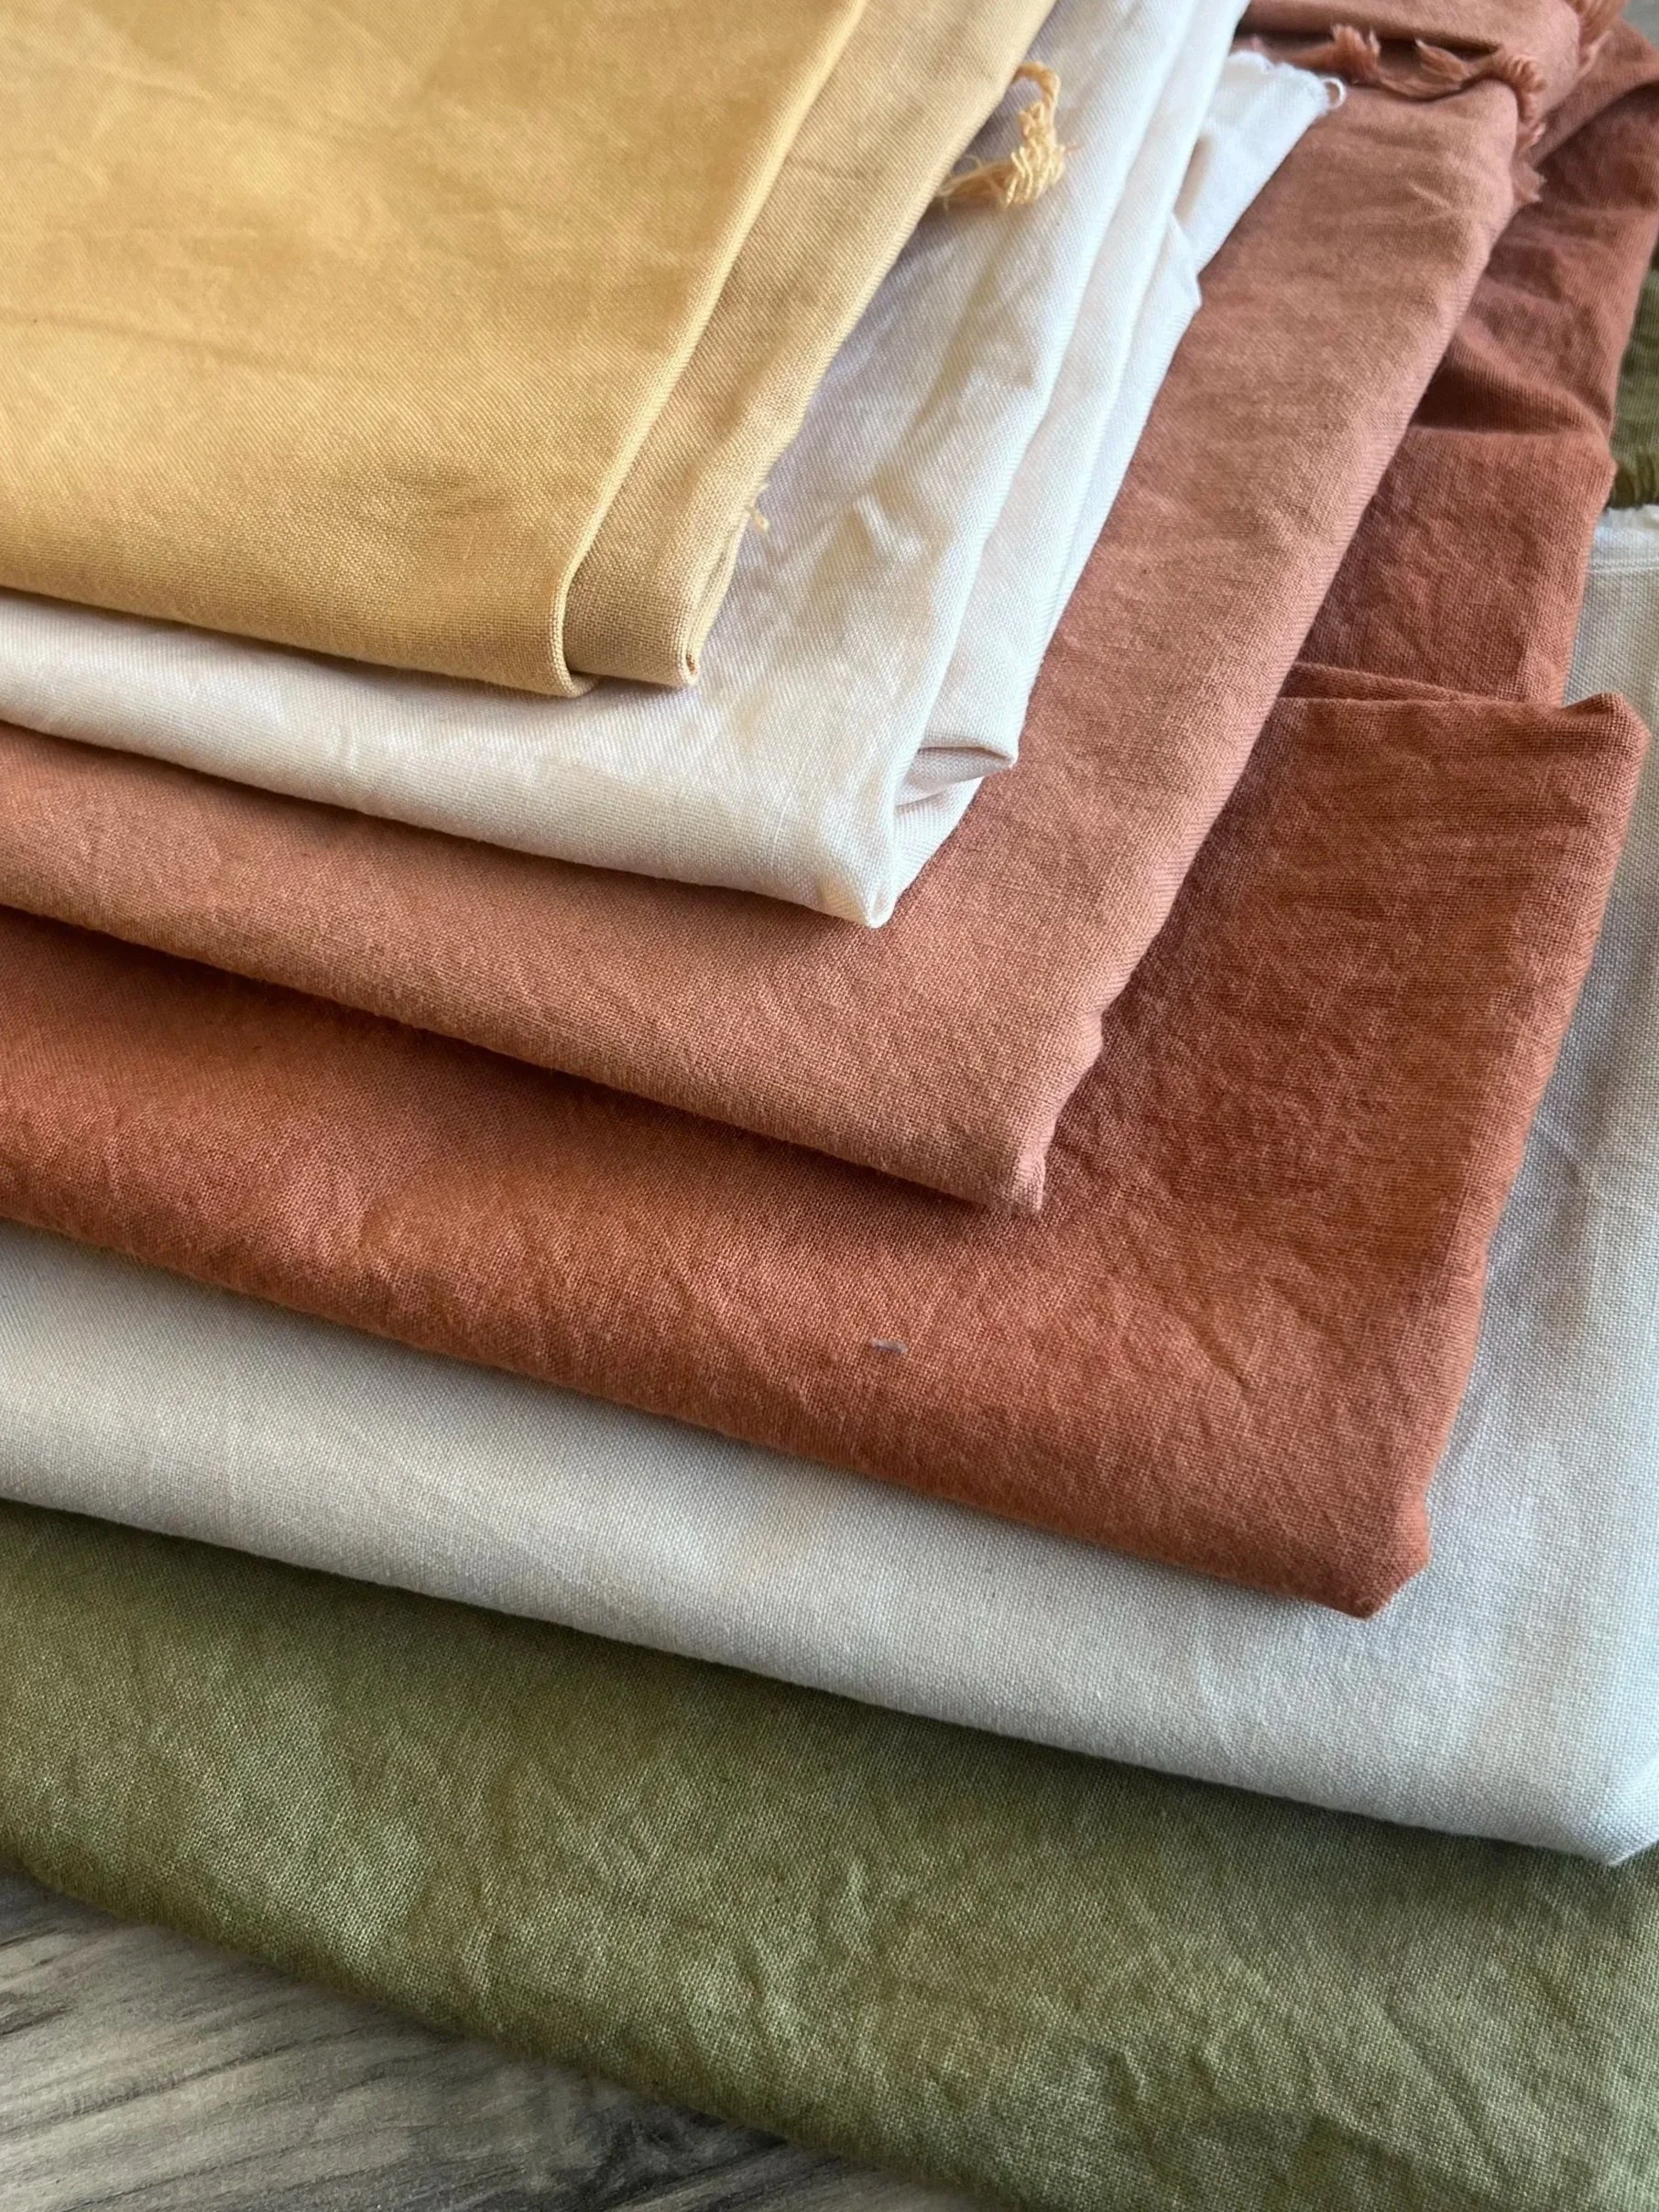
After dyeing a piece of fabric, you will notice that there is still color left in the dye pot. This is called the exhaust bath. I will often dye a second piece of fabric in this bath for a paler, less saturated color. This is a great way to build a collection of naturally dyed fabric with a variation of shade and value. Depending on the strength and saturation of the initial dye bath, you may be able to reuse the exhaust bath several times, creating a progression of lighter values of the same color.
Combining Dyes and Over-dyeing
Remember your basic color theory class? You can combine dye colors much like you would mix paints. This provides endless opportunities for experimenting to see what colors you can come up with!
For example, if you want to create orange, you could combine a red dye (such as madder root) with a yellow dye (such as weld). Different proportions of red and yellow will create different depths of orange. To create a burgundy color you could mix a red dye (such as madder root) and a purple dye (such a logwood).

Over-dyeing works the same way as combining dyes, but rather than combining two different dyes in a dye vat, you can dye a piece of fabric that you previously dyed with a new color. For example, if you have a piece of fabric colored with a yellow dye (such as weld), you can place it in a weak madder root bath to create orange.
Over-dyeing is especially common with indigo, which creates a beautiful blue. The process of dyeing with indigo is different than with other dyes (this process will be covered in a future blog post), and therefore it doesn’t work to combine it with other dyes. However, a piece of fabric dyed blue in indigo can then be placed in another dye vat to create a new color. For example, blue + red (madder root) would make purple and blue + yellow (weld or onion skin) would make green. There are so many possibilities!
pH Modifiers
While not all dyes will react to changes to the pH, the addition of an acidic or alkaline modifier can shift the color of some dyes significantly. There are two kinds of pH modifiers:
Alkaline modifiers
Acid modifiers
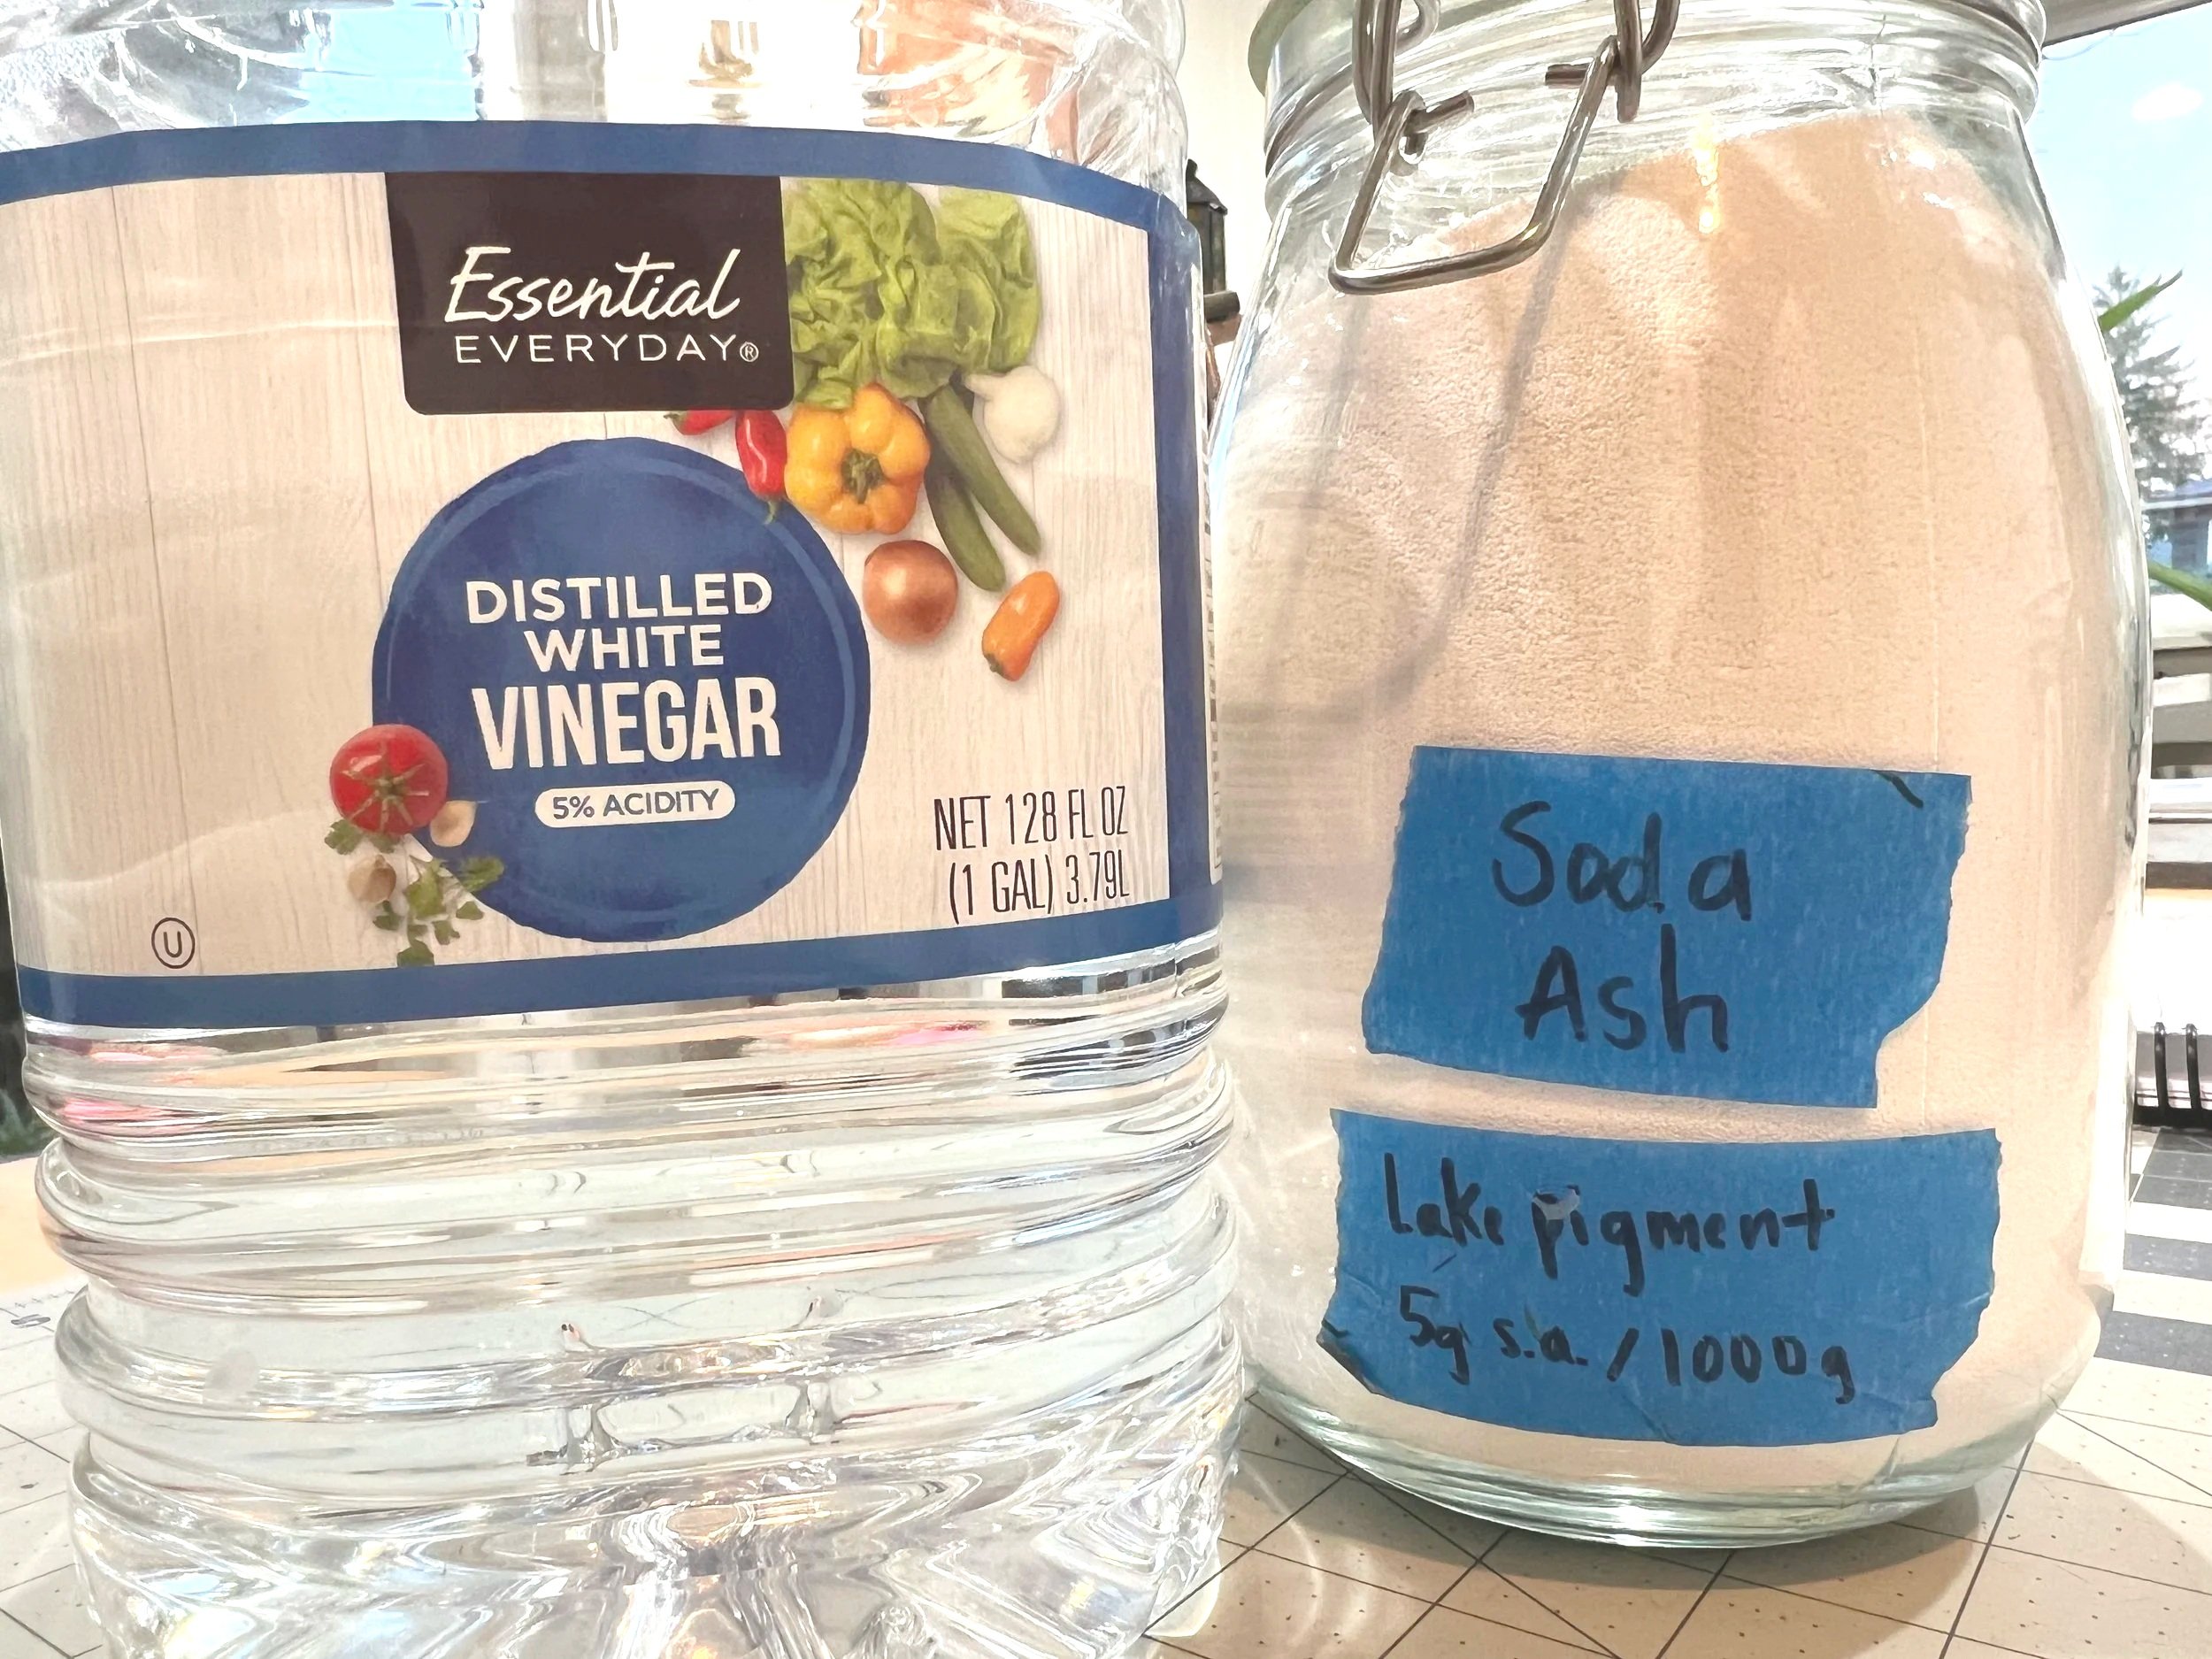
Alkaline modifiers, such as soda ash, generally shift the color to a pink-er tone. Dissolve a small bit (1/4-1/2 teaspoon) in hot water and either add it directly to the dye bath or immerse dyed fabric into the solution for 5-10 minutes after dyeing. You can experiment with more or less soda ash to see how the color responds.
Acidic modifiers*, such as white vinegar, will shift the color to a yellow-er tone. Add a very small amount of acidic modifier to a vessel filled with water and soak dyed fabric for 5-10 minutes. Rinse thoroughly.
* Strong acids will damage cellulose fibers to use acidic modifiers sparingly.
Iron Modifiers
This is by far the modifier that I use the most, and it is a great way to expand the range of colors you can achieve from your natural dyes. The addition of iron (ferrous sulfate) “saddens” the color, making them more muddy and muted. Iron reacts with the tannin in the fabric, and the effect will shift yellows to olive green and reds to deep purples or browns.

To modify a dye with iron, add 1-4% WOF iron (ferrous sulfate) to a non-reactive vessel (stainless steel, ceramic, plastic, or glass) and add hot water to dissolve. Place dyed and wetted out fabric to the vessel with iron and stir continuously for 30 seconds for up to 5 minutes. Rinse immediately.
You want to be sure to wash all items, including bowls, spoons, and surfaces, that were used to modify with iron very thoroughly to avoid cross contamination. Iron reacts with tannin and the reaction is irreversible. If any fabric that has been soaked in tannin comes into contact with even a small trace of iron, it will react and create stains and spots on your fabric. I have a set of tools that I use specifically for working with iron to help avoid contaminating other fabric.
Iron will be damaging to fibers, so I don’t recommend using more that 4% WOF or letting the fabric sit in the iron solution for more than 10 minutes. I also recommend wearing gloves, as the iron will stain your hands!
I hope this brief introduction to modifiers has sparked some inspiration and gets you excited to see how you can expand your color palette of naturally dyed fabrics! Be sure to document your results in a dye journal; there is a space in the template provided to add notes about any modifiers used (see the link for a template below). I’d love to hear about what you are creating! Click the email or button on the top of the page or share it with me on IG at @juliraeart so I can celebrate with you!!