
Scouring
August 2025
I find myself thinking a lot about the connection between the process of natural dyeing and our own journeys of transformation, the notion that we are always changing and becoming. We can be intentional, but at the same time we are never fully in control. Natrual dyeing is a bit like that too. I’m hoping these tutorials of the natural dye process offer guidance and intention, but know that Mother nature works in surprising and unpredictable ways.
The first step of the natural dye process is scouring. (For an overview of the entire natural dye process, click here.) Scouring is the process of deeply cleaning the fibers, removing waxes, oils, dirt, and other impurities that may be present from manufacturing. While this step is somewhat unglamorous, it is essential. Un-scoured fabric will yield uneven results, as these impurities will prevent the dye from penetrating and binding to the fibers.
“Scouring is the process of deeply cleaning the fibers, removing waxes, oils, dirt, and other impurities that may be present from manufacturing.”
In the personal journey of transformation, I like to think of scouring as the process of healing wounds. Practices such as journaling, meditation, yoga, and therapy have been ways I have scoured my inner being, exploring the depths of my self to root out what no longer serves me.
Selecting Fabric

Natural dyeing will only work with natural fibers. Natural dyes will not bind to synthetic fibers, such as polyester, nylon, or acrylic. I find that organic natural fibers yield the best results, but use what you can find or what you have on hand!
Natural fibers fall into one of two categories: animal or cellulose. Animal fibers, as the name suggests, are derived from animal sources such as wool, alpaca, or silk. Cellulose fibers are derived from plants and include cotton, linen, and hemp. Animal and cellulose fibers differ in molecular composition and therefore require slightly different processes for natural dyeing. In general, animal fibers receive dye more readily than cellulose fibers.
As a quilter, I work almost exclusively with cellulose fibers and the natural dye tutorials I offer here will follow the process for these. If you have specific questions about working with animal fibers, reach out and I will do what I can to connect you to resources!
NOTE: You can purchase fabric that is labeled “Ready to Dye” or “Prepared for Dyeing” (PFD). This fabric has been processed without waxes or oils and, in theory, doesn’t require scouring. I would still recommend running it through the washing machine on hot with a pH neutral detergent just to be on the safe side.
Scouring Cellulose Fabric
NOTE: The following tutorial is to be used for cellulose, or plant-based, fibers such as cotton, linen, or hemp. Animal fibers, such as wool or silk, require a different process.
You can follow the steps below or download and print the resource sheet to keep for future reference.
You’ll need:
cellulose fabric (such as cotton or linen)
large stainless steel pot
scale that measures grams
measuring spoons
mixing spoon (wood or stainless steel)
heat source
Synthrapol (or other Dyer’s detergent)
soda ash (sodium carbonate)
NOTE: Stainless steel is preferred for all steps of the dye process, as it is considered non-reactive. Pots made from aluminum or iron can leech these metals into the water and affect the results.

01/ Weigh dry fabric
Nearly all measurements for the natural dye process are based on the “weight-of-fiber” (WOF). It is important at the beginning of each step to weigh the fabric dry and record this number (I will often use a permanent market to record this number in the selvage). I will be using grams as the unit of measurement throughout.
You will use the WOF to determine measurements throughout the dye process. Here is how it works.
Measurements for materials are generally given as a percentage of the WOF. For example, the recipe for scouring calls for 2% WOF of soda ash. This means, that for every 100g of fiber, you will need 2g of soda ash. (100g x .02 = 2g). If you have 300g of fiber, you would need 6g of soda ash (300g x .02 = 6g). This will begin to make more sense as you get used to measuring things this way!

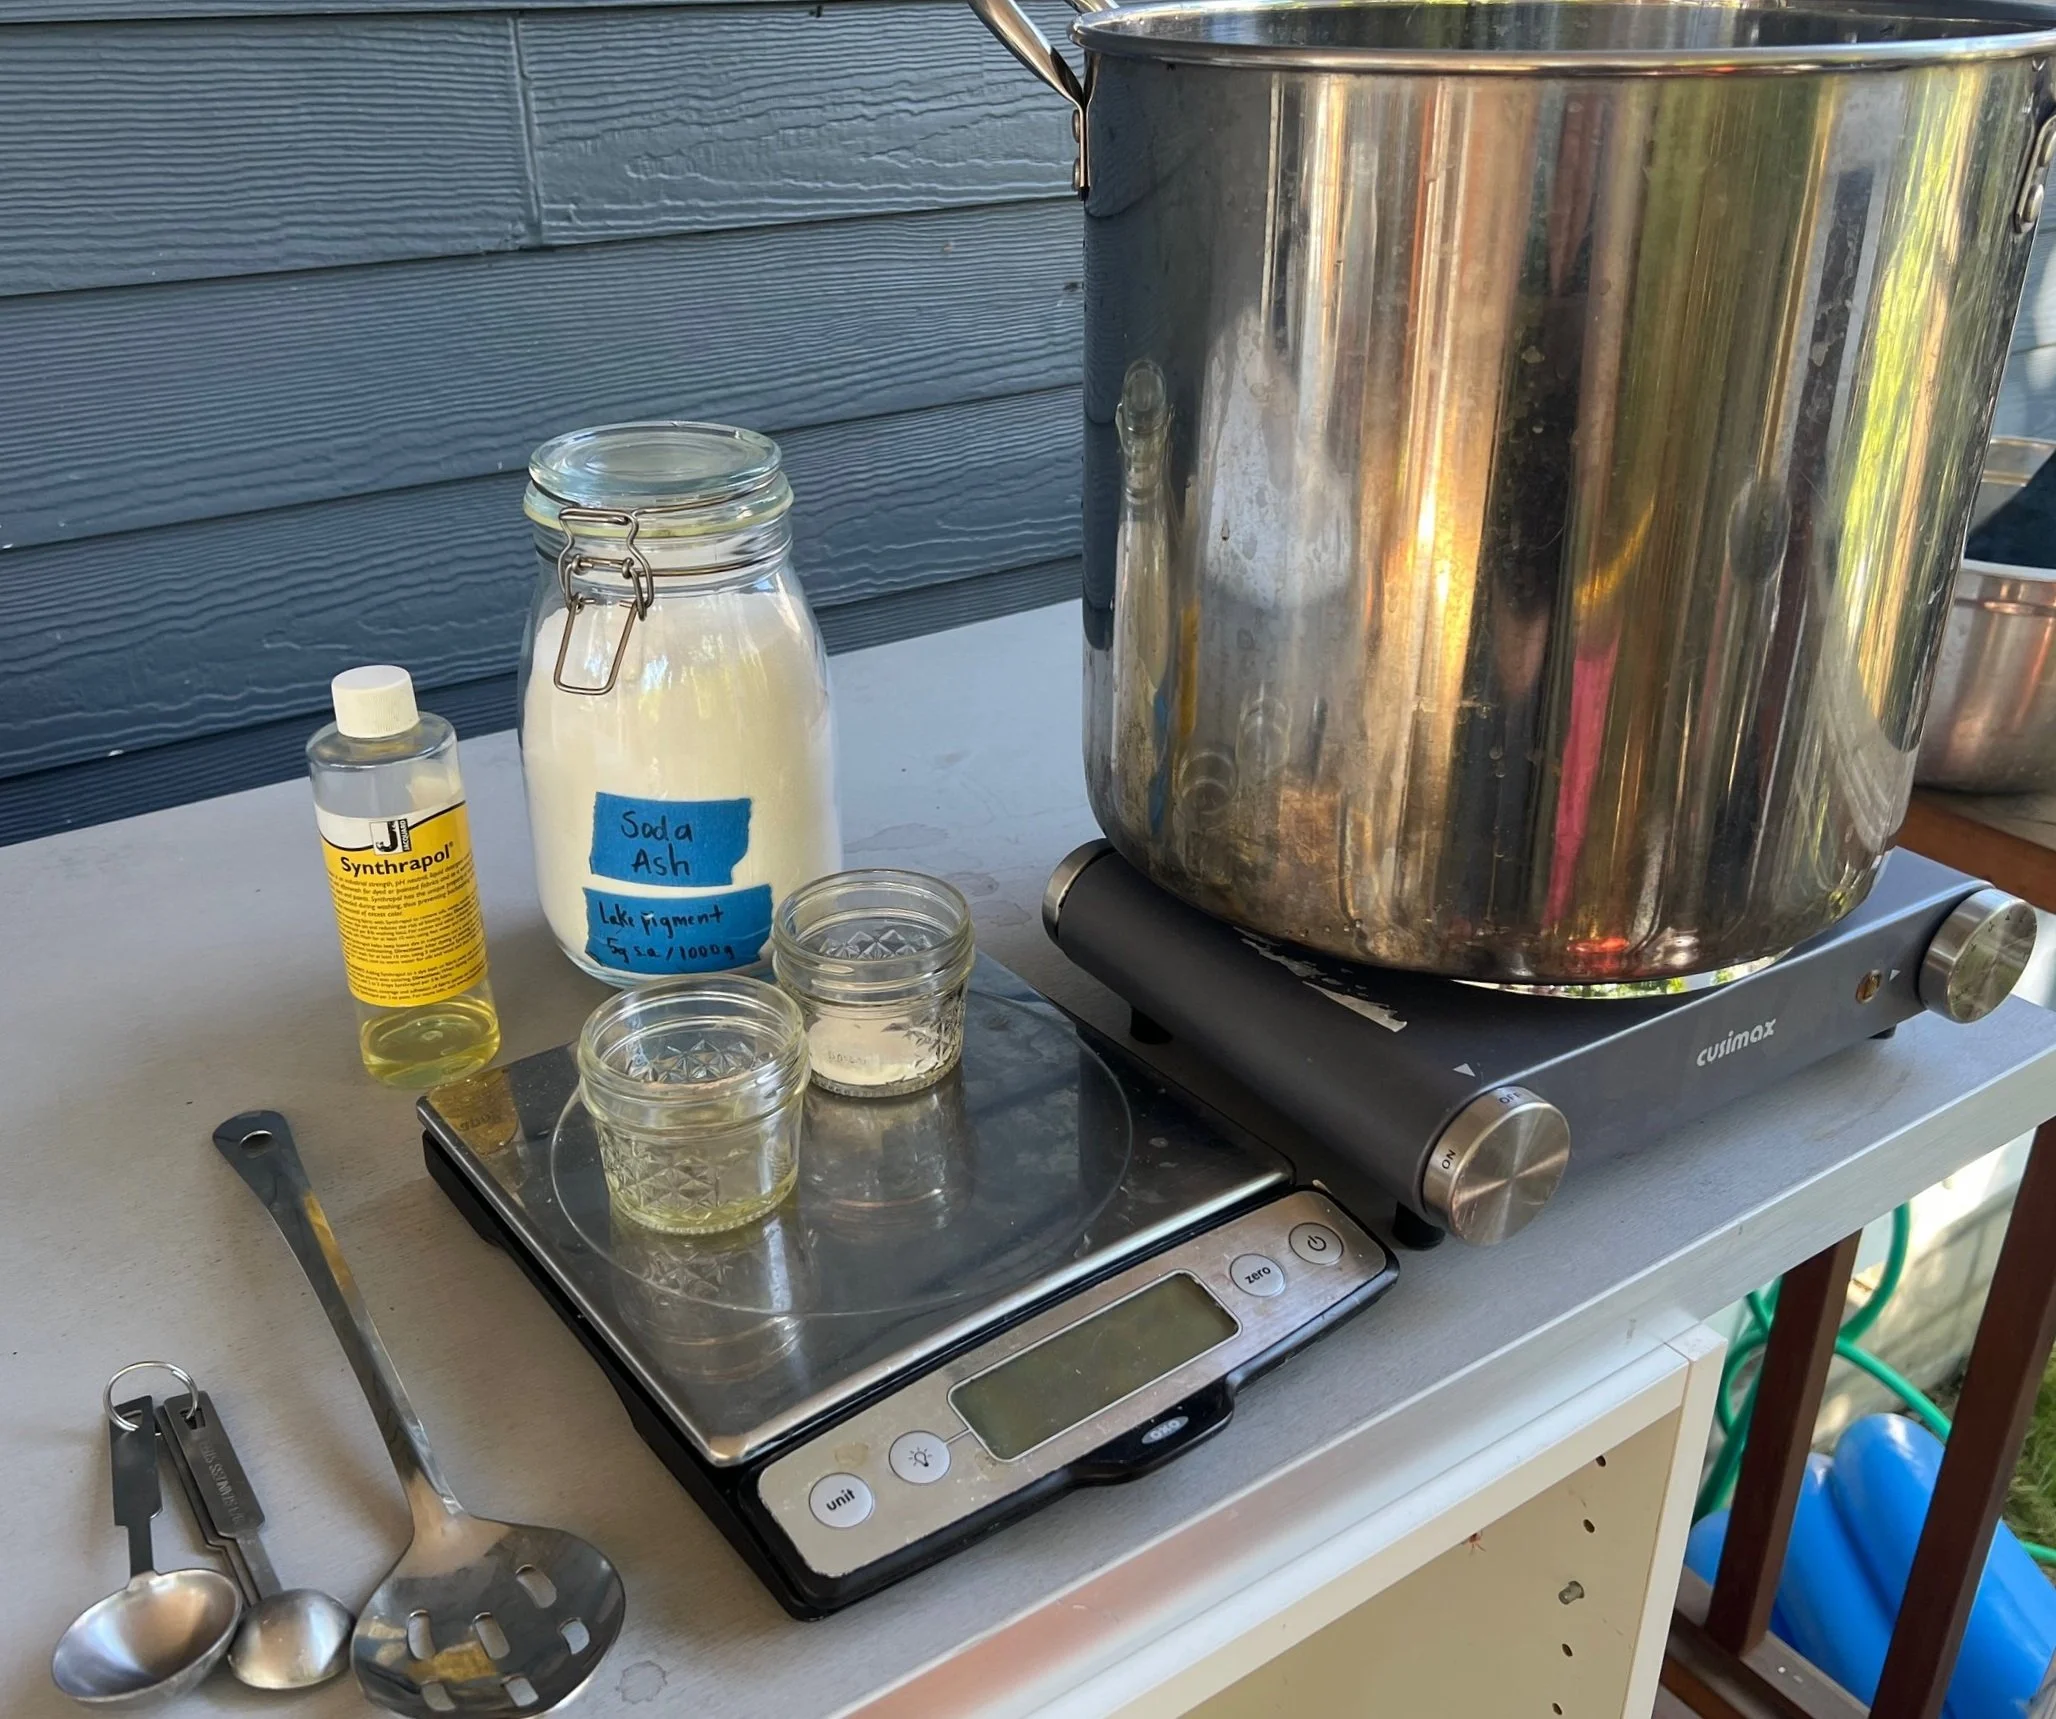
02/ Measure the Synthrapol & soda ash
Next, weigh out the amount of Synthrapol and soda ash you will need based on the WOF measured in Step 01:
Synthrapol = 1% WOF
Soda Ash = 2% WOF
My fabric weighs 327g. According to the formula above, I will need:
3g of Synthrapol (1% of 327g or .01 x 327)
6-7g of soda ash (2% of 327g or .02 x 327)
(Note: my scale only displays grams in whole units, so I round up or down to the nearest gram)

03/ Fill pot and mix in solution
Fill your pot with warm water and mix in the measured out Synthrapol and soda ash to dissolve. You will need enough water to completely submerge your fibers and allow it to move freely. This will ensure the solution can access every part of the fabric.

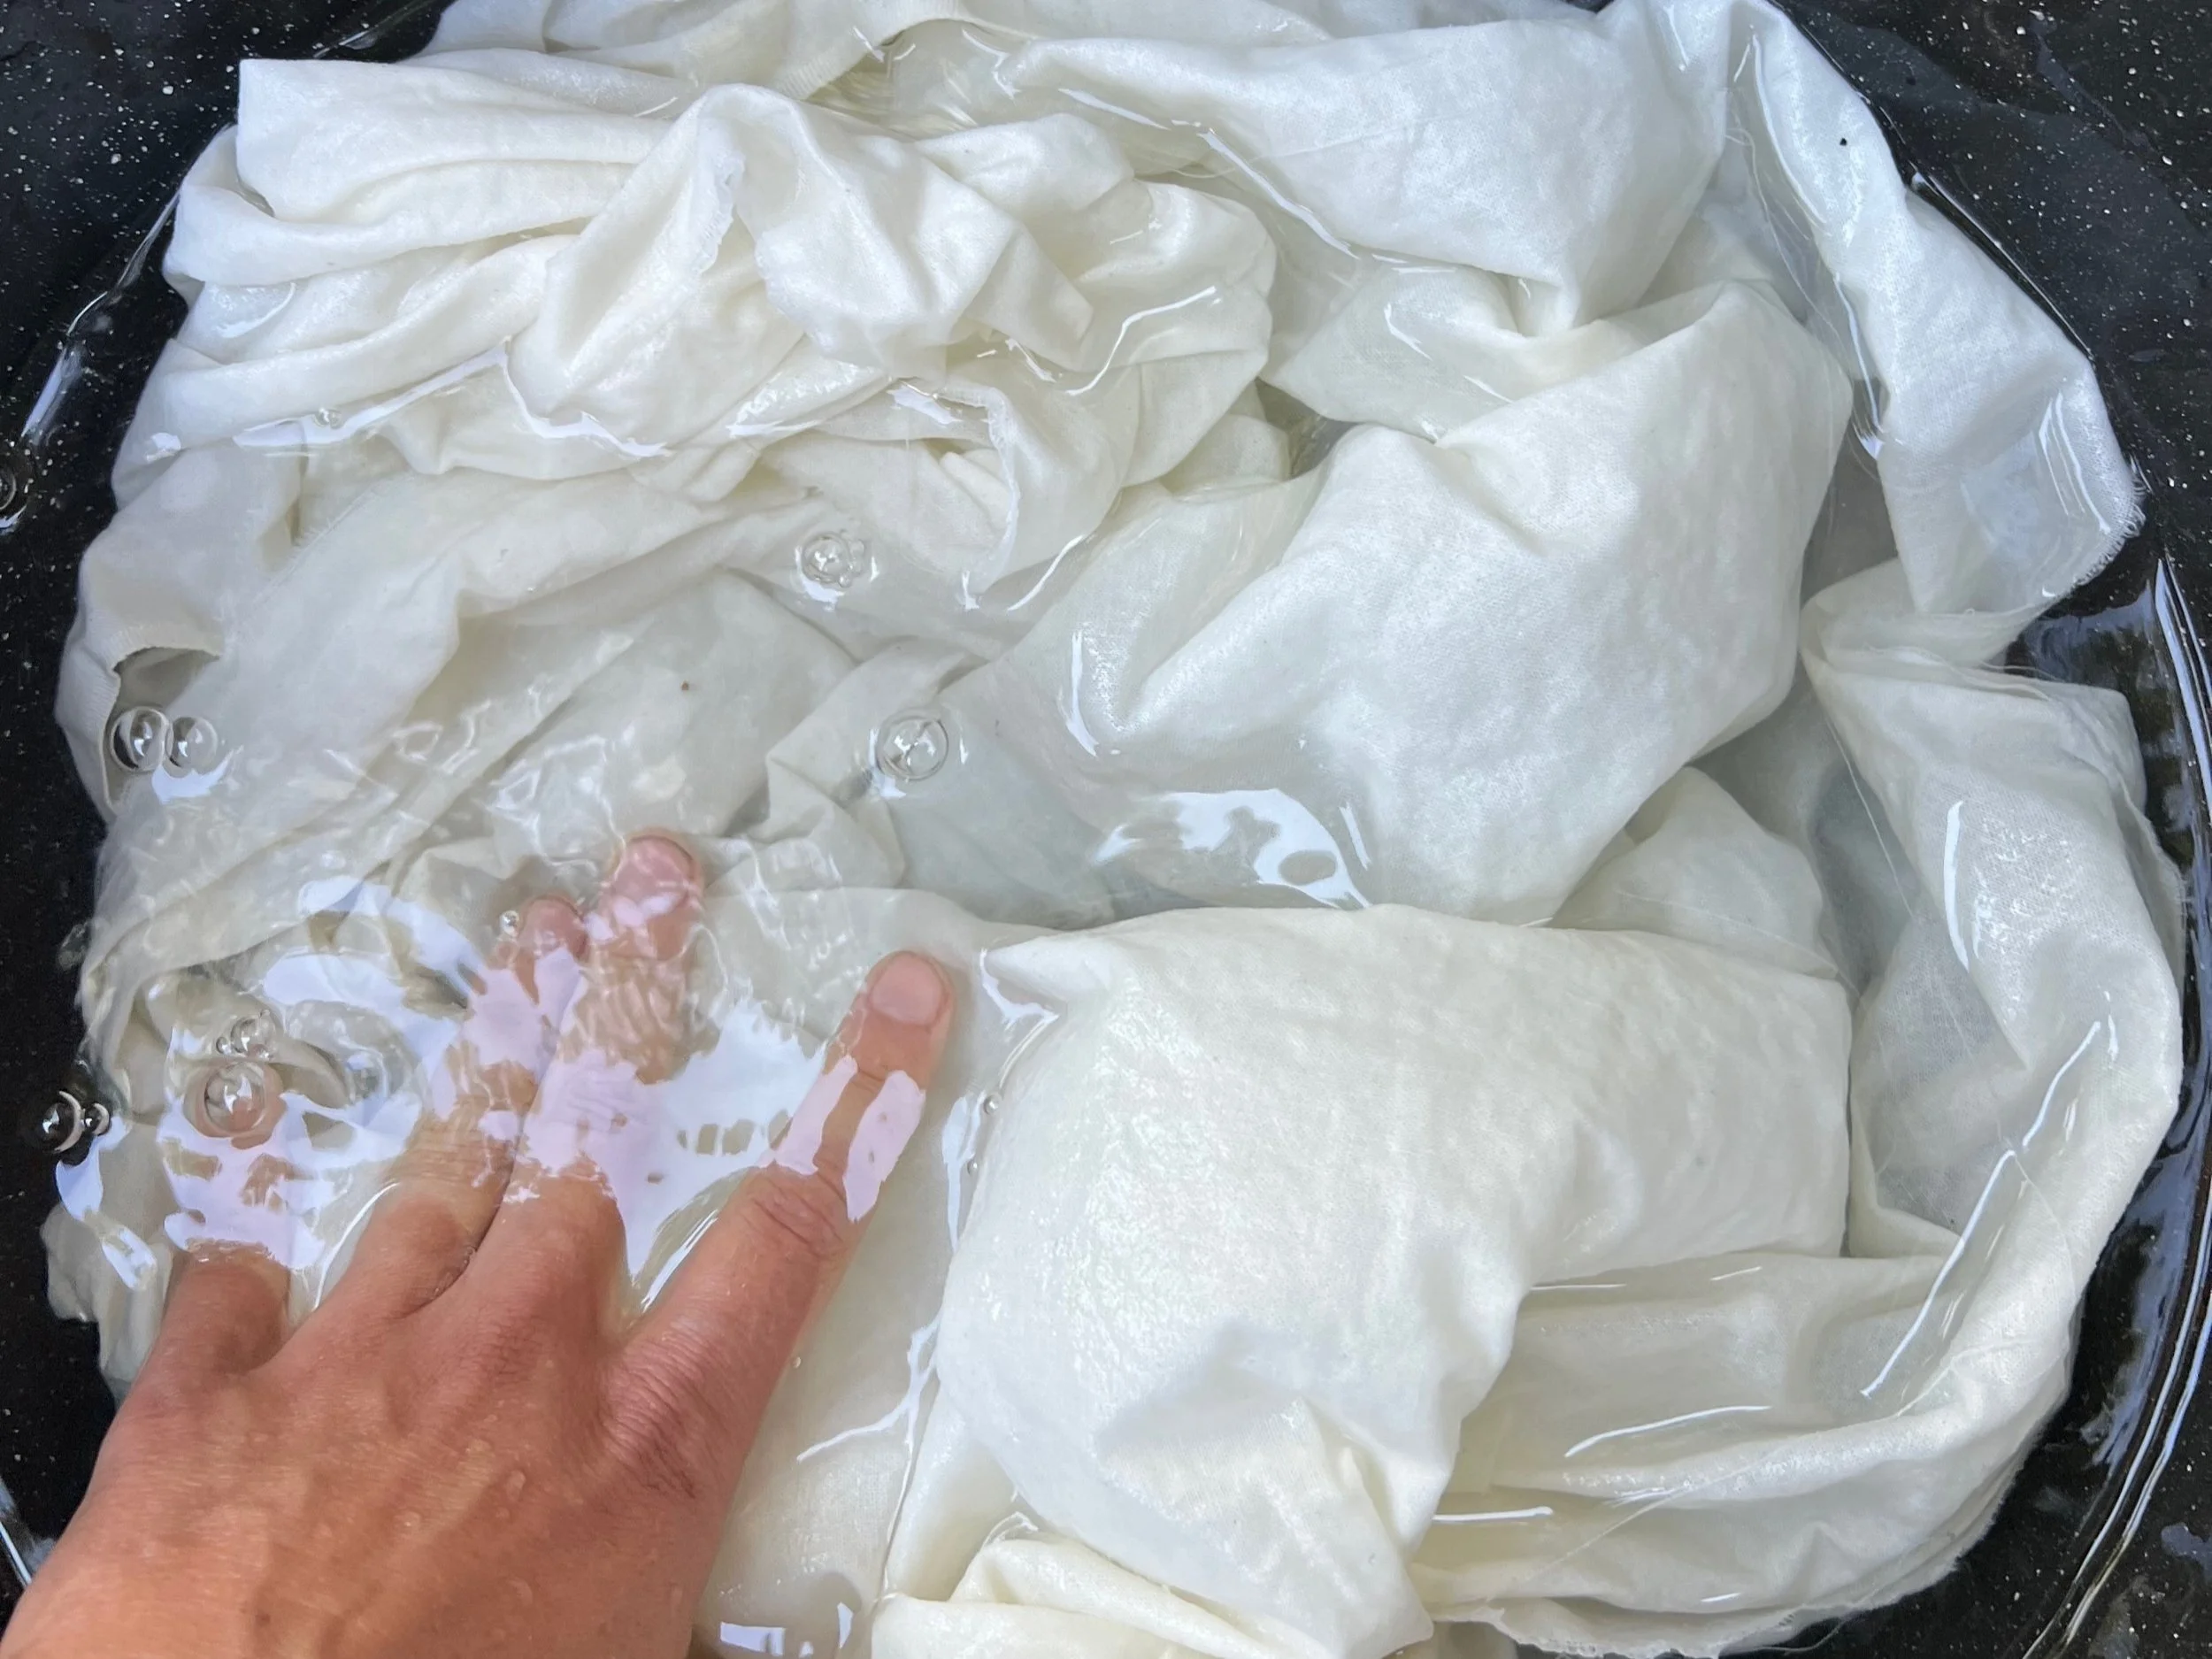
04/ Add fibers
Add your fabric to the pot. Be sure to open the fabric and shake it out before adding to eliminate any folds. Agitate the fabric a few times to ensure it is completely submerged and that it has space to float freely in the water.

05/ Heat
Place the pot on low heat and simmer for about an hour., agitating the fabric occasionally. Be sure to keep the fabric completely submerged. Avoid letting the water come to a hard boil This attention will help ensure the fabric is scoured evenly and the cleaning solution can access every part. You may notice the water darken slightly as the fabric releases the oils and dirt.
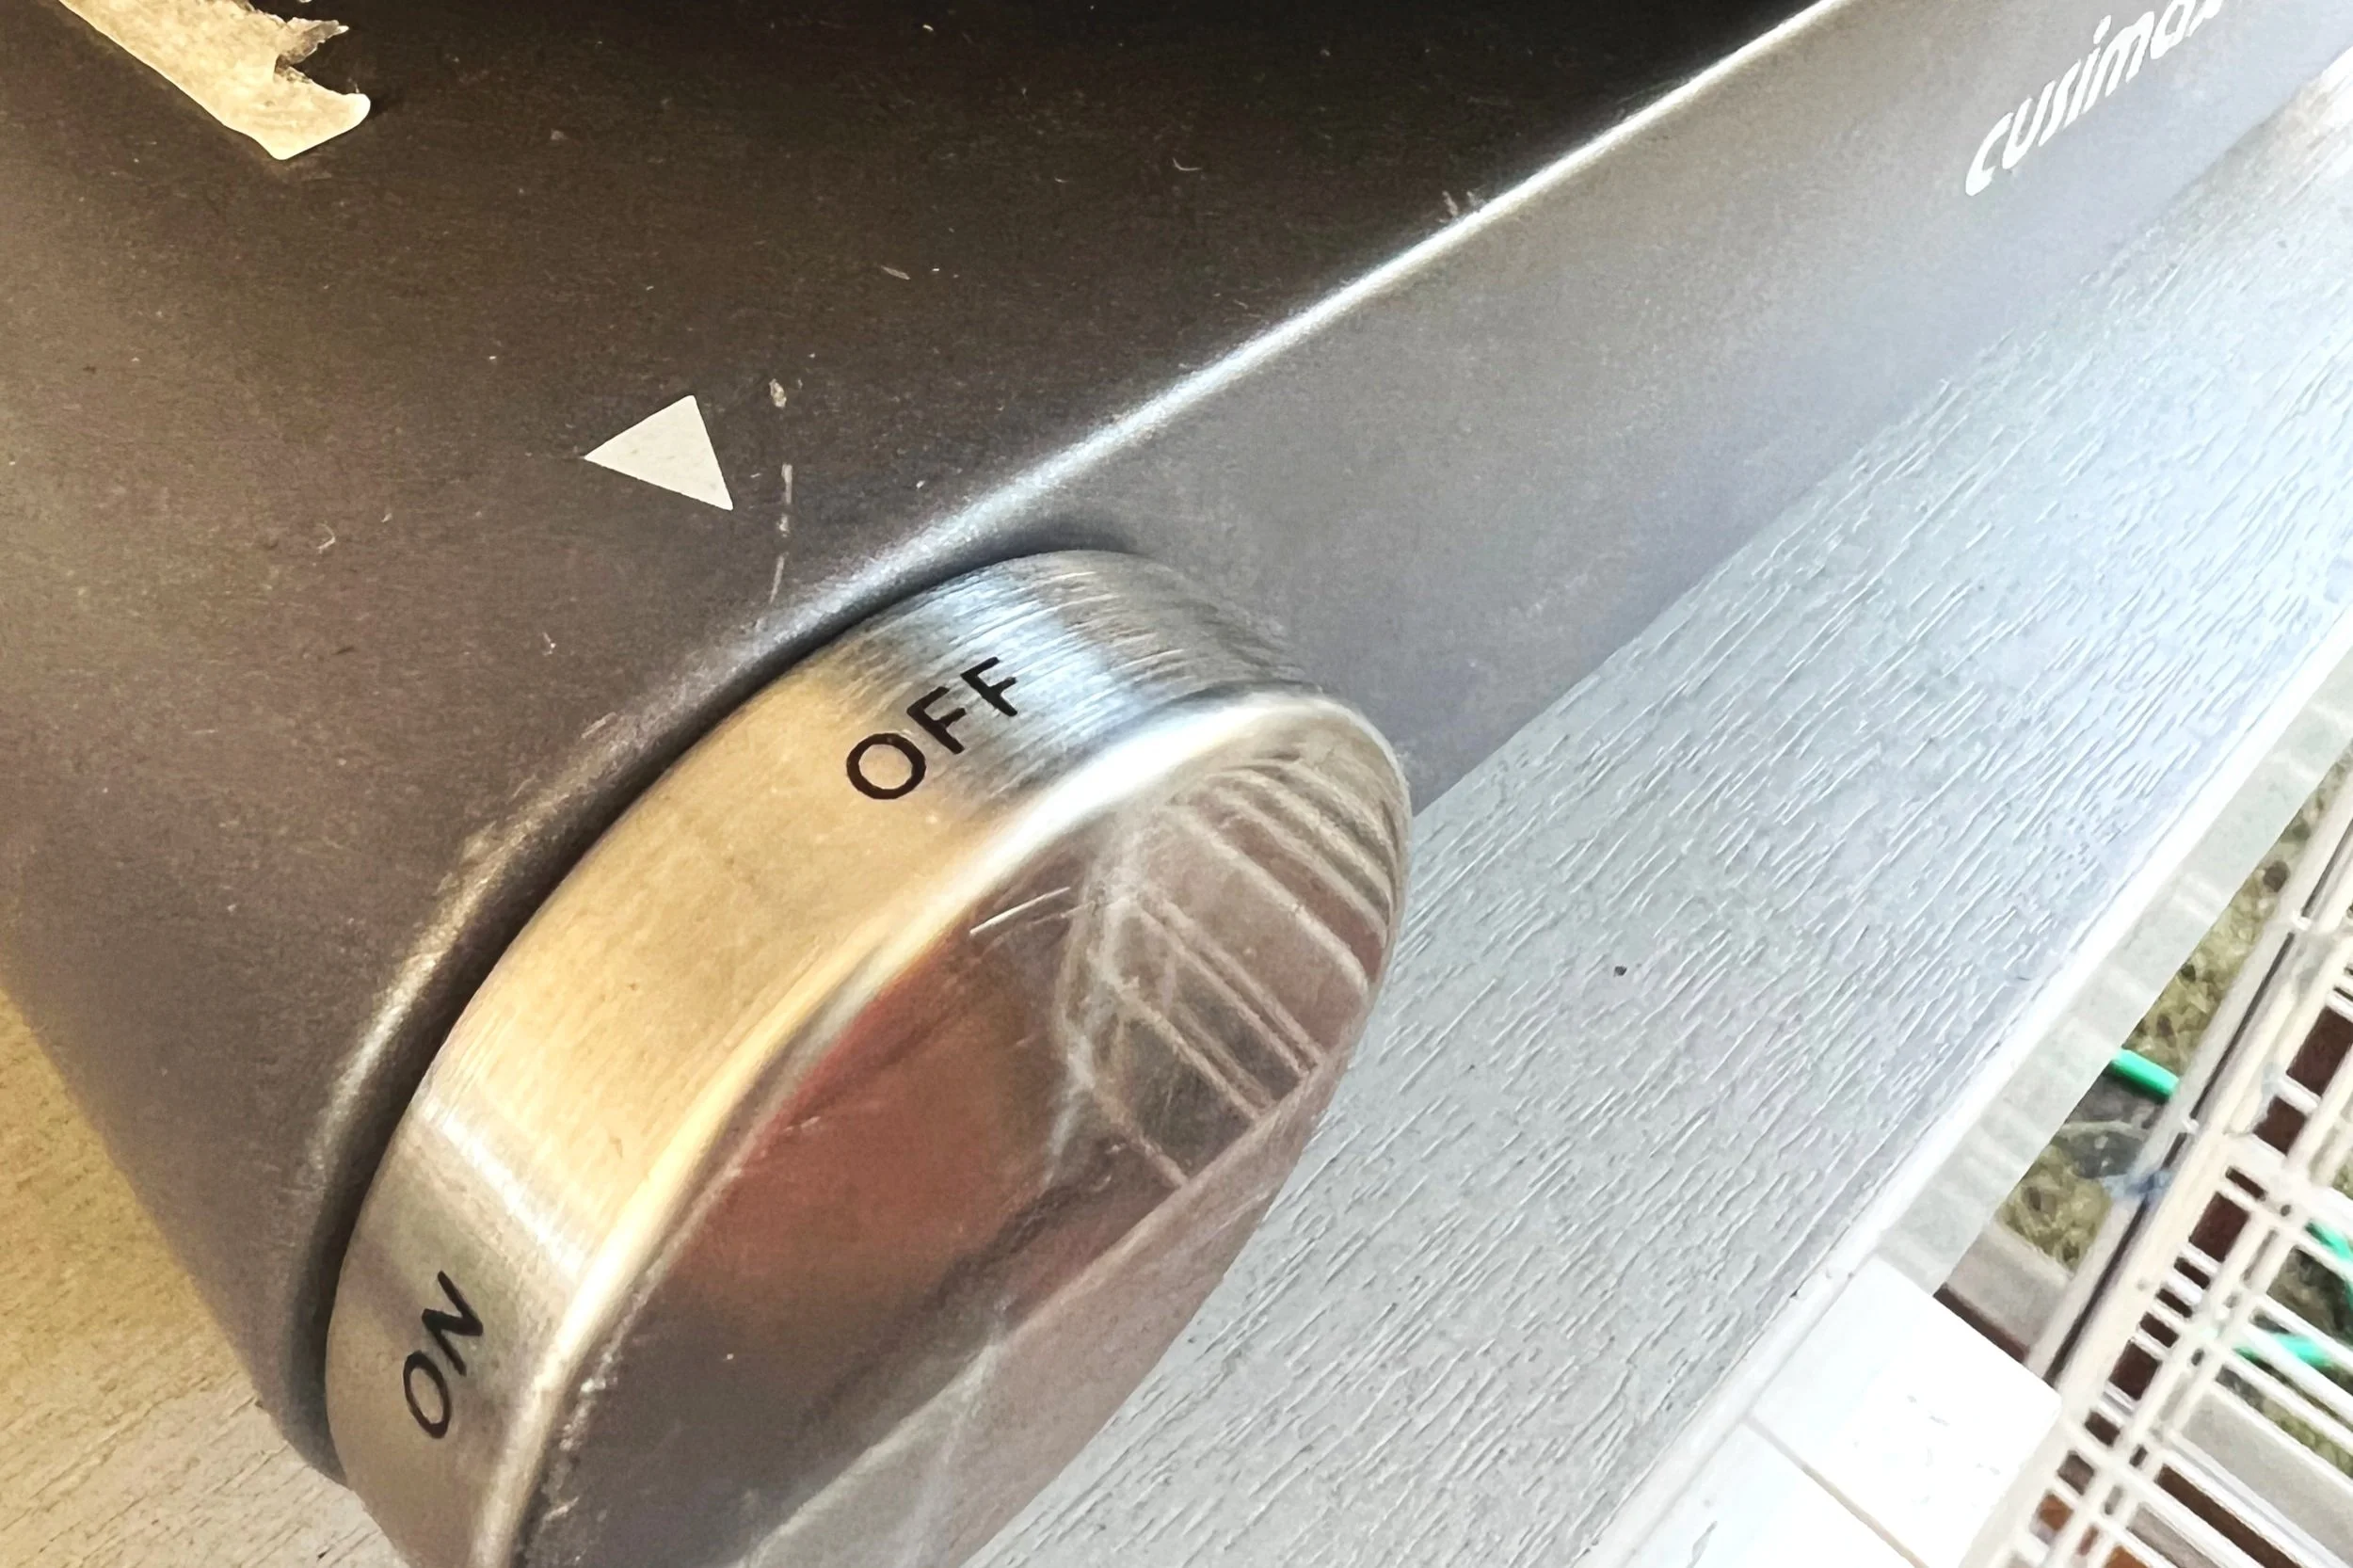
06/ Cool
After about an hour, turn off the heat and allow the fibers to cool in the pot over the next several hours. You can continue to agitate it now and then. Make sure all fabric stays submerged.
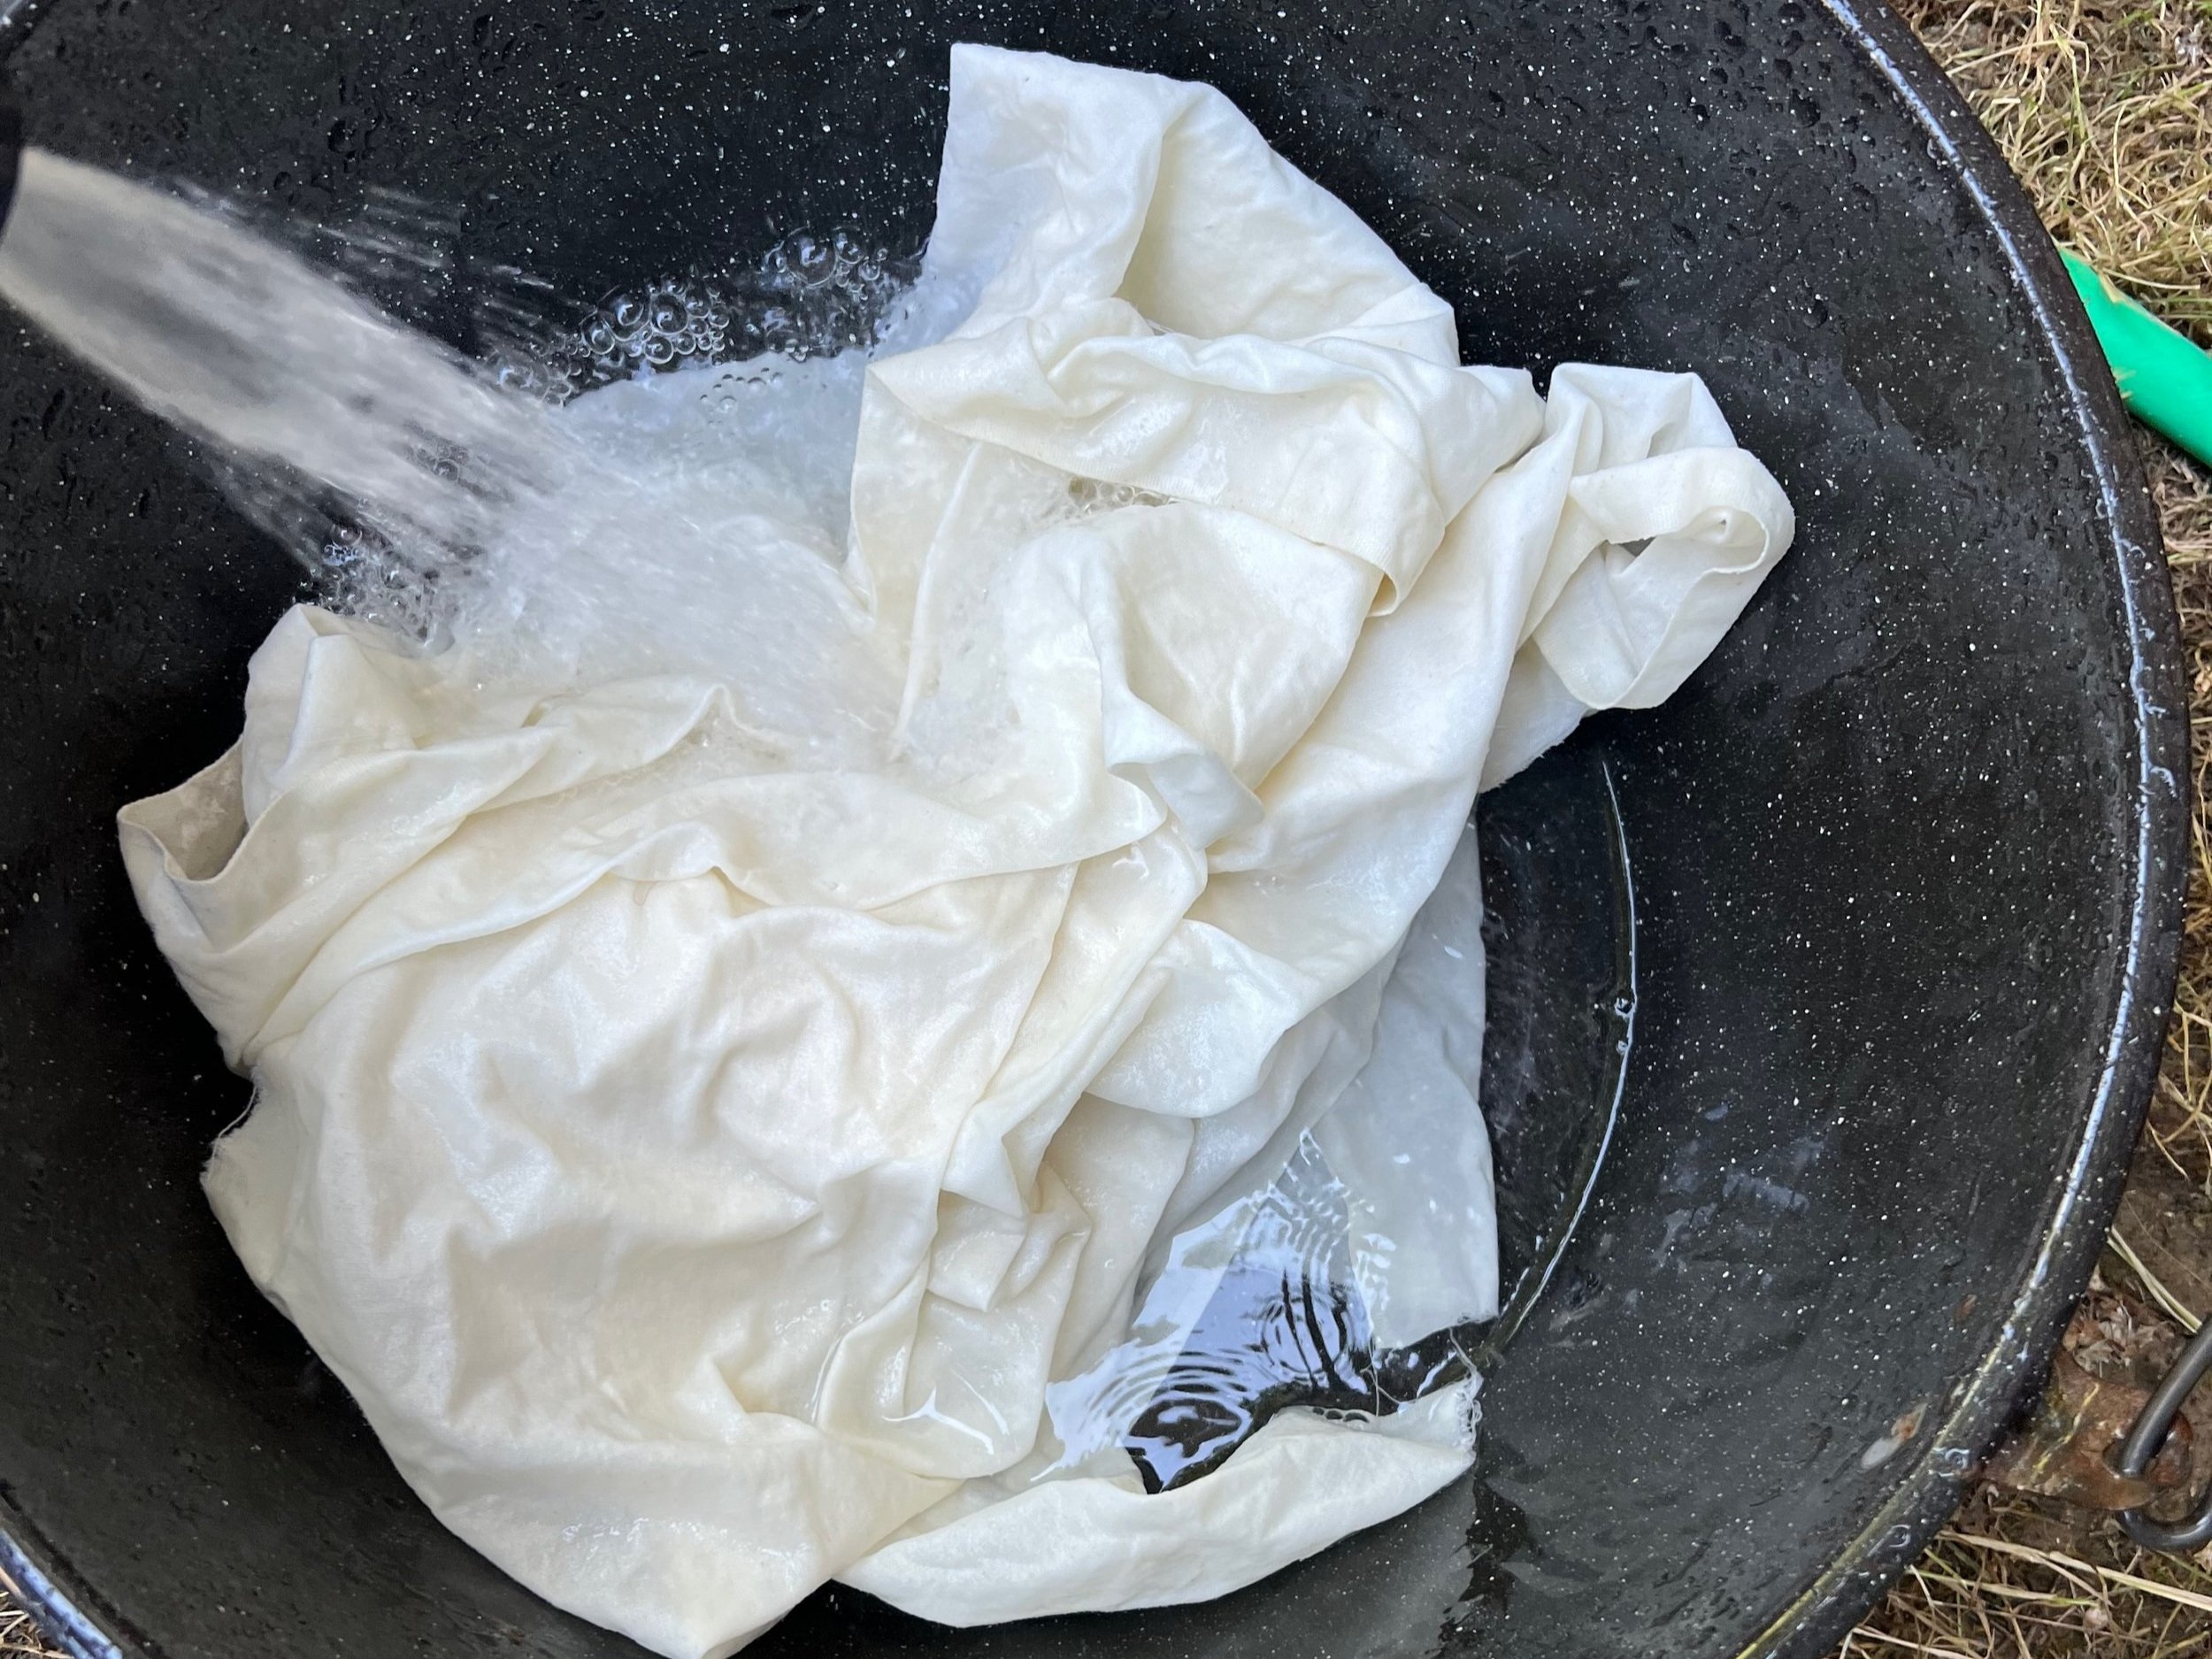
07/ Rinse
Once the fibers are cool enough to handle, wring them out and rinse them throughly with clean water either in a sink or in the washing machine on a rinse cycle. Then you can proceed directly to mordanting or hang to dry completely before storing for later use.

PRO TIP: I will generally scour a bunch of fabric at once. I store all of my scoured fabric in basket labeled “Ready to Mordant” and store it separately from the rest of my stash so that I can keep track of which fabric I have scoured.
Your fabric is clean and ready for the next step, mordanting! We will be covering this process in detail in the next post. In the meantime, here are some materials you can begin to gather for the next step:
Tannin (I generally use gallo tannin, myrobalan, or chestnut - more about the difference in the next post!)
Soda Ash (you should already have this on hand from the scouring step, yay!)
Digital scale
Two 5-gallon buckets
Large spoon for mixing (stainless steel or wood)
Gloves (optional)