
Overview of Natural Dyeing
July 2025

Natural dyeing is such a beautiful practice that connects us to nature and invites us to slow down. It is an intimate process that invites play and patience. You can read more about the benefits of natural dyeing here!
Below is a very brief overview of all of the steps in the process of natural dyeing. We will be exploring these steps in much greater detail in the coming months.
01/ Scour
This is the process of cleaning the fibers to remove any dirt, wax, and other impurities that may be present from the manufacturing process. This step is very important as it helps ensure an even application of the dye. Fabric labeled as “prepared for dyeing” or PFD has, in theory, is ready to go without scouring, but I would still recommend a quick wash in hot water.
02/ Mordant
Most dyes won’t naturally bind to fiber, especially if working with plant-based, known as cellulose, fibers such as cotton or linen. The mordanting step prepares the fabric to receive the dye and acts as a liaison between the dye molecules and the fiber. Mordanting for cellulose fibers generally consists of a two step process involving a tannin bath followed by a bath of metal salts (alum or ferrous). Proper mordanting is very important to make the color permanent, that is, to ensure colorfastness, and to prevent the dye color from fading or washing away.
03/ Prepare the dye
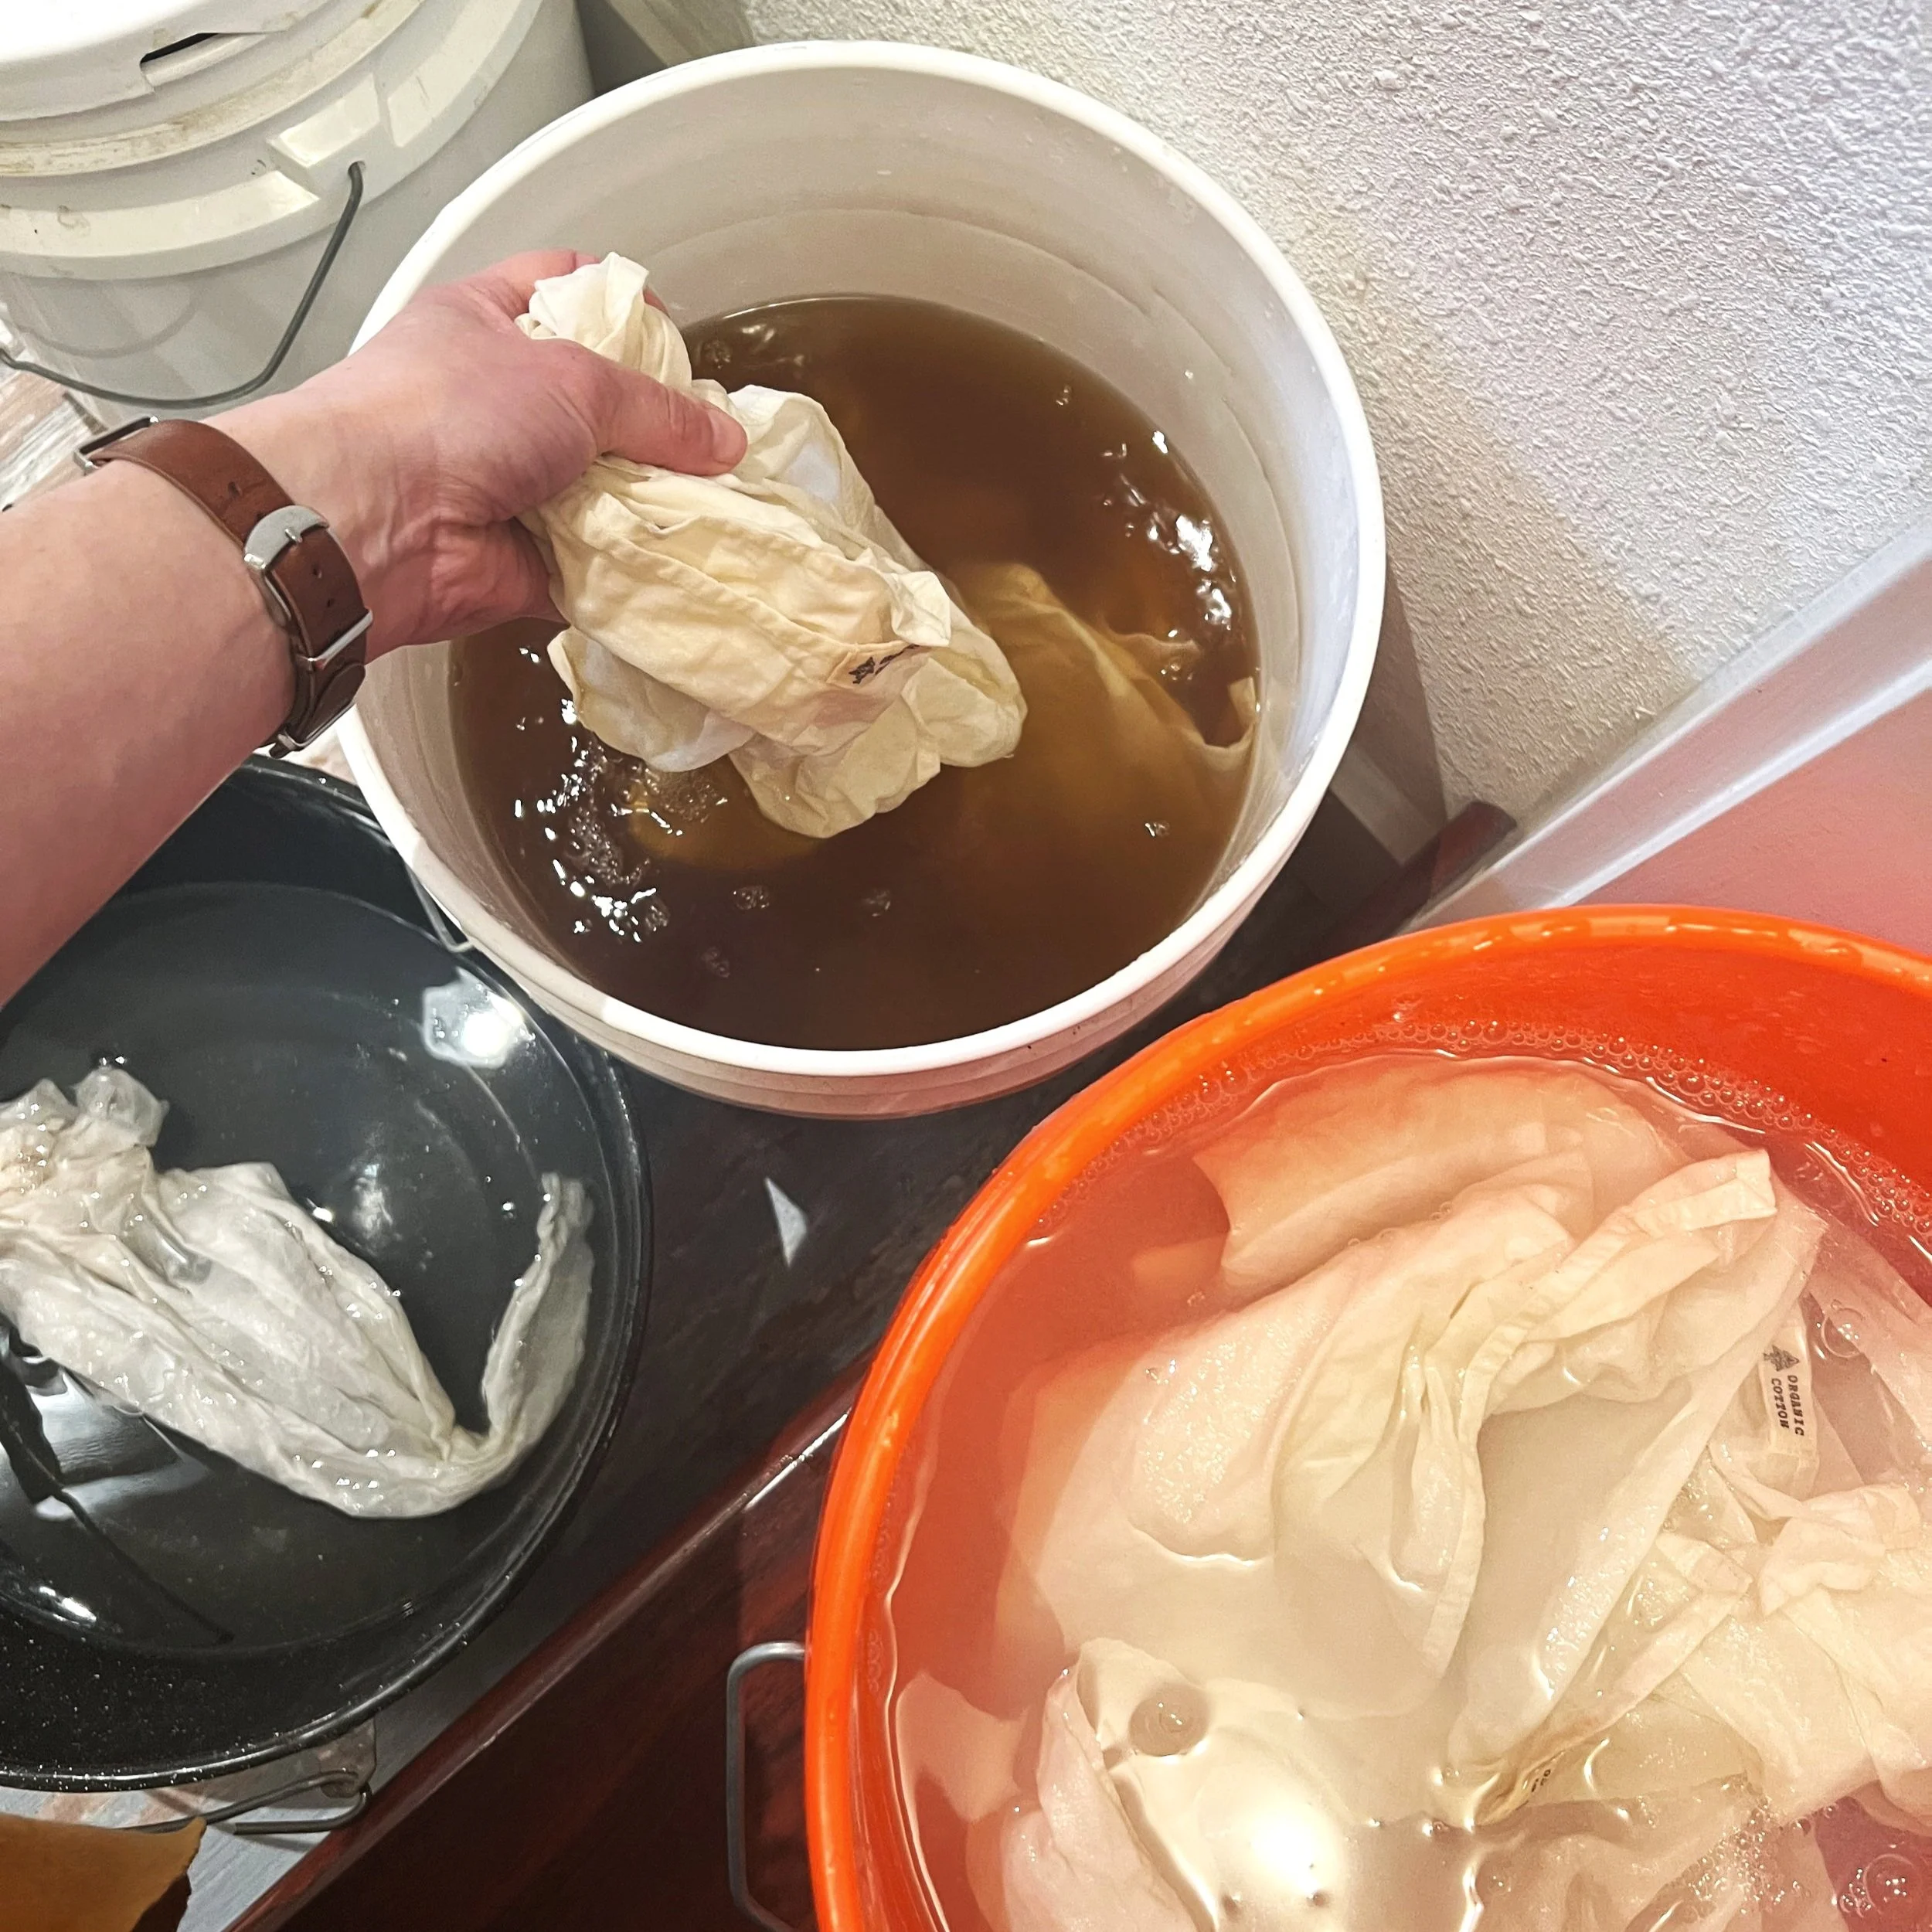
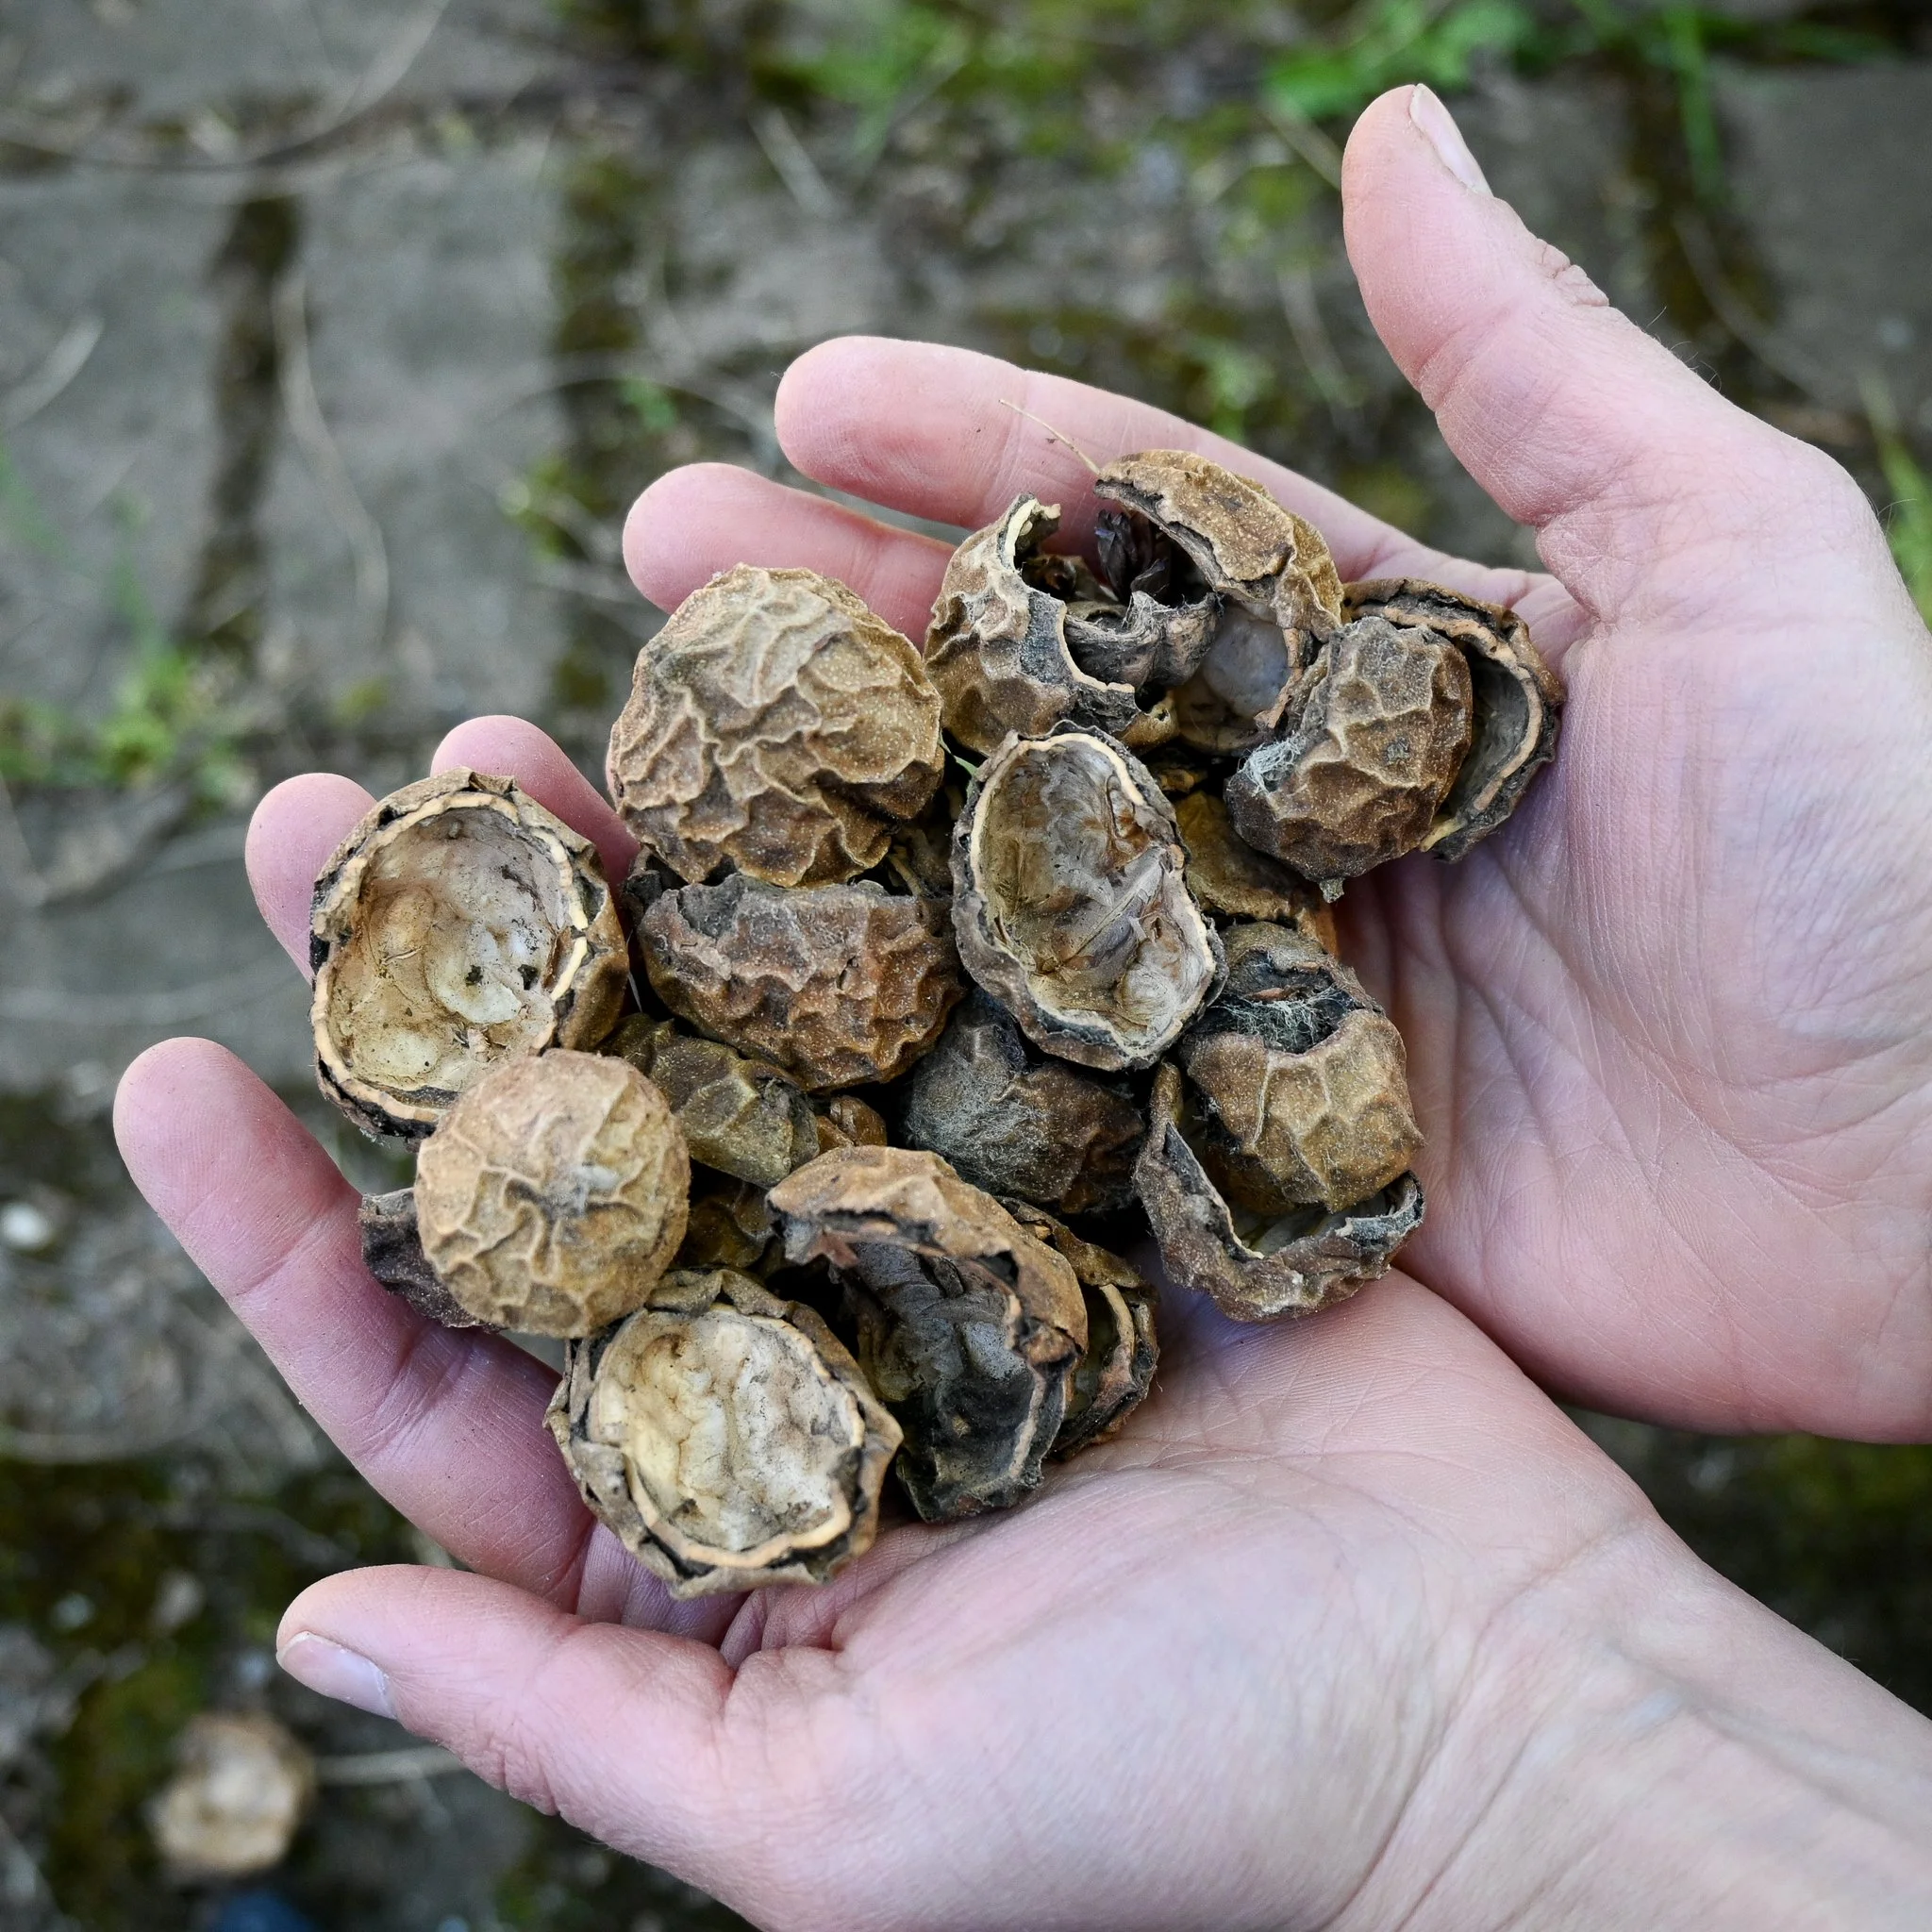
There are a variety of ways to source dye materials. You can purchase an extract in either liquid or powder form. You can purchase ground dye materials. Or you can use whole dyestuff that you grow or gather, such as marigold flowers, black walnuts, or onion skins. Unless you have purchased the dye as an extract, you will need to extract the color from the dyestuff. This is usually done by simmering the materials in water for an hour or so.

04/ Immersion dye
This is where the magic happens! The prepared fabric is immersed in a pot with the extracted dye and enough water to allow the fabric space to float freely. Generally, the dye bath is heated and the fabric is simmered at about 160°-180°F for an hour.

05/ Modifying (optional)
There are lots of ways to modify the color of a piece of dyed fabric. For example, adjusting the pH of the water by adding vinegar (acidic) or chalk (alkaline) can shift the color of some dyes. Color can also be shifted by adding ferrous sulfate or ferrous acetate (iron). There are so many possibilities!

06/ Finishing
I generally let my fabric cure for a week or two before washing. After that, I wash the fabric with pH neutral detergent and rinse thoroughly to ensure all unattached dye is removed and to prevent color bleeding.
NOTE: the process for dyeing with indigo is different from other dyes. I will be covering this process in a separate post.
Materials and Supplies

Getting started with natural dyeing can feel overwhelming since there are a number of materials and supplies you will want to gather before getting started. I’ve purchased nearly all of my studio supplies second hand from thrift shops and garage sales.
For pots, spoons, and measuring supplies, I highly recommend acquiring items that are exclusively designated to dyeing and not used to prepare food to prevent cross contamination. While all materials are natural, many can be harmful if ingested.
Studio supplies:
Stainless steel pot - I recommend one small (1-1 L) and one large (10-20L). Larger quantities of fabric will require larger pots
Heat source (stove top, hot plate, gas burner)
Stainless steel or wooden spoons for mixing
Measuring spoons
Digital scale that measures grams
Small jars or bowls for weighing materials
Large bowls or buckets (stainless steel, glass, or plastic) for soaking and rinsing fabric
2 or 3 - 5 gallon buckets
Chef’s thermometer for measuring water temperature
Rubber gloves
Dust mask
Large stainless steel strainer and fine mesh strainer
Dye journal for recording recipes and making notes!
Here are some additional items you may need for the various steps of the dye process. It may feel like a lot, but you need to purchase these all at once! And many of these items can be used for various steps in the process. I will talk more in detail of what you will need for each step.
Scouring:
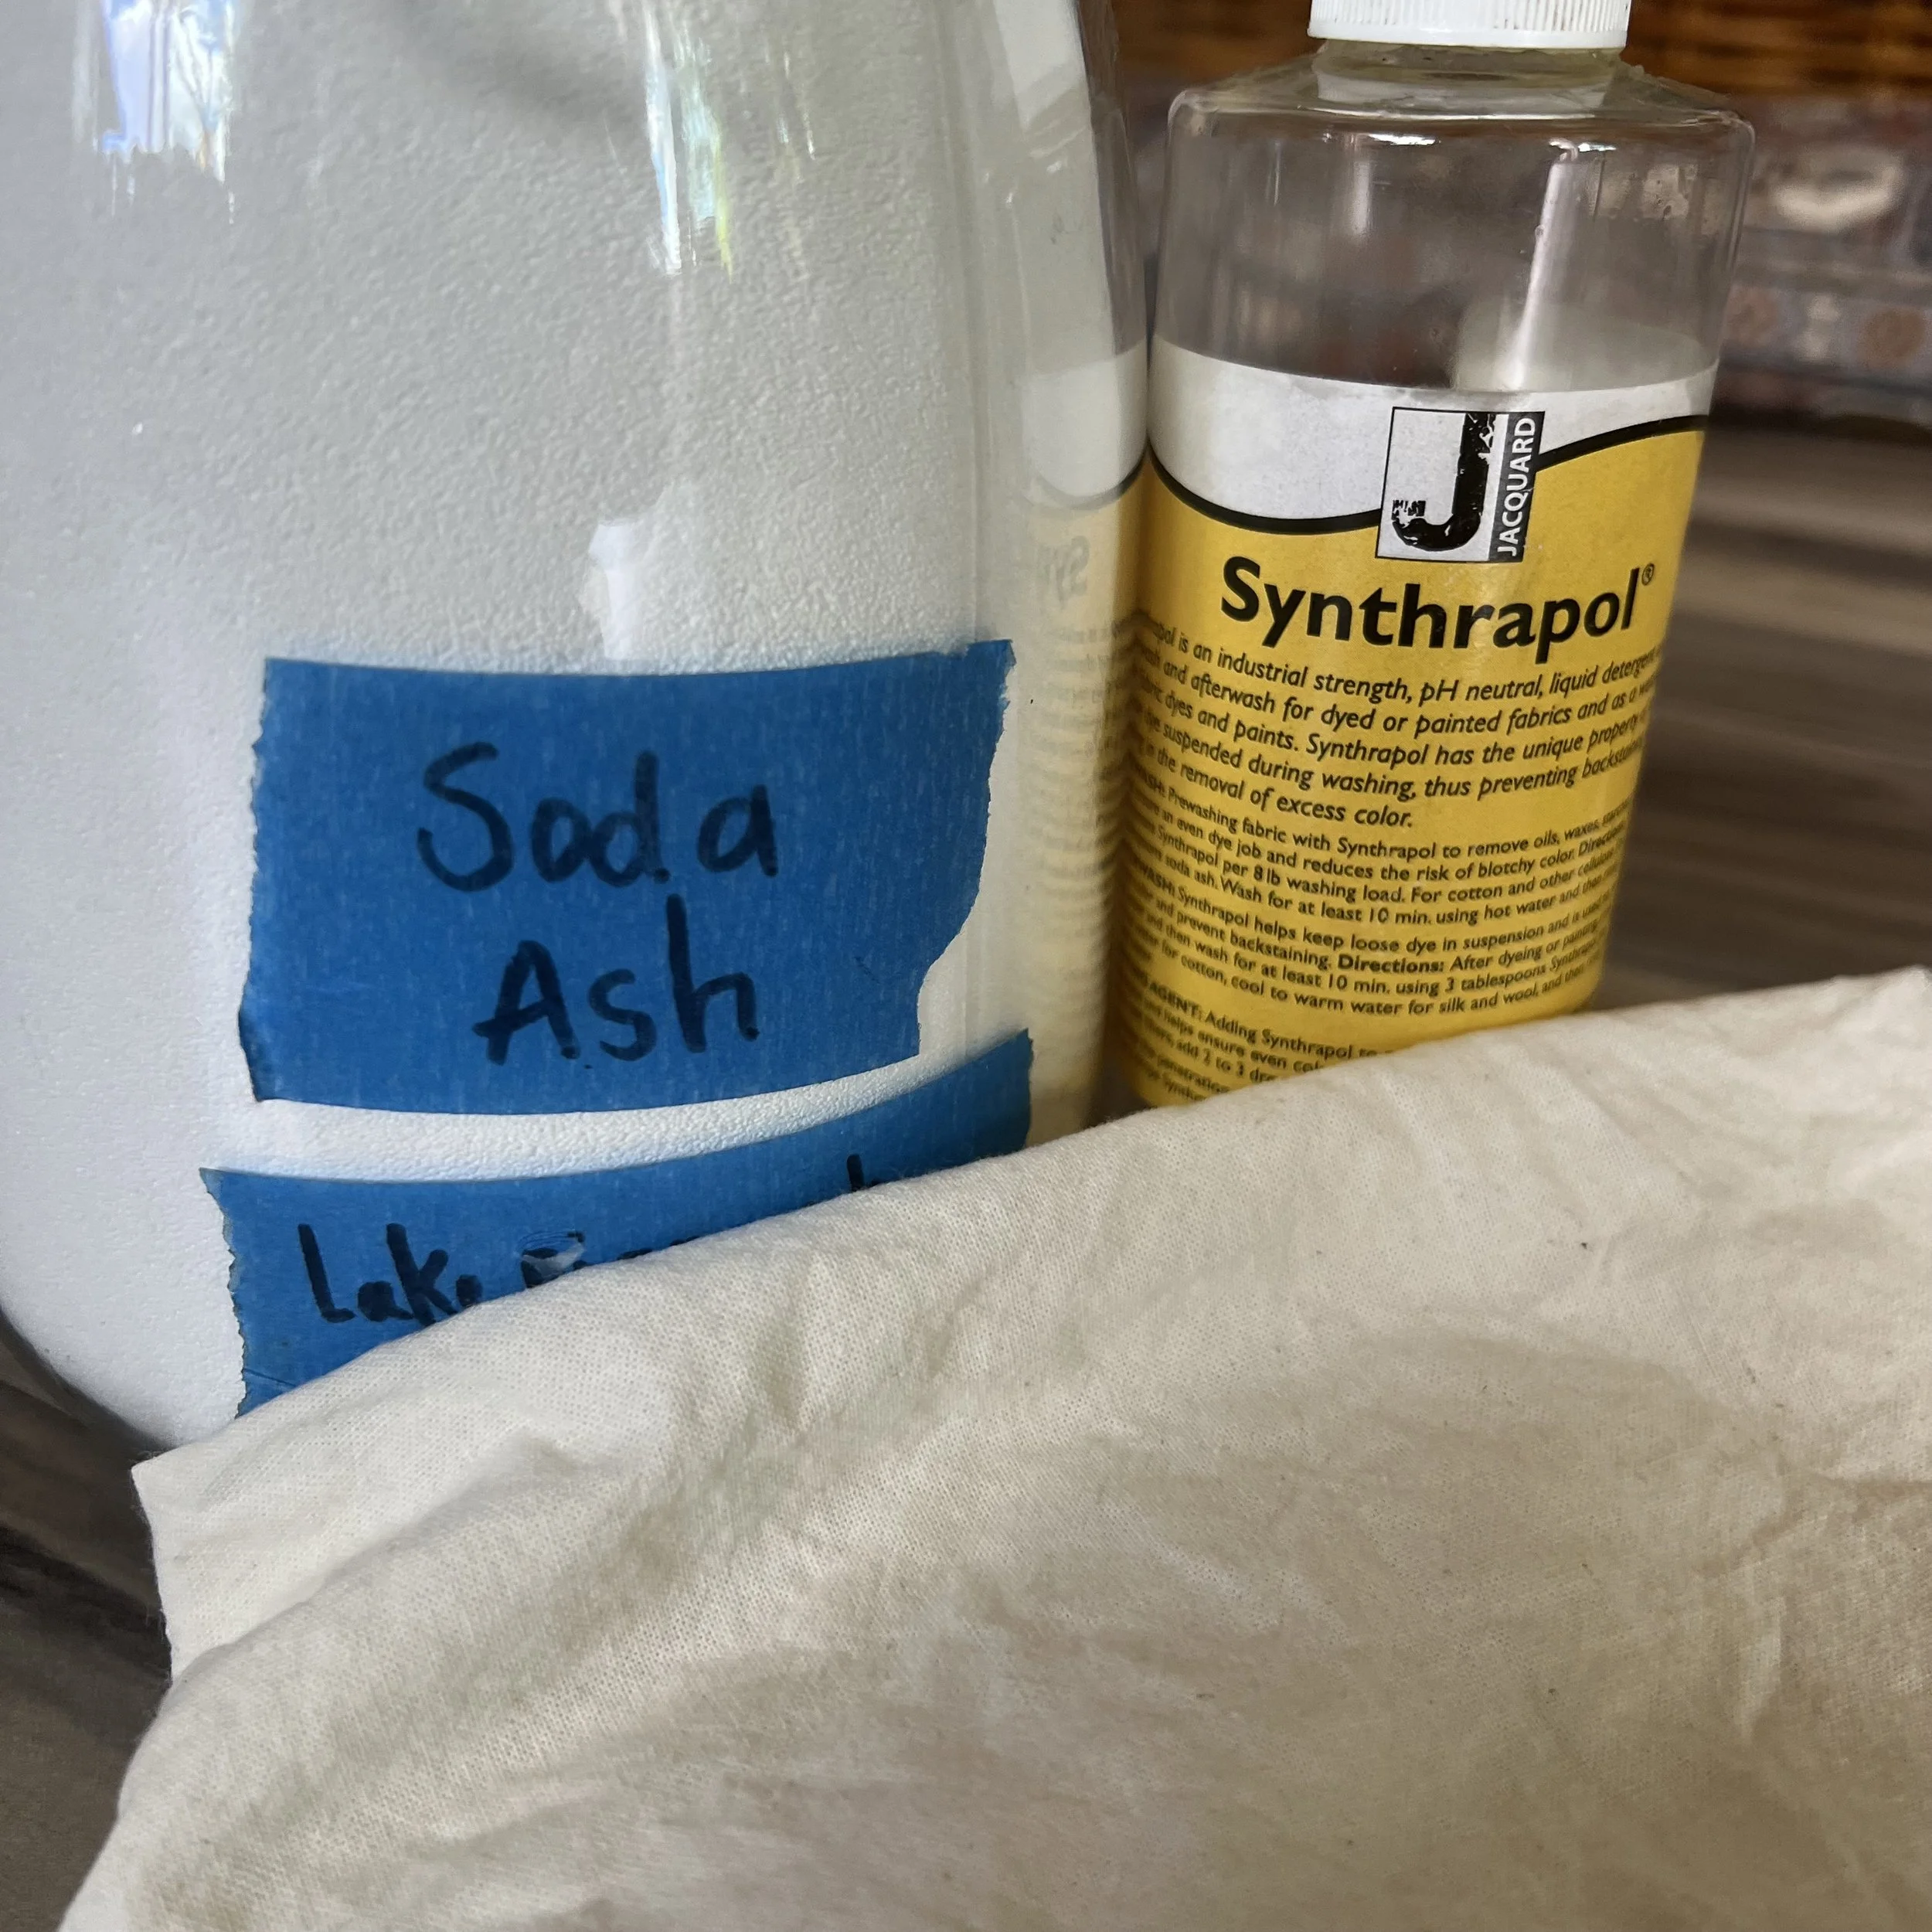
Synthrapol (or other pH neutral soap)
Soda ash (sodium carbonate)
Tannins:
Mordants:
Modifiers:
White vinegar
Dyestuff - there are SO many options! Here are some of my favorites:
onion skins
avocado pits
black walnut
fruit tree bark
coreopsis flowers
Fabric - For natural dyeing, only natural fibers, such as cotton, linen, wool, or silk, will work. Synthetic fibers such as polyester will not work for natural dyeing. I find organic fibers accept dye better than non organic, but feel free to use what you can find.
Here are a few of my favorite places to source natural dye materials and fabric online:
Maiwa (Canada) - though I live in the U.S., this is where I source nearly everything for natural dyeing that I can’t source locally. Their items are very high quality and they are committed to sustainability and fair trade. The Maiwa School of Textiles offers excellent online courses if you wish to deepen your learning of natural dye techniques!
Botanical Colors - Based in Seattle, WA, this company offers a wide variety of high quality naturally dyed goods as well as many online courses, tutorials, and resources for learning more.
Whew! That was a lot!
If you are feeling overwhelmed, take a deep breath. I will be covering this process one slow step at a time. Trust that it will all come together 🙂
You can begin gathering materials as you go. Next month, I will go over scouring. The only supplies you will need are: fabric, a large stainless steel pot, a large spoon, measuring items (scale, measuring spoons), synthropol, and soda ash.
Take care until then!