
Step 2: Mordanting
August 31, 2025
In the last post, we discussed scouring, the first step in the process of natural dyeing which cleans the fiber and removes any waxes and oils that may be present. The next step of the natural dye process is mordanting. A mordant is an inorganic material, generally a metal salt, that is used to bind the dye to the fiber. The mordant acts as a liaison between the fiber and the dye molecules, creating a permanent bond that will not easily wash away or fade.
“A mordant is an inorganic material, generally a metal salt, that is used to bind the dye to the fiber.”
In our personal journeys of transformation, I think of mordanting as connection, and the initiation of a bond, and as connecting with what is meaningful.
There are various methods of mordanting. In this tutorial, I will share the process that I use. This method yields rich colors that are colorfast, that is, they won’t wash our or fade easily. For mordanting cellulose fabric, I follow a two step process:
Tannin bath
Alum/Soda Ash bath
What are Tannins?
The molecular structure of cellulose fibers such as cotton and linen means that these materials do not accept dyes as readily as animal fibers. Immersing fibers in a tannin bath prior to the mordanting step greatly increases the colorfastness of the dye, that is, the ability for the dye to permanently adhere to and bond with the fabric.
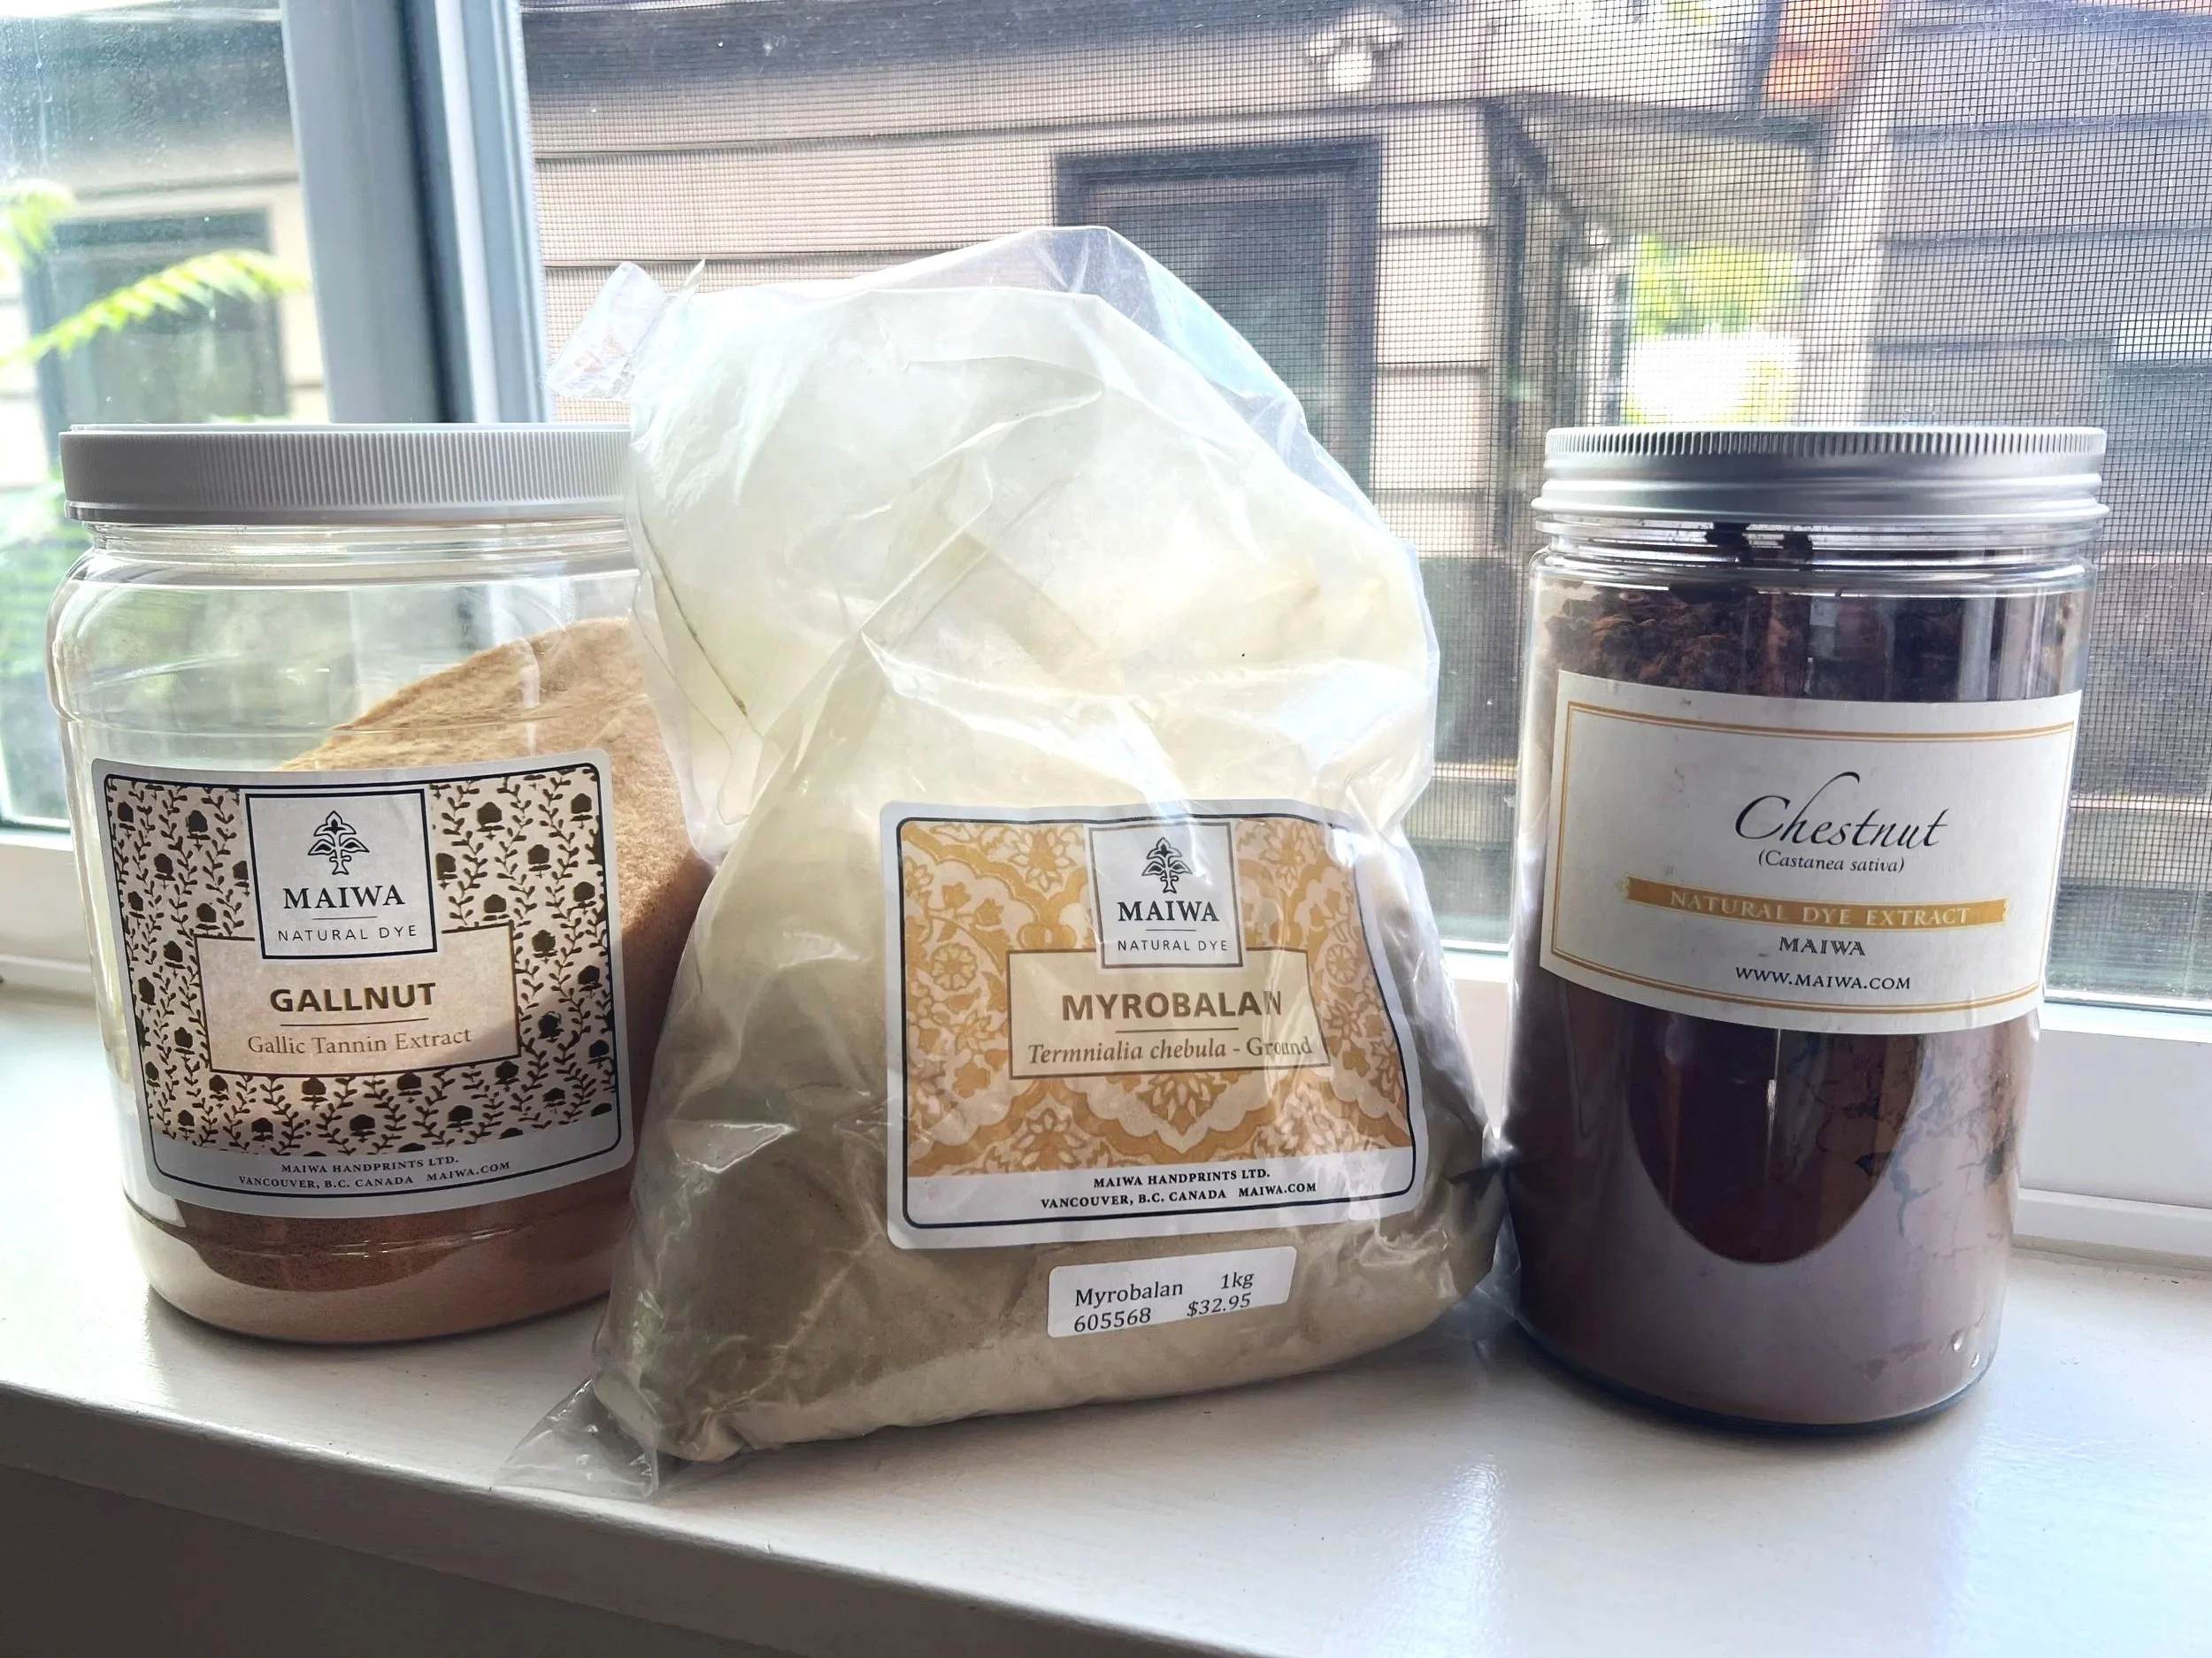
There are many sources for tannins and lots of fun ways to use tannins to achieve different effects. Depending on the type of tannin, it can give an undertone to the fabric, which will in turn influence the final results after dyeing. For the sake of simplicity, I will share the three main sources of tannin I use.
Clear tannins: These will give the purest results, letting the true color of the dye show through.
Source: Gallnut or Gallo tannin
Yellow tannins: This provides a slight yellow undertone.
Source: Myrobalan
Dark tannins: These can be used to achieve a deeper, richer final color.
Source: Chestnut
If you are interested in learning more about the chemistry behind naturally dyeing, I highly recommend the book: The Art and Science of Natural Dyes by Joy Boutrup and Catharine Ellis.
Mordanting Cellulose Fabric
NOTE: The following tutorial is to be used for cellulose, or plant-based, fibers such as cotton, linen, or hemp. Animal fibers, such as wool or silk, require a different process.
You can follow the steps below or download and print the resource sheet to keep for future reference.

You’ll need:
scoured cellulose fabric
2 - 5 gallon buckets or other large non-reactive container (such as glass or stainless steel)
scale that measures grams
measuring spoons
mixing spoon (wood or stainless steel)
gloves (optional)
Tannin extract (such as gallnut/gallo tannin, myrobalan, chestnut)
alum (aluminum potassium sulfate)
soda ash (sodium carbonate)
hot tap water
NOTE: Be sure fabric has been thoroughly scoured before proceeding to this step!
Part 1: Tannin Bath

01/ Weigh dry fabric
Nearly all measurements for the natural dye process are based on the “weight-of-fiber” (WOF). It is important at the beginning of each step to weigh the fabric dry and record this number (I will often use a permanent market to record this number in the selvage). I will be using grams as the unit of measurement throughout.
NOTE: You can use the same weight measurement you calculated during the scouring phase.

02/ Wet out fabric
If you allowed your fabric to dry after scouring, the fabric will need to be completely wetted out, that is, completely saturated with water before adding it to the tannin bath. Immerse the fabric in water and let it soak for about 30 minutes. You can add a drop of pH neutral dish soap to break the surface tension of the water and aid in absorption. If the fabric is not completed wetted out, it will lead to uneven mordanting and uneven application of the dye.

03/ Measure the tannin
Next, measure the tannin at 10% WOF. I am using Gallnut extract for this example.
My fabric weighs 461g. According to the formula above, I will need approximately 46g of gallnut extract.
461g x 10% = 46.1g
(Note: my scale only displays grams in whole units, so I round up or down to the nearest gram)

04/ Fill bucket and mix in tannin
Fill a 5 gallon bucket with hot tap water and mix in the tannin extract until it is dissolved.
NOTE: Tannins can become damaged when exposed to very high temperatures. Don’t heat water above 120°F.
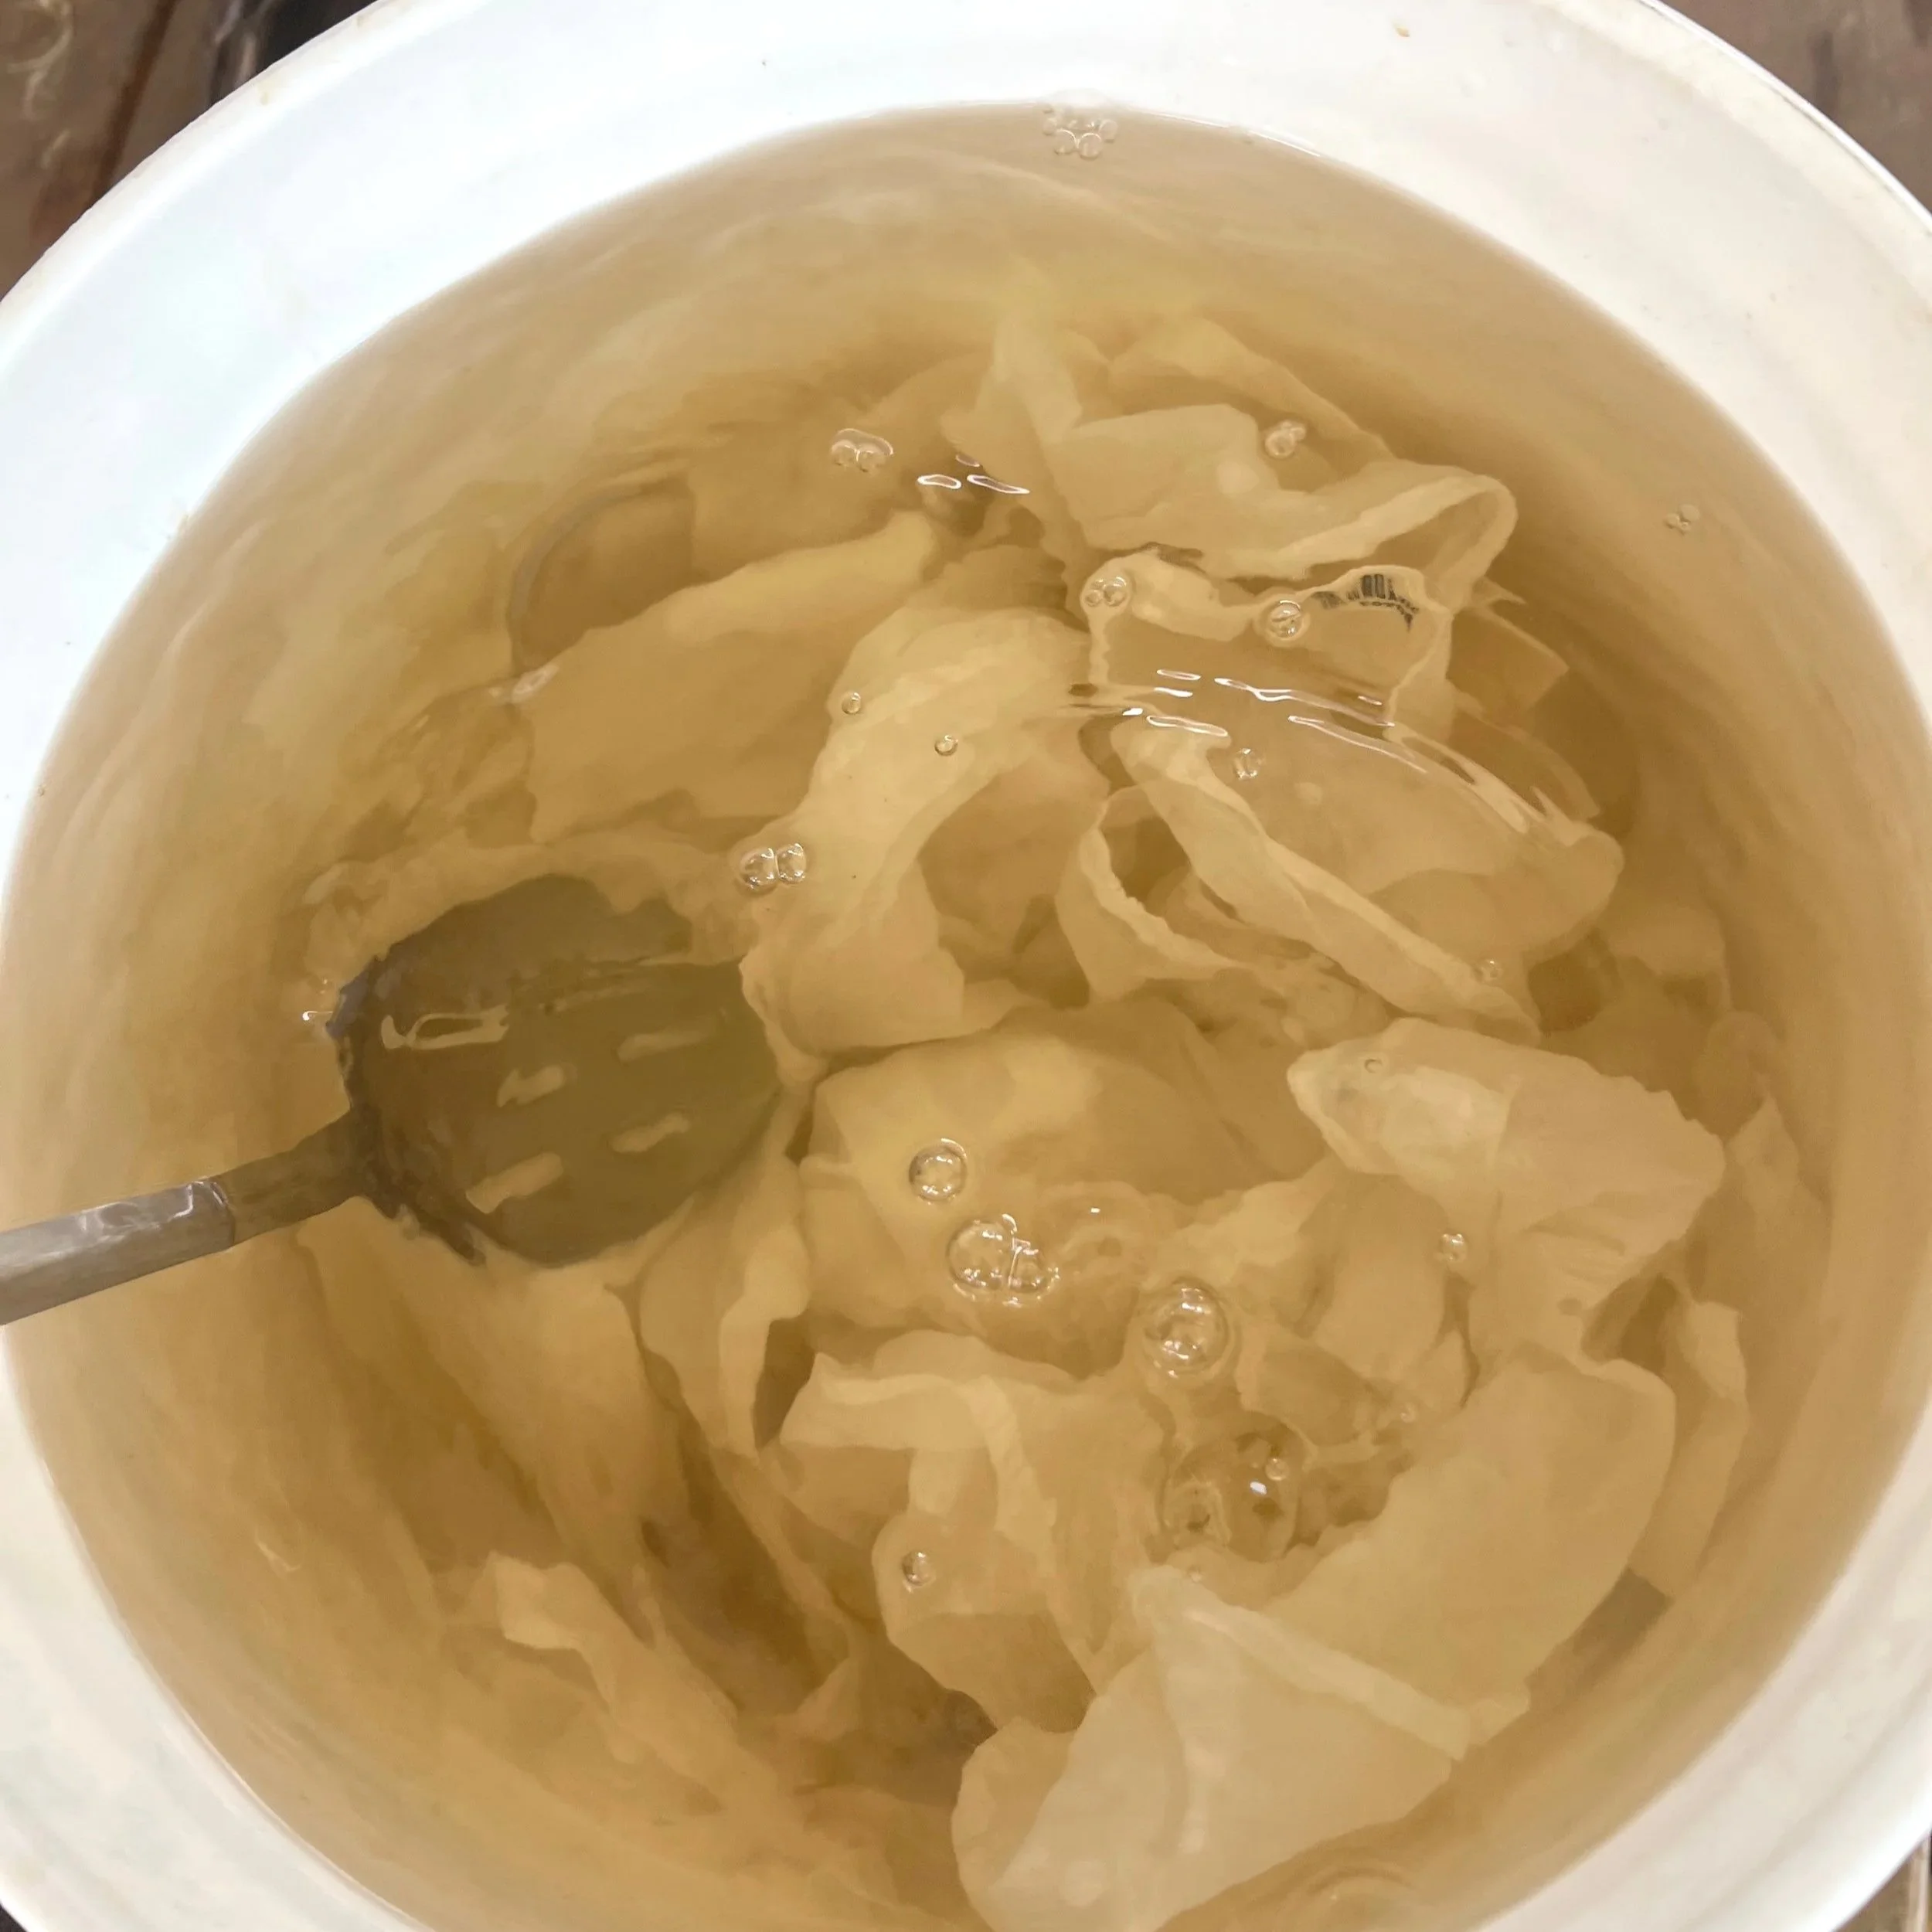
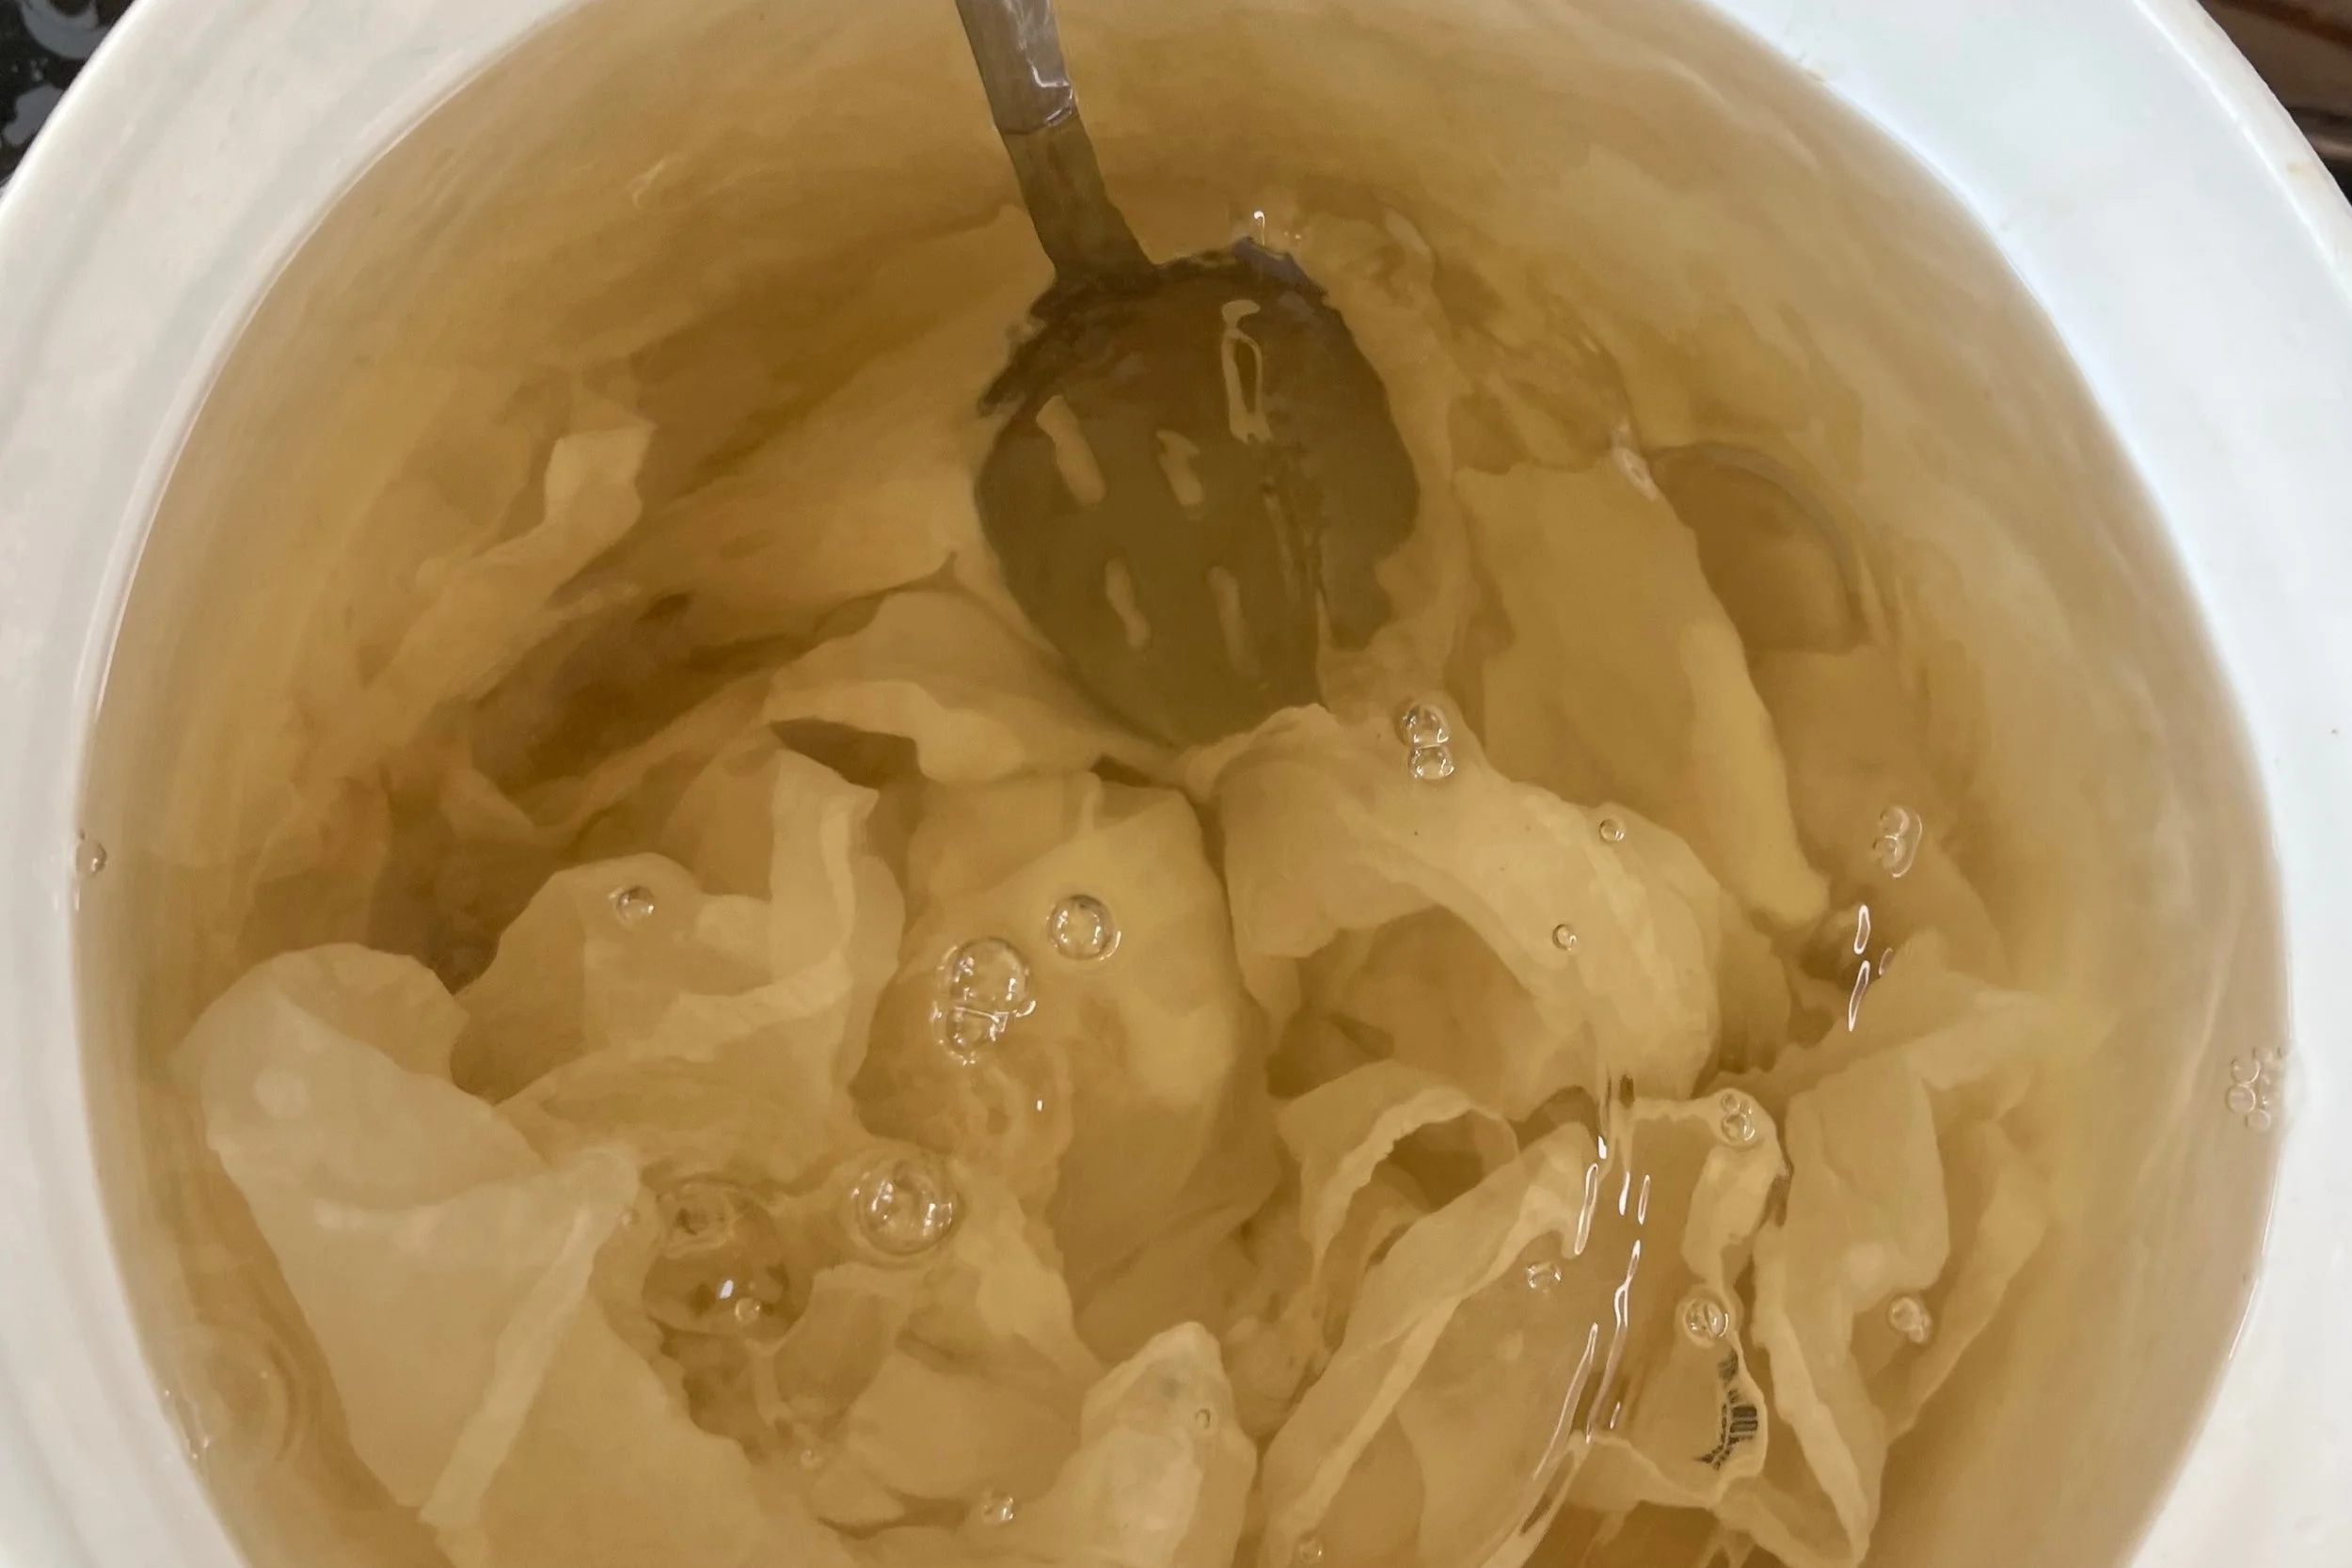
05/ Add fibers
Add your fabric to the bucket. Be sure to open the fabric and shake it out before adding to eliminate any folds. Agitate the fabric a few times to ensure it is completely submerged and that it has space to float freely in the water. Place a lid on the bucket to help retain the heat. Leave to soak for 6-24 hours (I generally leave it overnight). Stir the fabric in the tannin bath occasionally to keep all fabric is submerged and to ensure the tannin reaches every fold in the fiber.
Part 2: Alum/Soda Ash Bath

06/ Measure Alum and Soda Ash
Just before you are ready to remove the fabric from the tannin bath, prepare the Alum/Soda Ash bath. Measure out the alum and soda ash based on the WOF determined previously:
Alum: 15% WOF
Soda Ash: 2% WOF
My fabric weighs 461g. I will need approximately 69g of alum and 9g of soda ash.
461g x 15% = 69g
461g x 2% = 9g

07/ Prepare the Alum/Soda Ash solution
Fill a 5 gallon bucket 2/3 full with hot tap water. Add the alum and then the soda ash, mixing to completely dissolve. Then fill the bucket the rest of the way with water just off the boil, bringing the solution to a temperature of around 170°F. The water will be cloudy.

08/ Transfer the fabric
Remove the fabric from the tannin bath and squeeze to wring out any excess water. Rinse gently in a bucket of water, wring out, and place directly into the alum/soda ash bath. Let the fabric sit for 6-24 hours, keeping fabric submerged and mixing gently now and then.
NOTE: The tannin is not permanently bonded to the fabric yet, and you don’t want to wash it away! For this reason, don’t rinse too vigorously after the tannin bath. Additionally, you don’t want to let your fabric dry after the tannin bath because you could lose too much tannin when wetting it out again before placing it in the alum/soda ash bath.

09/ Finish
Remove fabric from the alum/soda ash bath and squeeze to wring out any extra liquid. Rinse thoroughly. (I generally rinse in a plunge bucket and then put it through a rinse cycle in my washing machine.) You can proceed directly to dyeing or hang to dry and store for later use.

PRO TIP
I will often mordant a bunch of fabric at once and store it for later use. To help me keep track of what’s what, I will write the details in the selvage of the fabric using a fabric pen or permanent marker, including type of fabric, WOF, and the type and percentages of tannin and alum used. The M with a circle indicates “Mordant.” I will add a D with a circle to stand for “Dye” and record what I used to dye the fabric once I get to that step.
Reusing the Tannin and Alum/Soda Ash baths

You can reuse both the tannin and alum/soda ash baths. As long as there is no mold present, I will generally use mine two more times after the initial use. Beyond that, I find that the components start to break down, and I’ll start a fresh batch.
You can assume that about half of the tannin or alum/soda ash has been used during the immersion process. Therefore, you can either use the left over tannin and alum/soda ash to mordant HALF the amount of fabric as the first batch, or you can recharge each bath with 50% more of the tannin, alum, and soda ash.
For example, in my first batch, I mordanted 461g of fabric.
If I were to reuse the tannin and alum/soda ash bath, I could either use the leftover baths to mordant half the amount of fabric (230g). If I wanted to use the left over bath to mordant the same about of fabric, I could add 23g of tannin (50% of 46g) to the tannin bath and 35.5g of alum and 4.5g of soda ash (50% of 69g and 9g, consecutively).
Before reusing the bath, reheat the tannin bath to about 120°F and the alum/soda ash bath to about 170°F. You can do this by placing the bucket in a hot water bath or by using an immersion heater (as pictured above). Add the additional mordant materials (if needed). Add fabric and proceed with the rest of steps as described above.
Your fabric is mordanted and ready for dyeing! Next month, will be all about sourcing natural dyes: what you can use and where to find them, and how to use each!
This post contains affiliate links. This means that I may receive a small monetary benefit from purchases made using the link at no additional cost to you.