
Making Half-Square Triangles: The Eight-at-a-Time Method
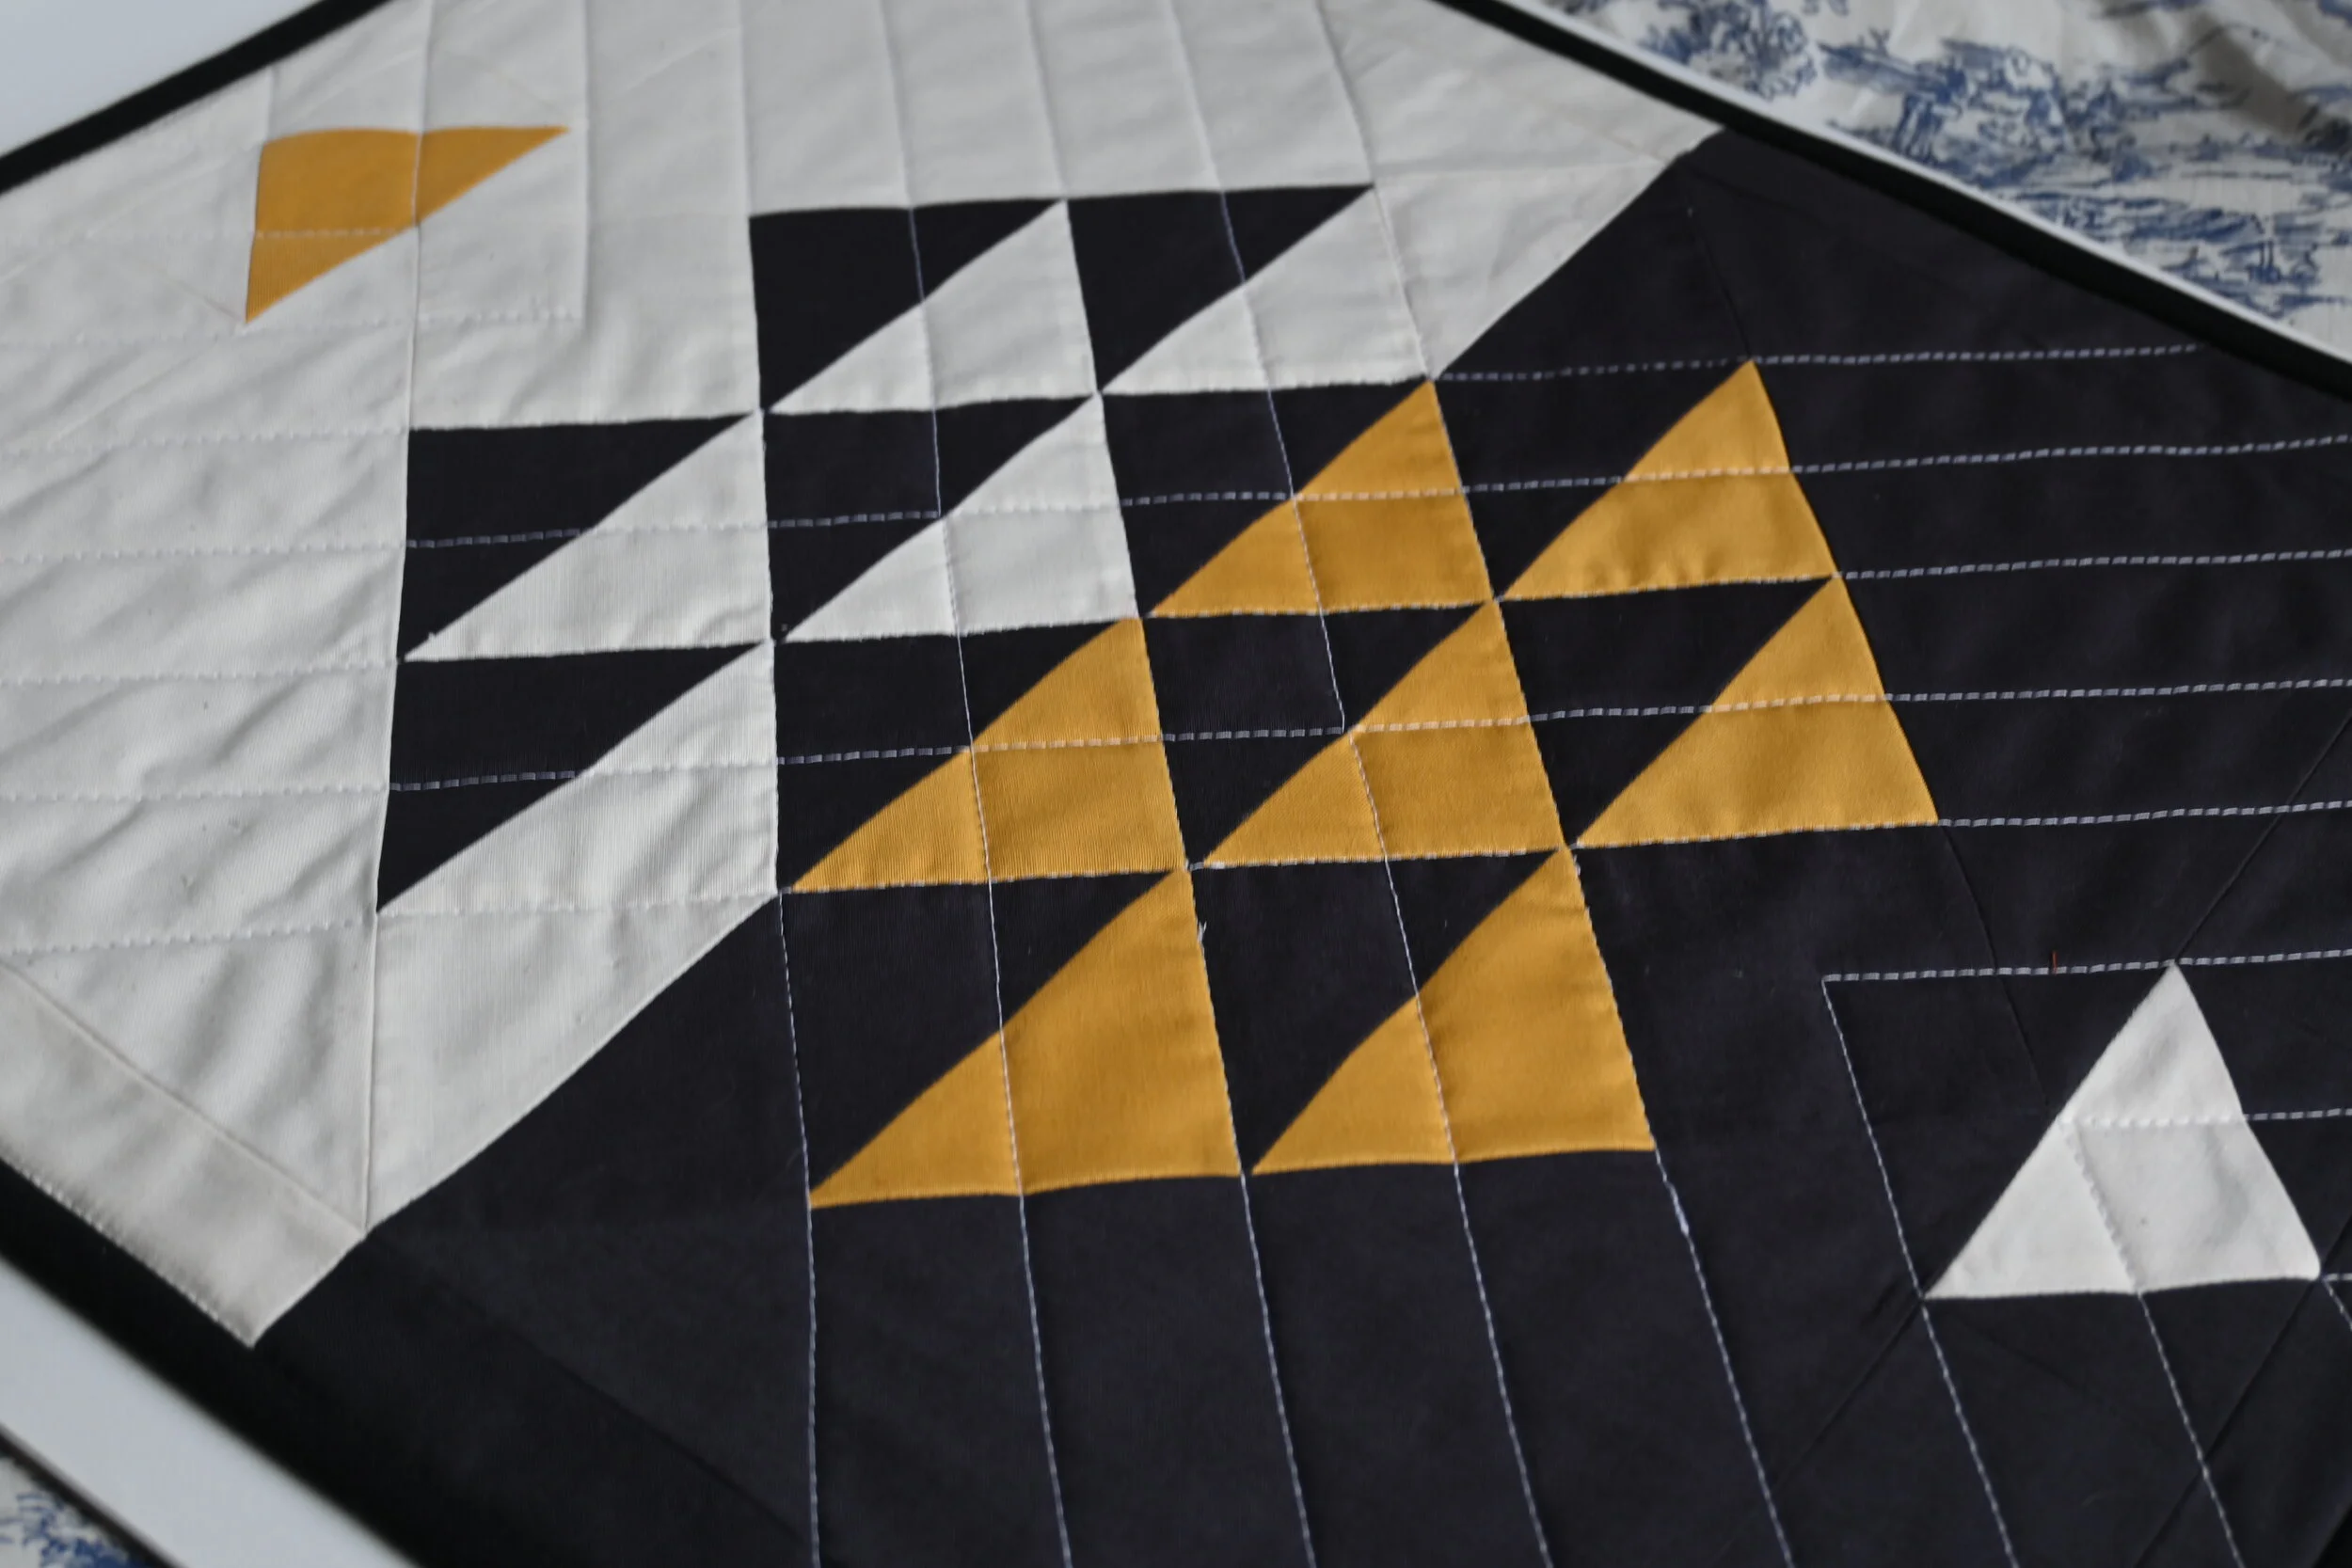
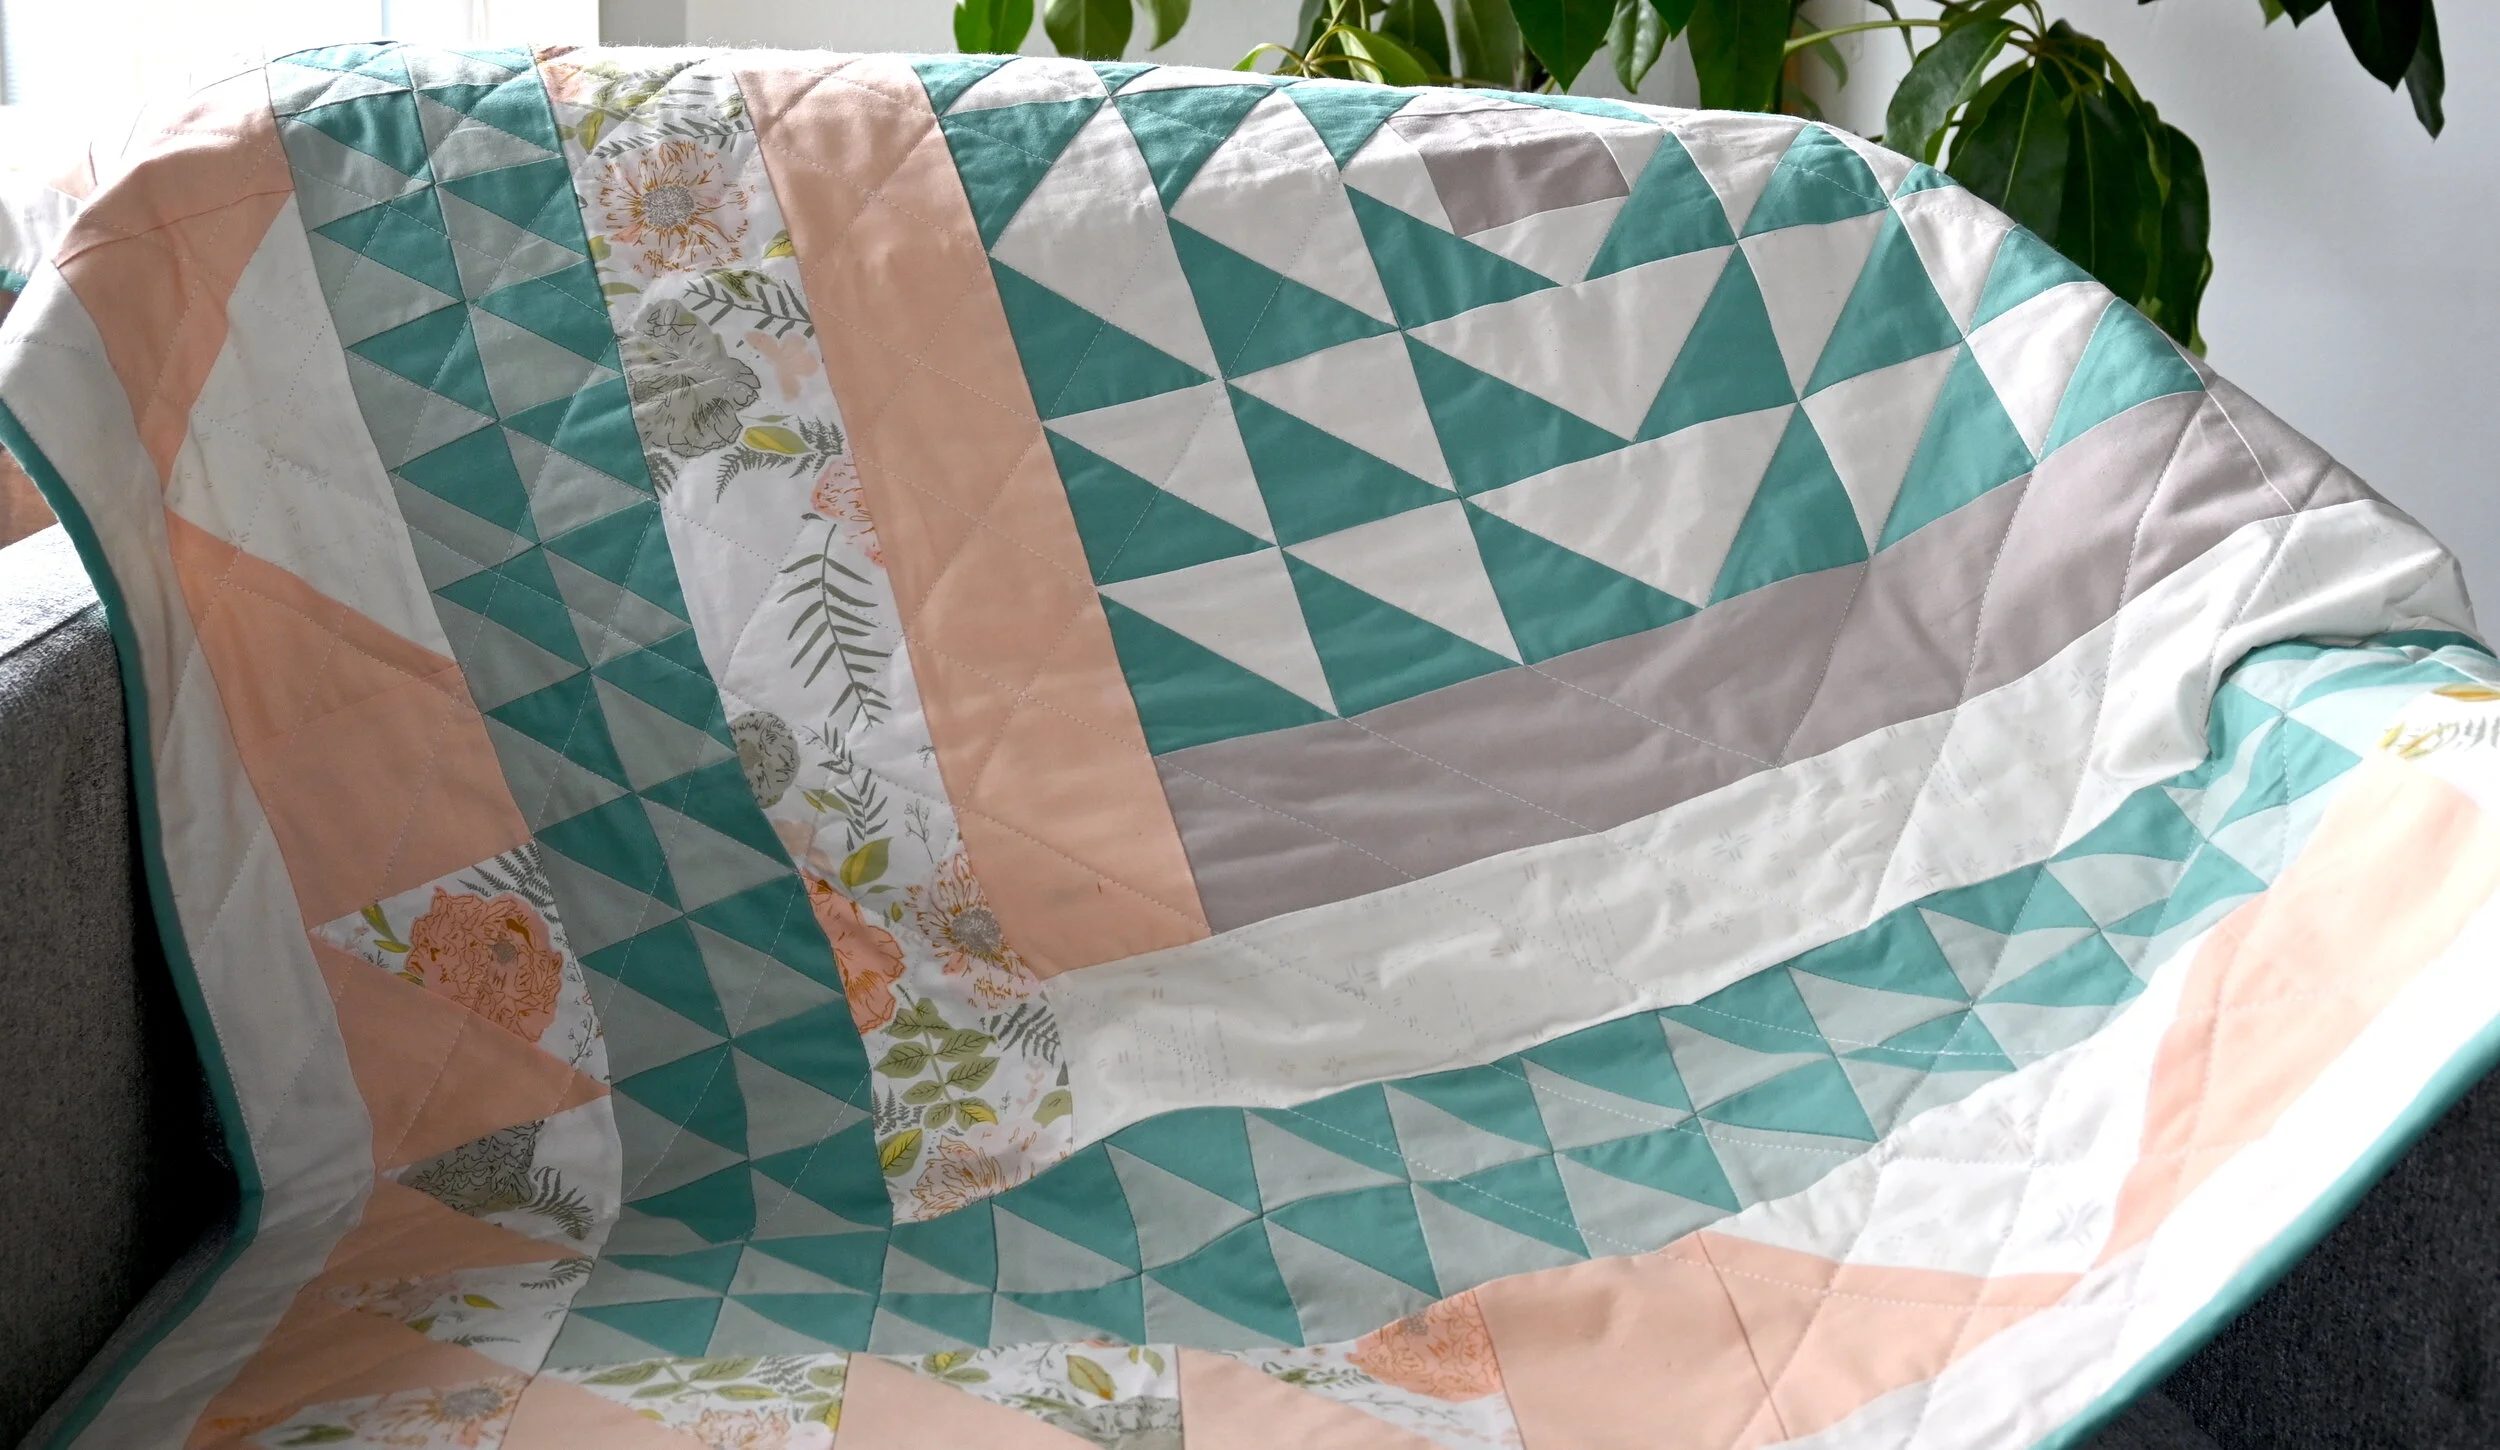
Half-Square Triangles (HSTs) are such a versatile block with endless options for creating unique arrangements and interesting designs. I love working with triangles in my quilt designs. There is something deeply satisfying about the balance of a triangle, the auspiciousness of the number three, and the sense of movement they offer.


This method shows you how to make perfect HSTs eight at a time, allowing you to efficiently create blocks and begin playing!
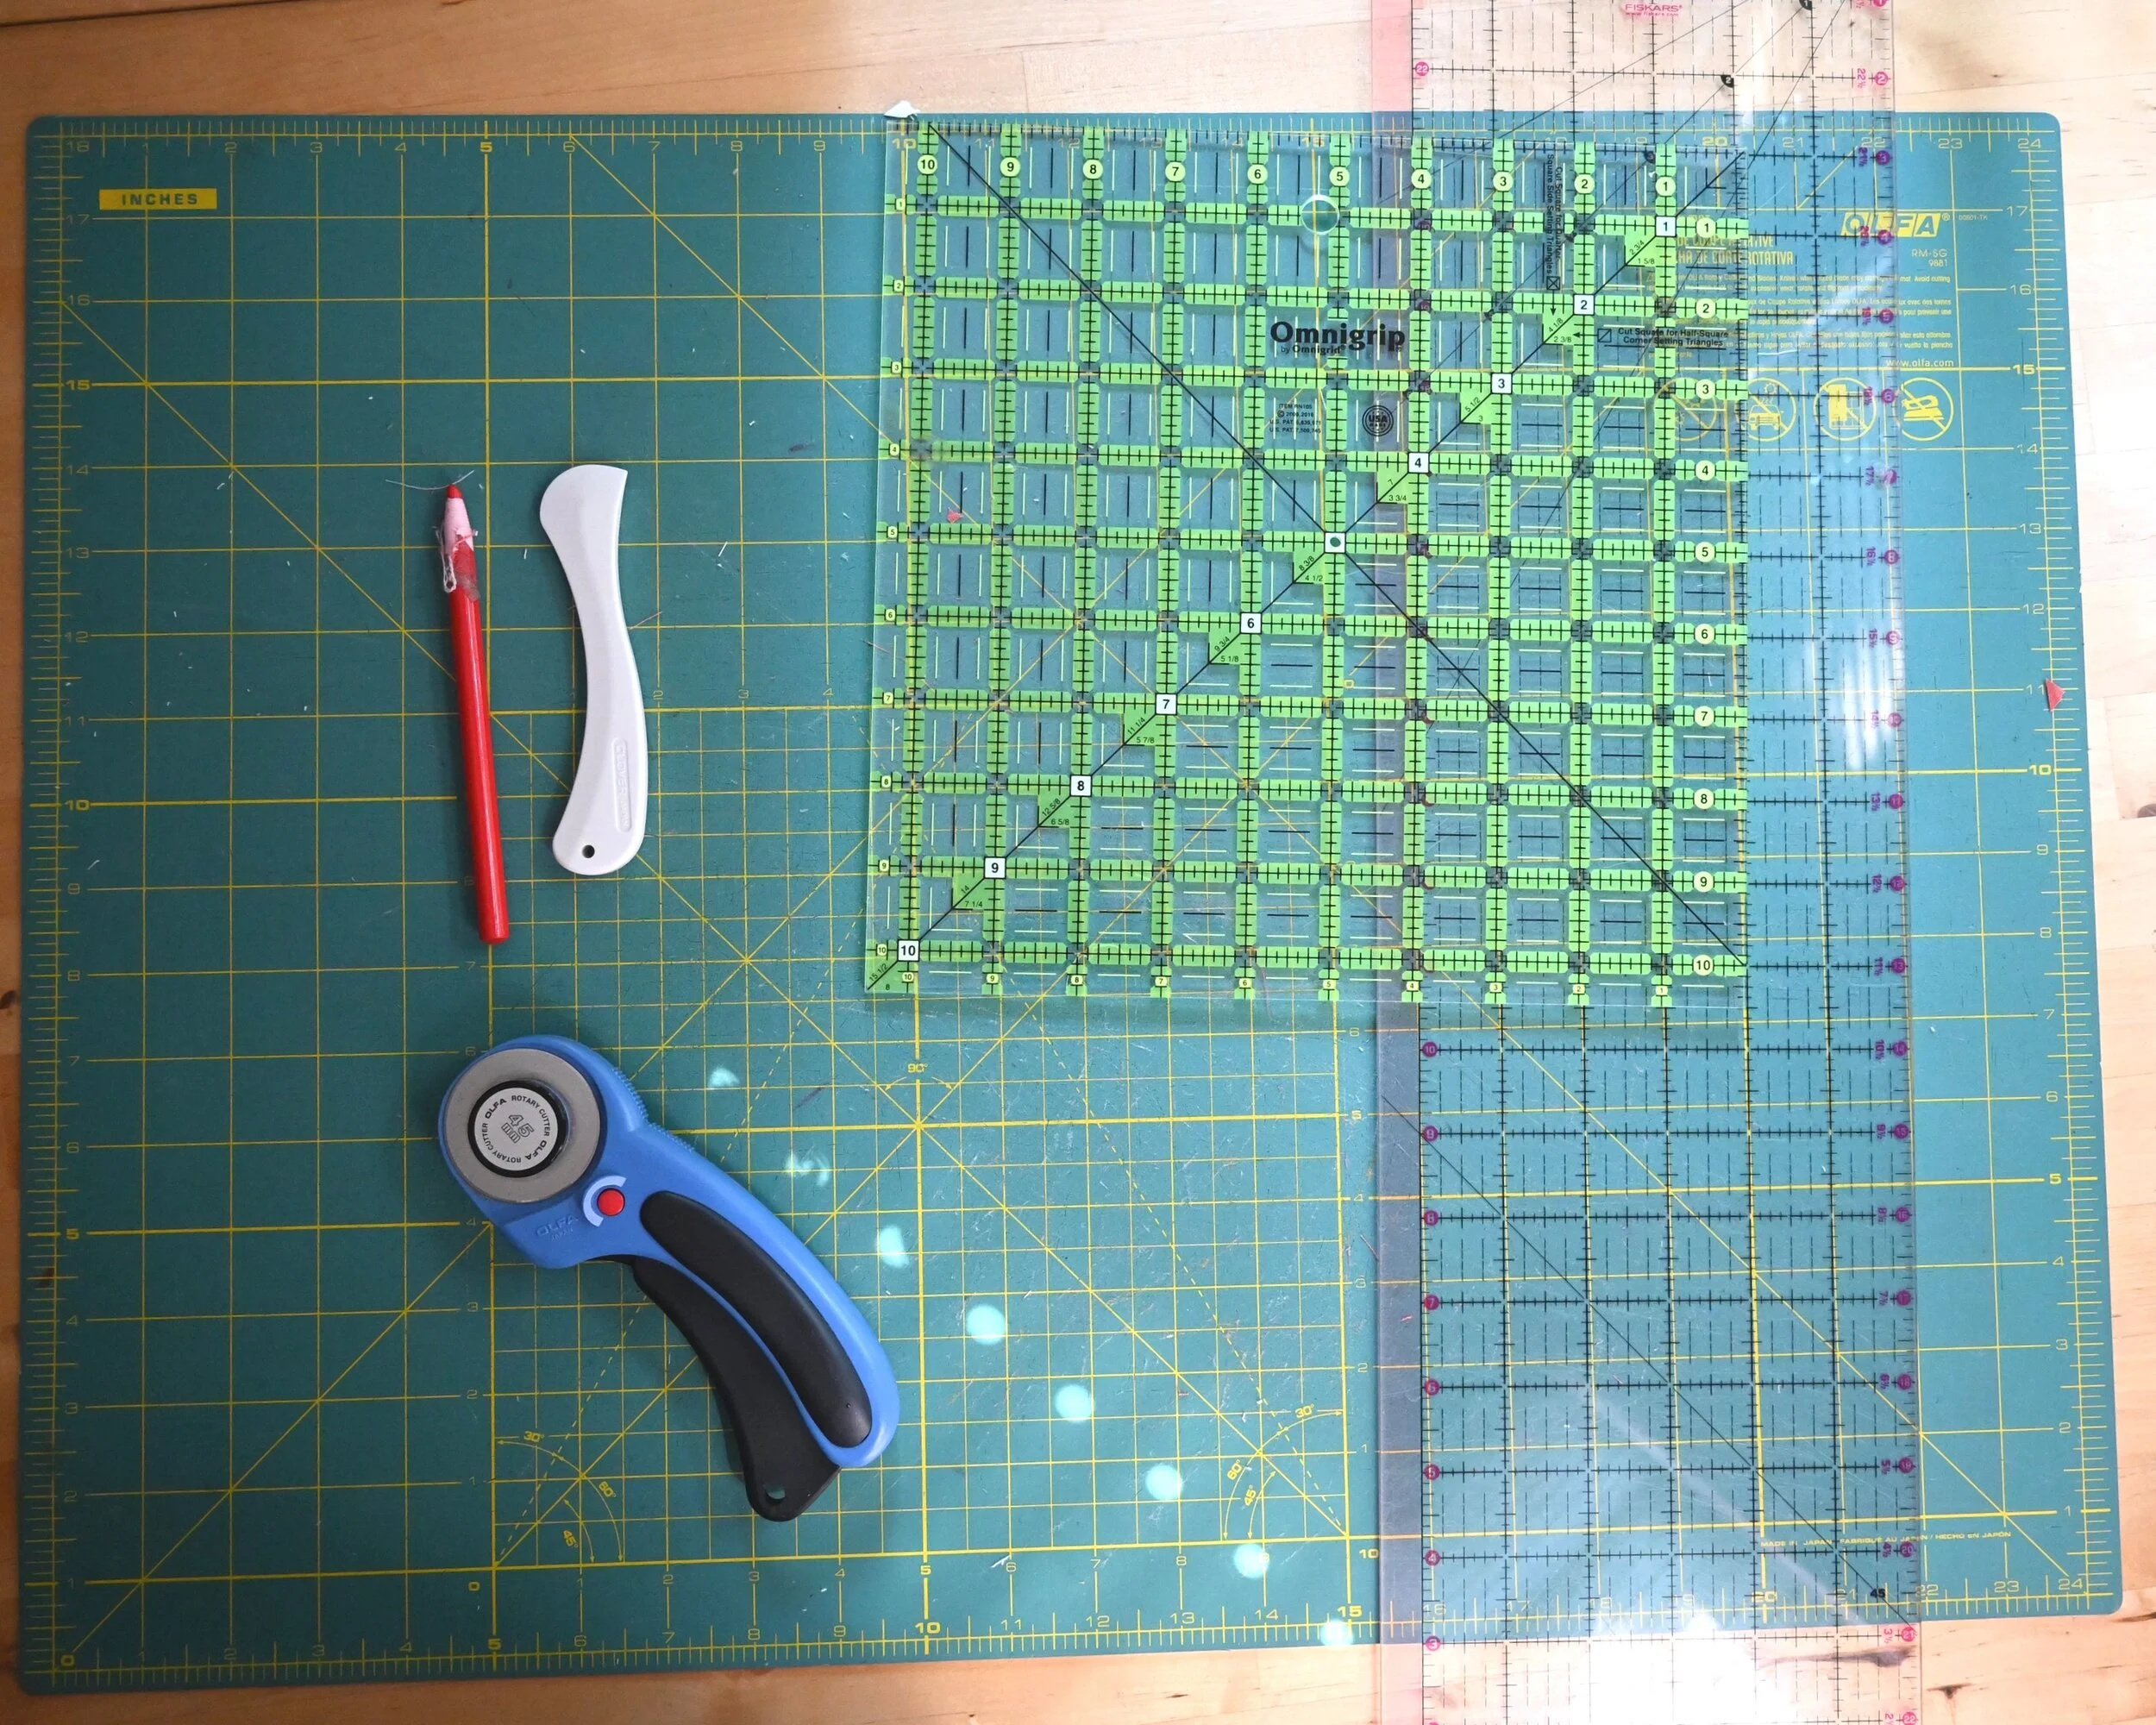
Tools you’ll need:
Sewing machine and thread
Iron and ironing board/pressing mat
Marking tool (fabric pen or hera marker)
Cutting mat
Rotary cutter
Long acrylic ruler (mine is 6.5”x 24.5”)
Square acrylic ruler (I generally use a 6” or 10.5” square depending on the size block)
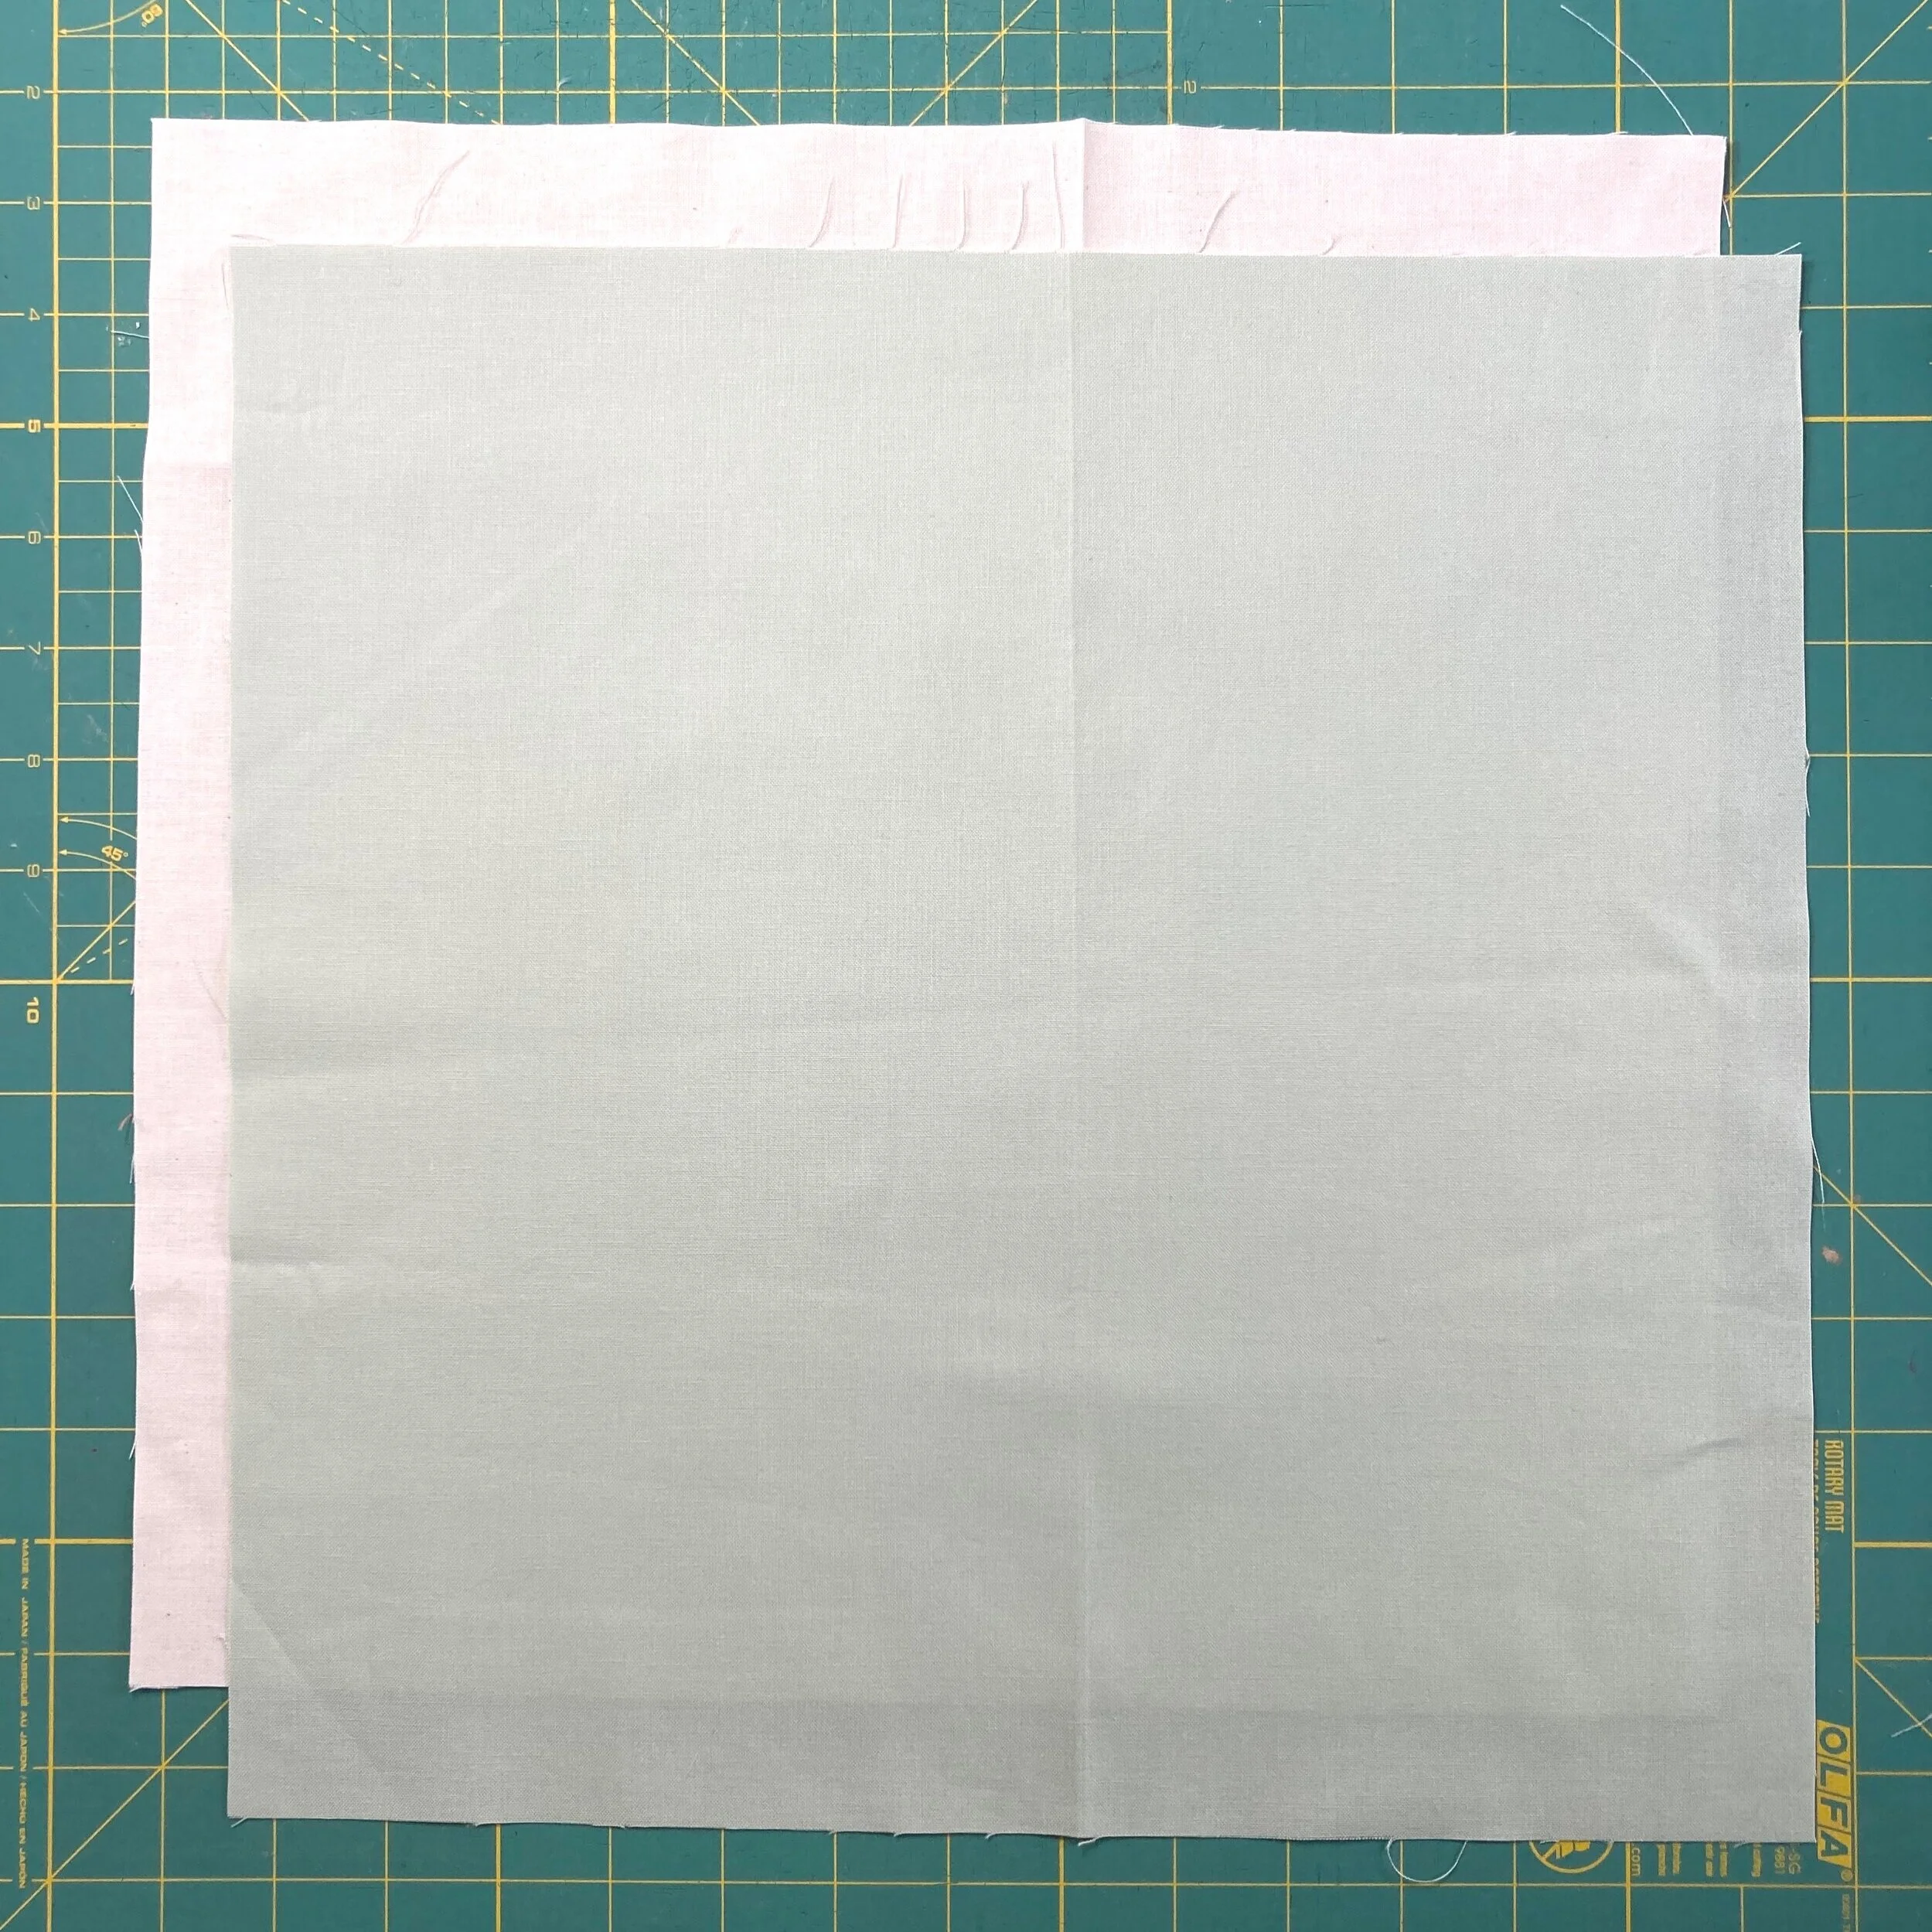
Step 1:
Cut two squares of fabric, one of each color. Place one on top of the other, right sides together.
Not sure what size to cut your squares?

Step 2:
Using a long ruler and a marking tool (I’m using a Hera marker), mark two diagonal lines from corner to corner, forming an X.
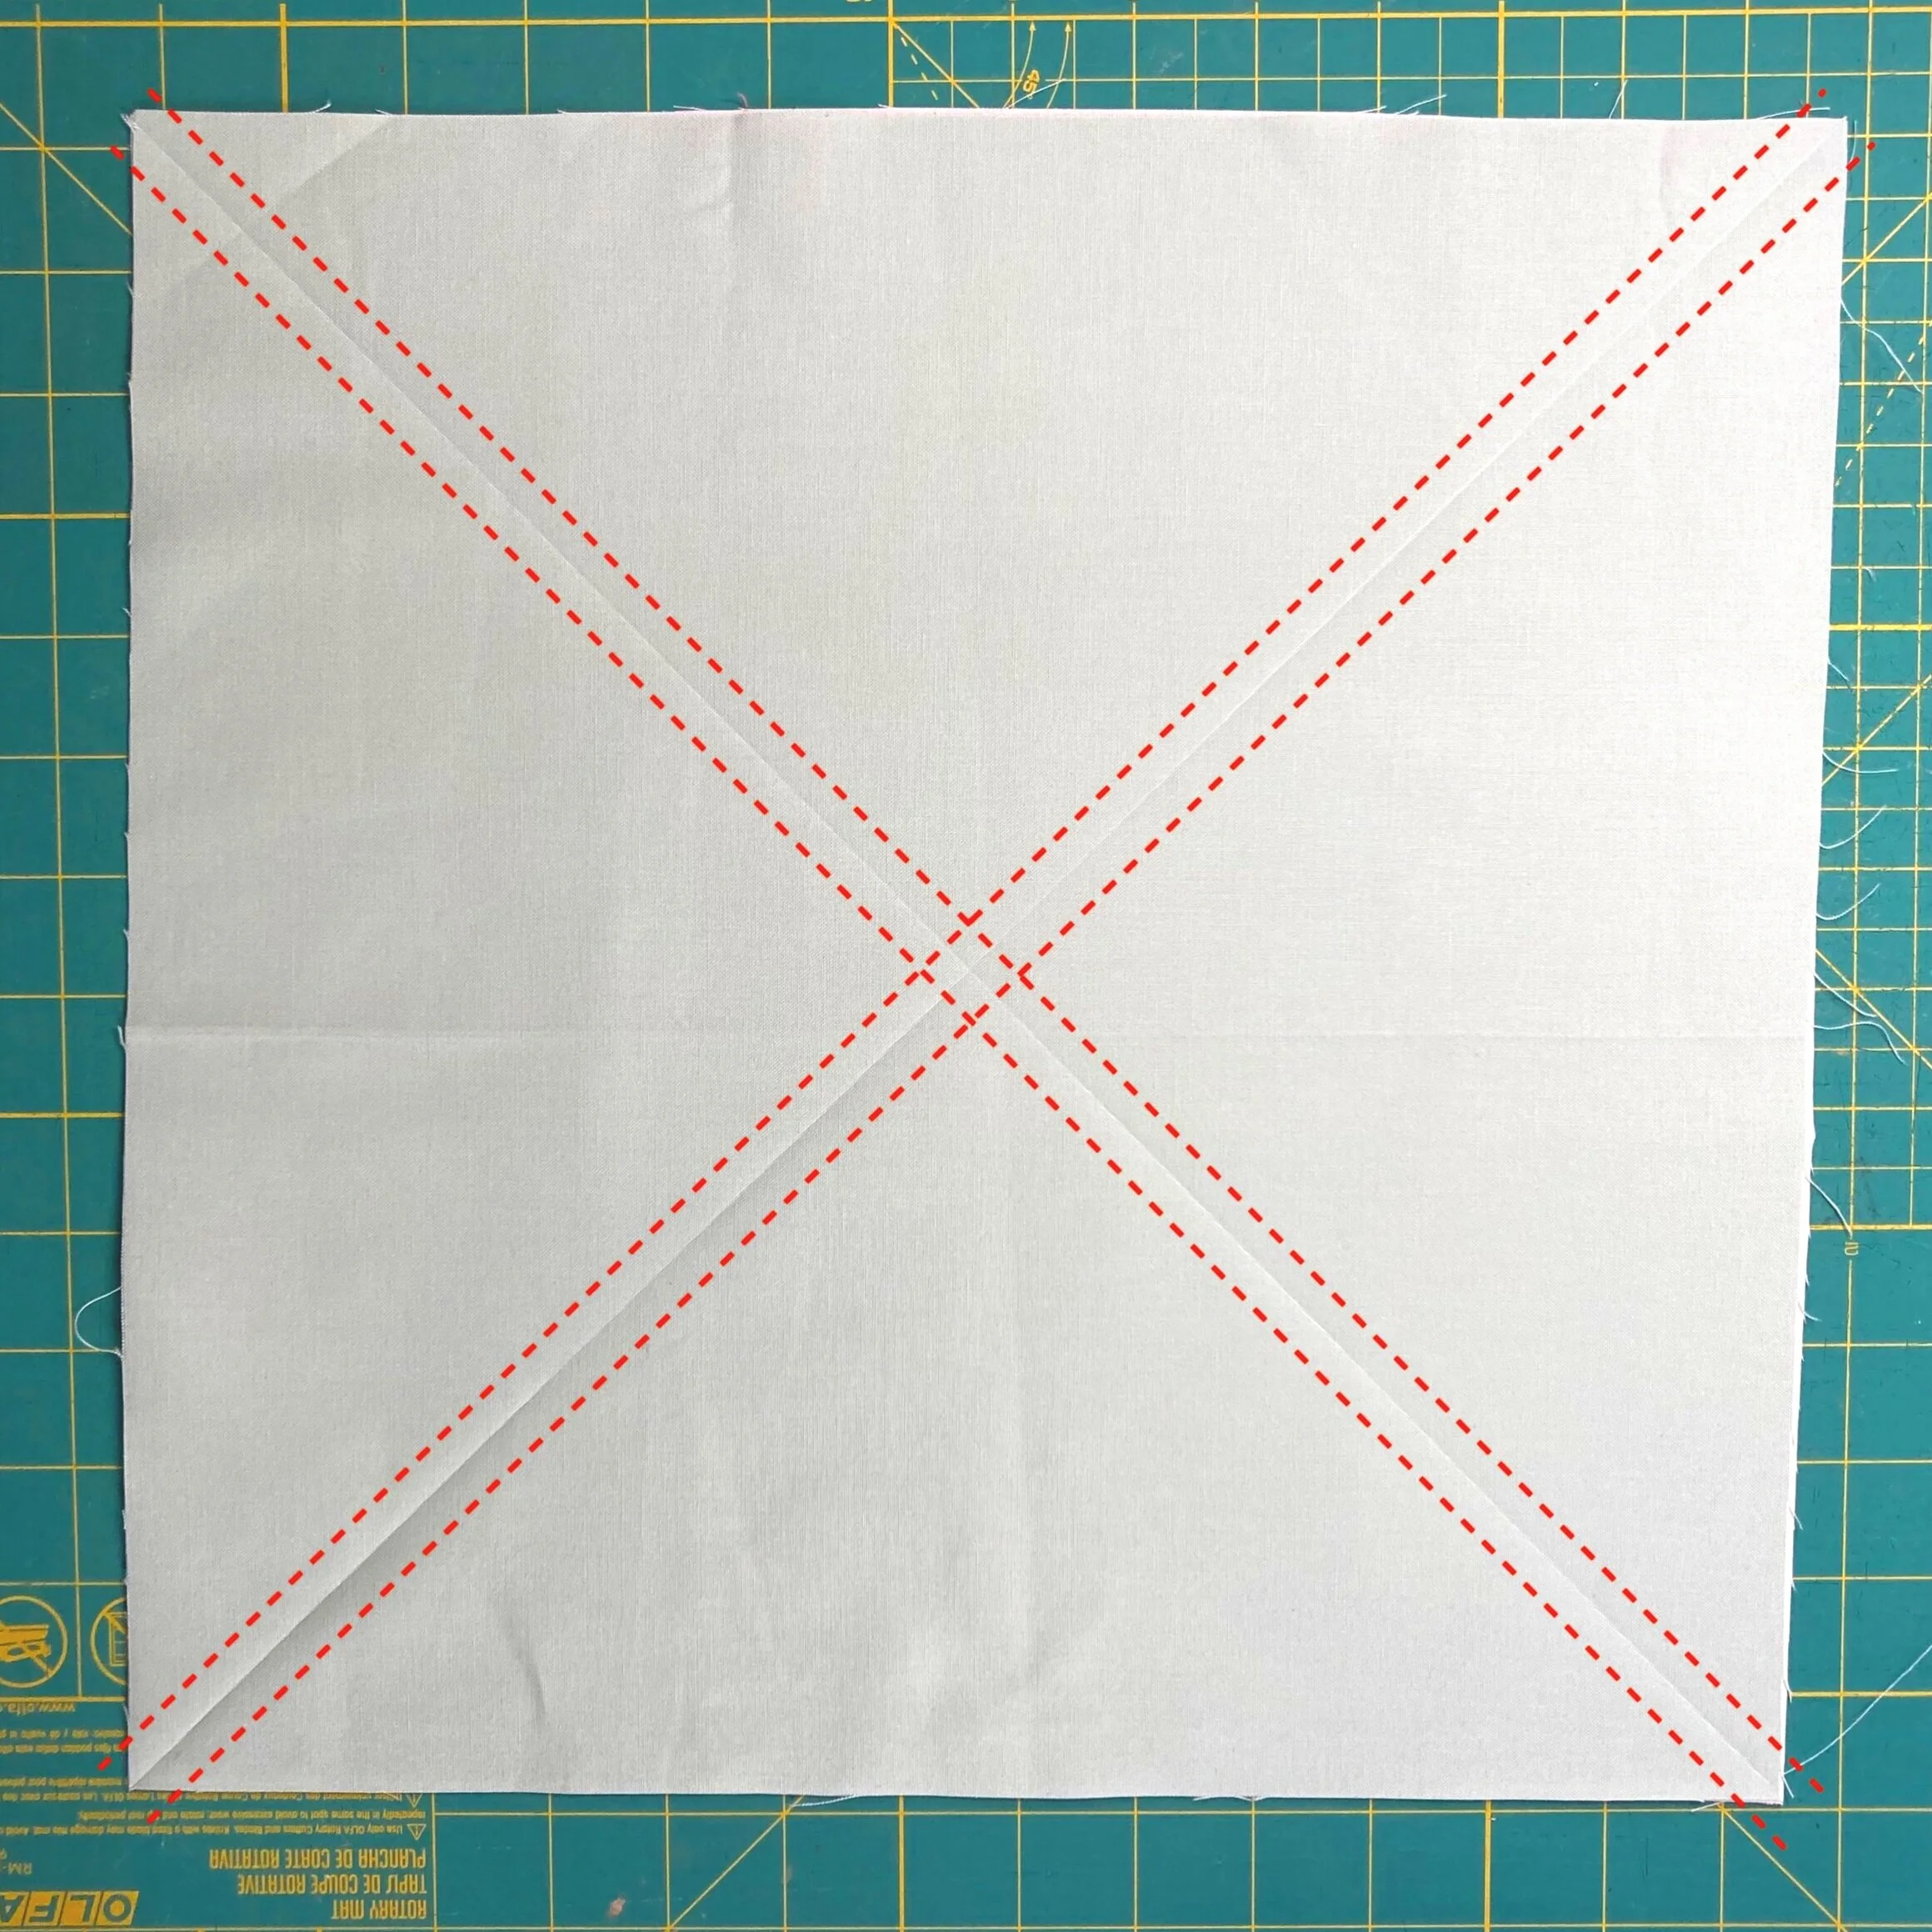
Step 3:
Set your machine to a 1.8-2.0mm stitch length. Sew a line of stitching 1/4” from each side of both diagonal lines, shown as red dashed lines in the photo to the left.
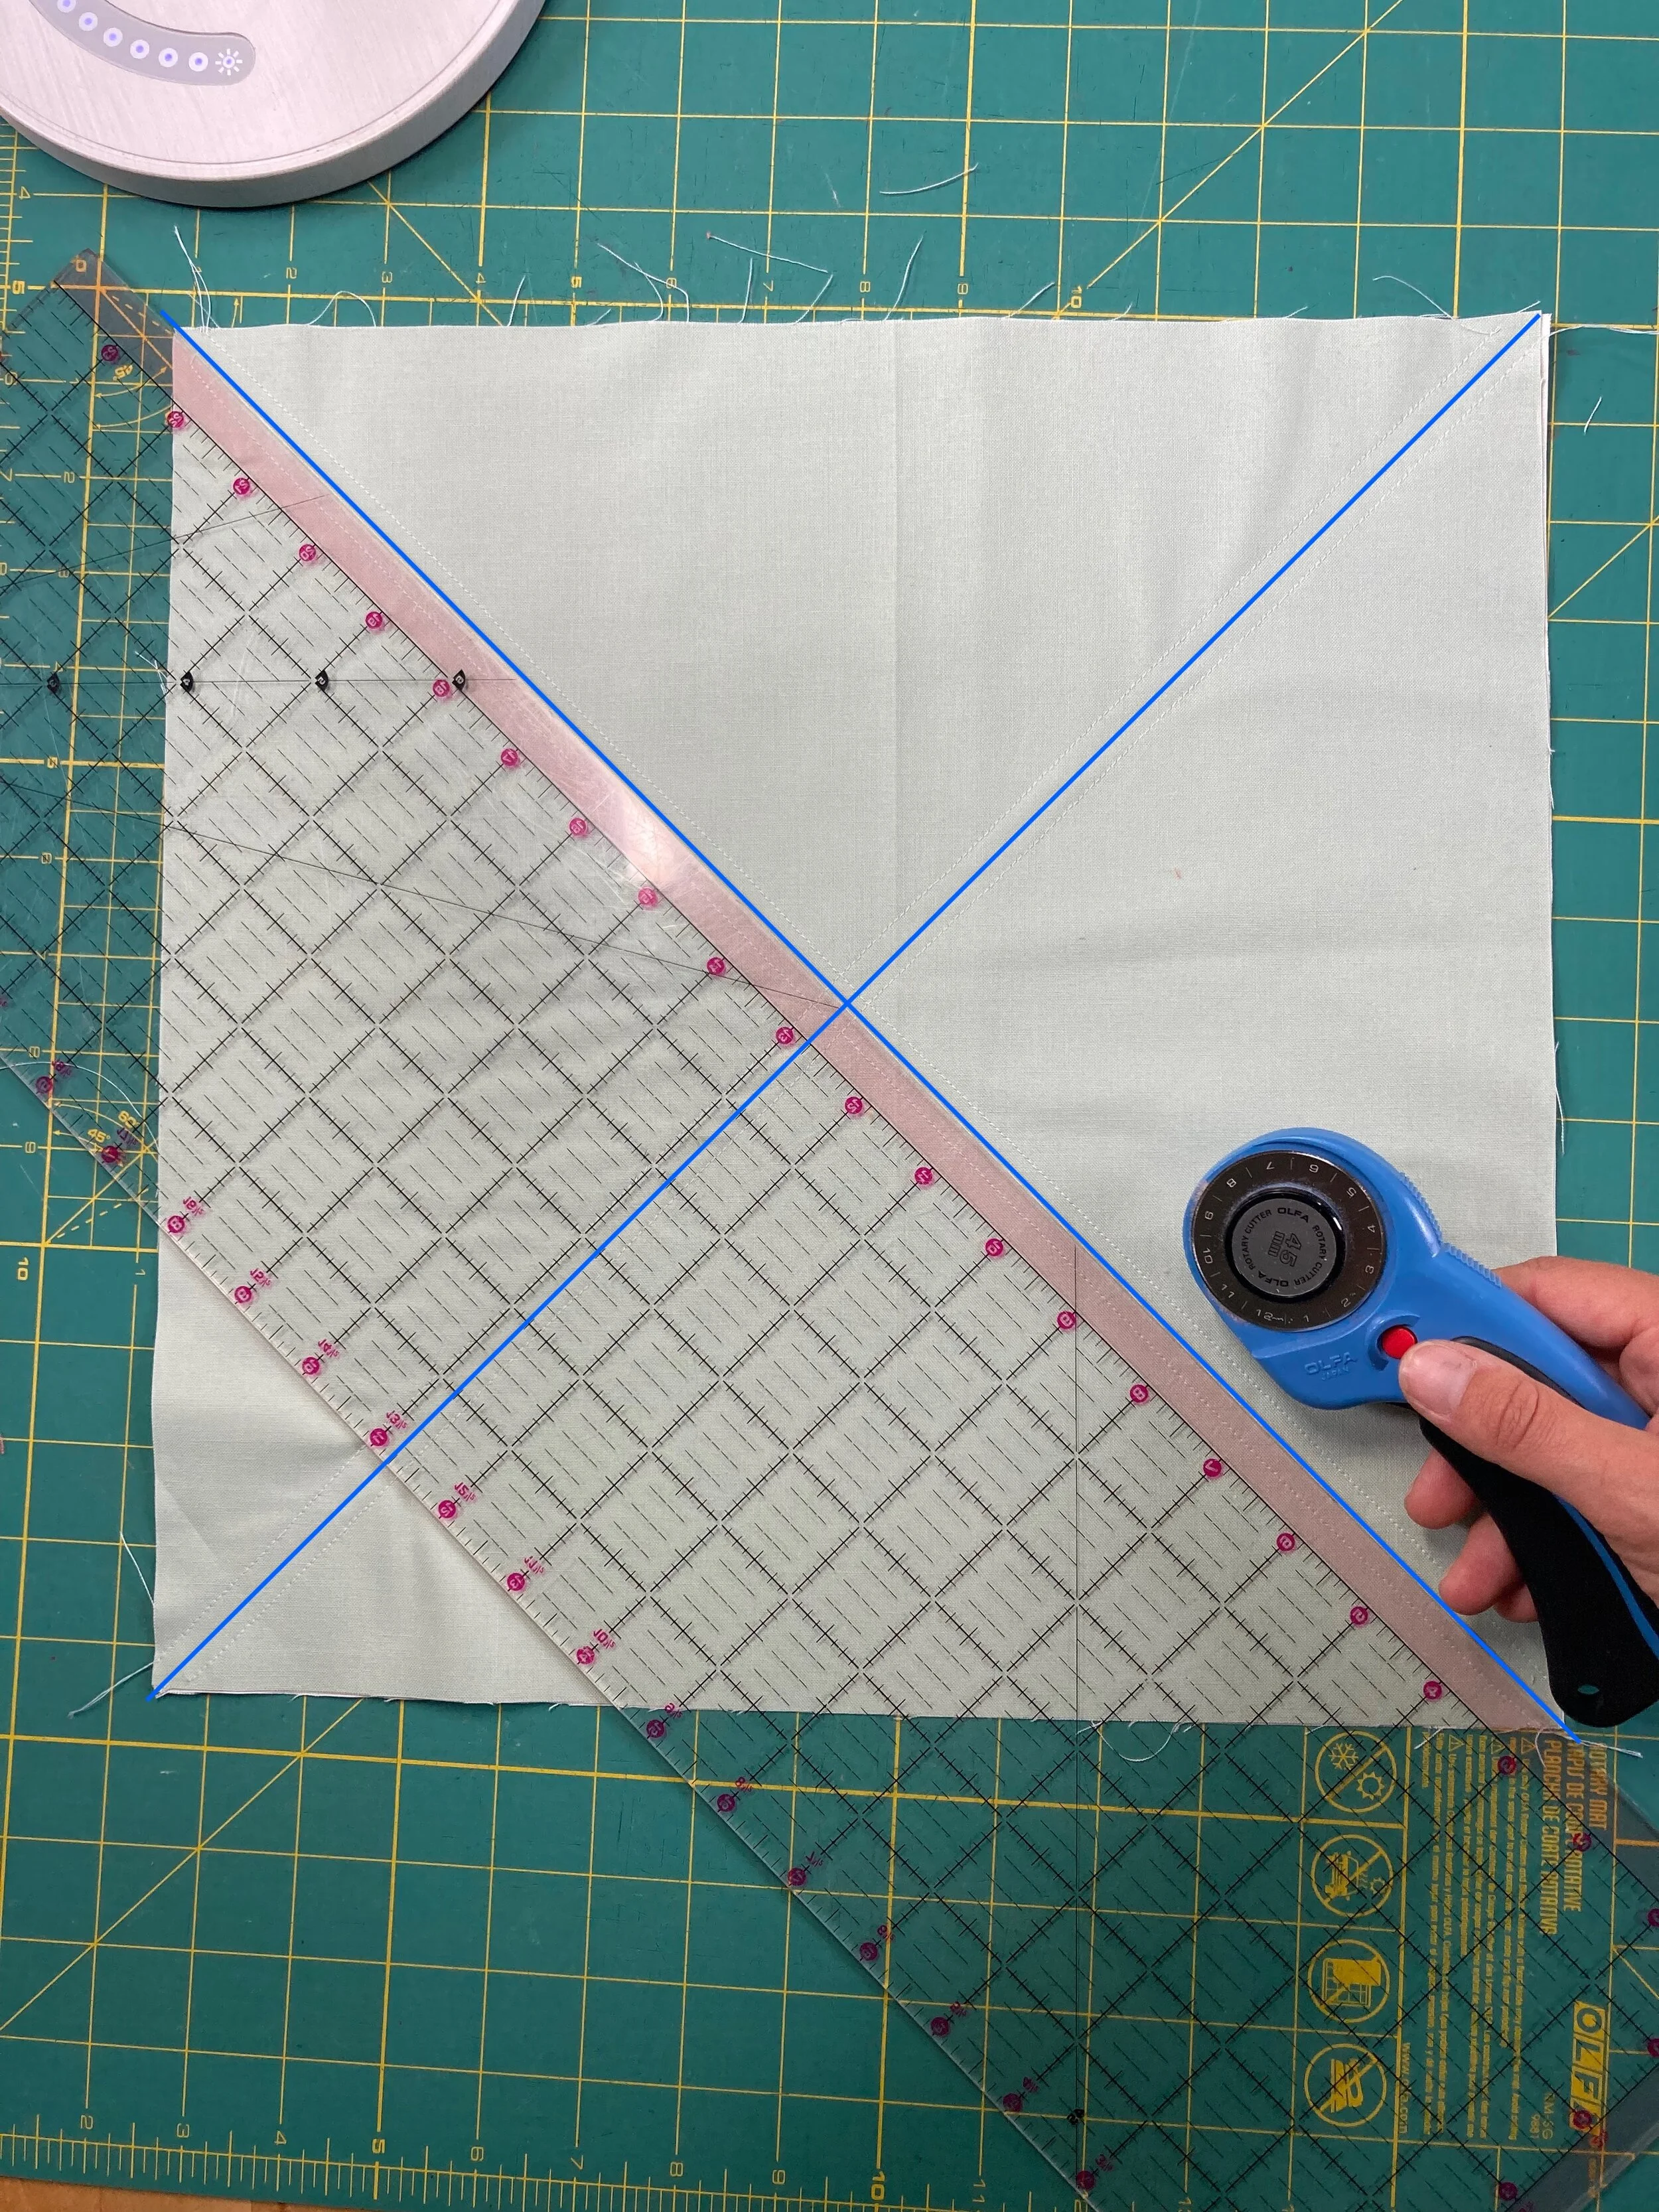
Step 4:
Using a ruler and a rotary cutter, cut on the diagonal lines you marked in Step 2, shown as blue solid lines in the photo to the left. You will be cutting between the two lines of stitching.
Don’t pull your pieces apart yet!
(It’s a bit difficult to see the stitching lines in the photo. Next time I’ll use a contrasting thread!)
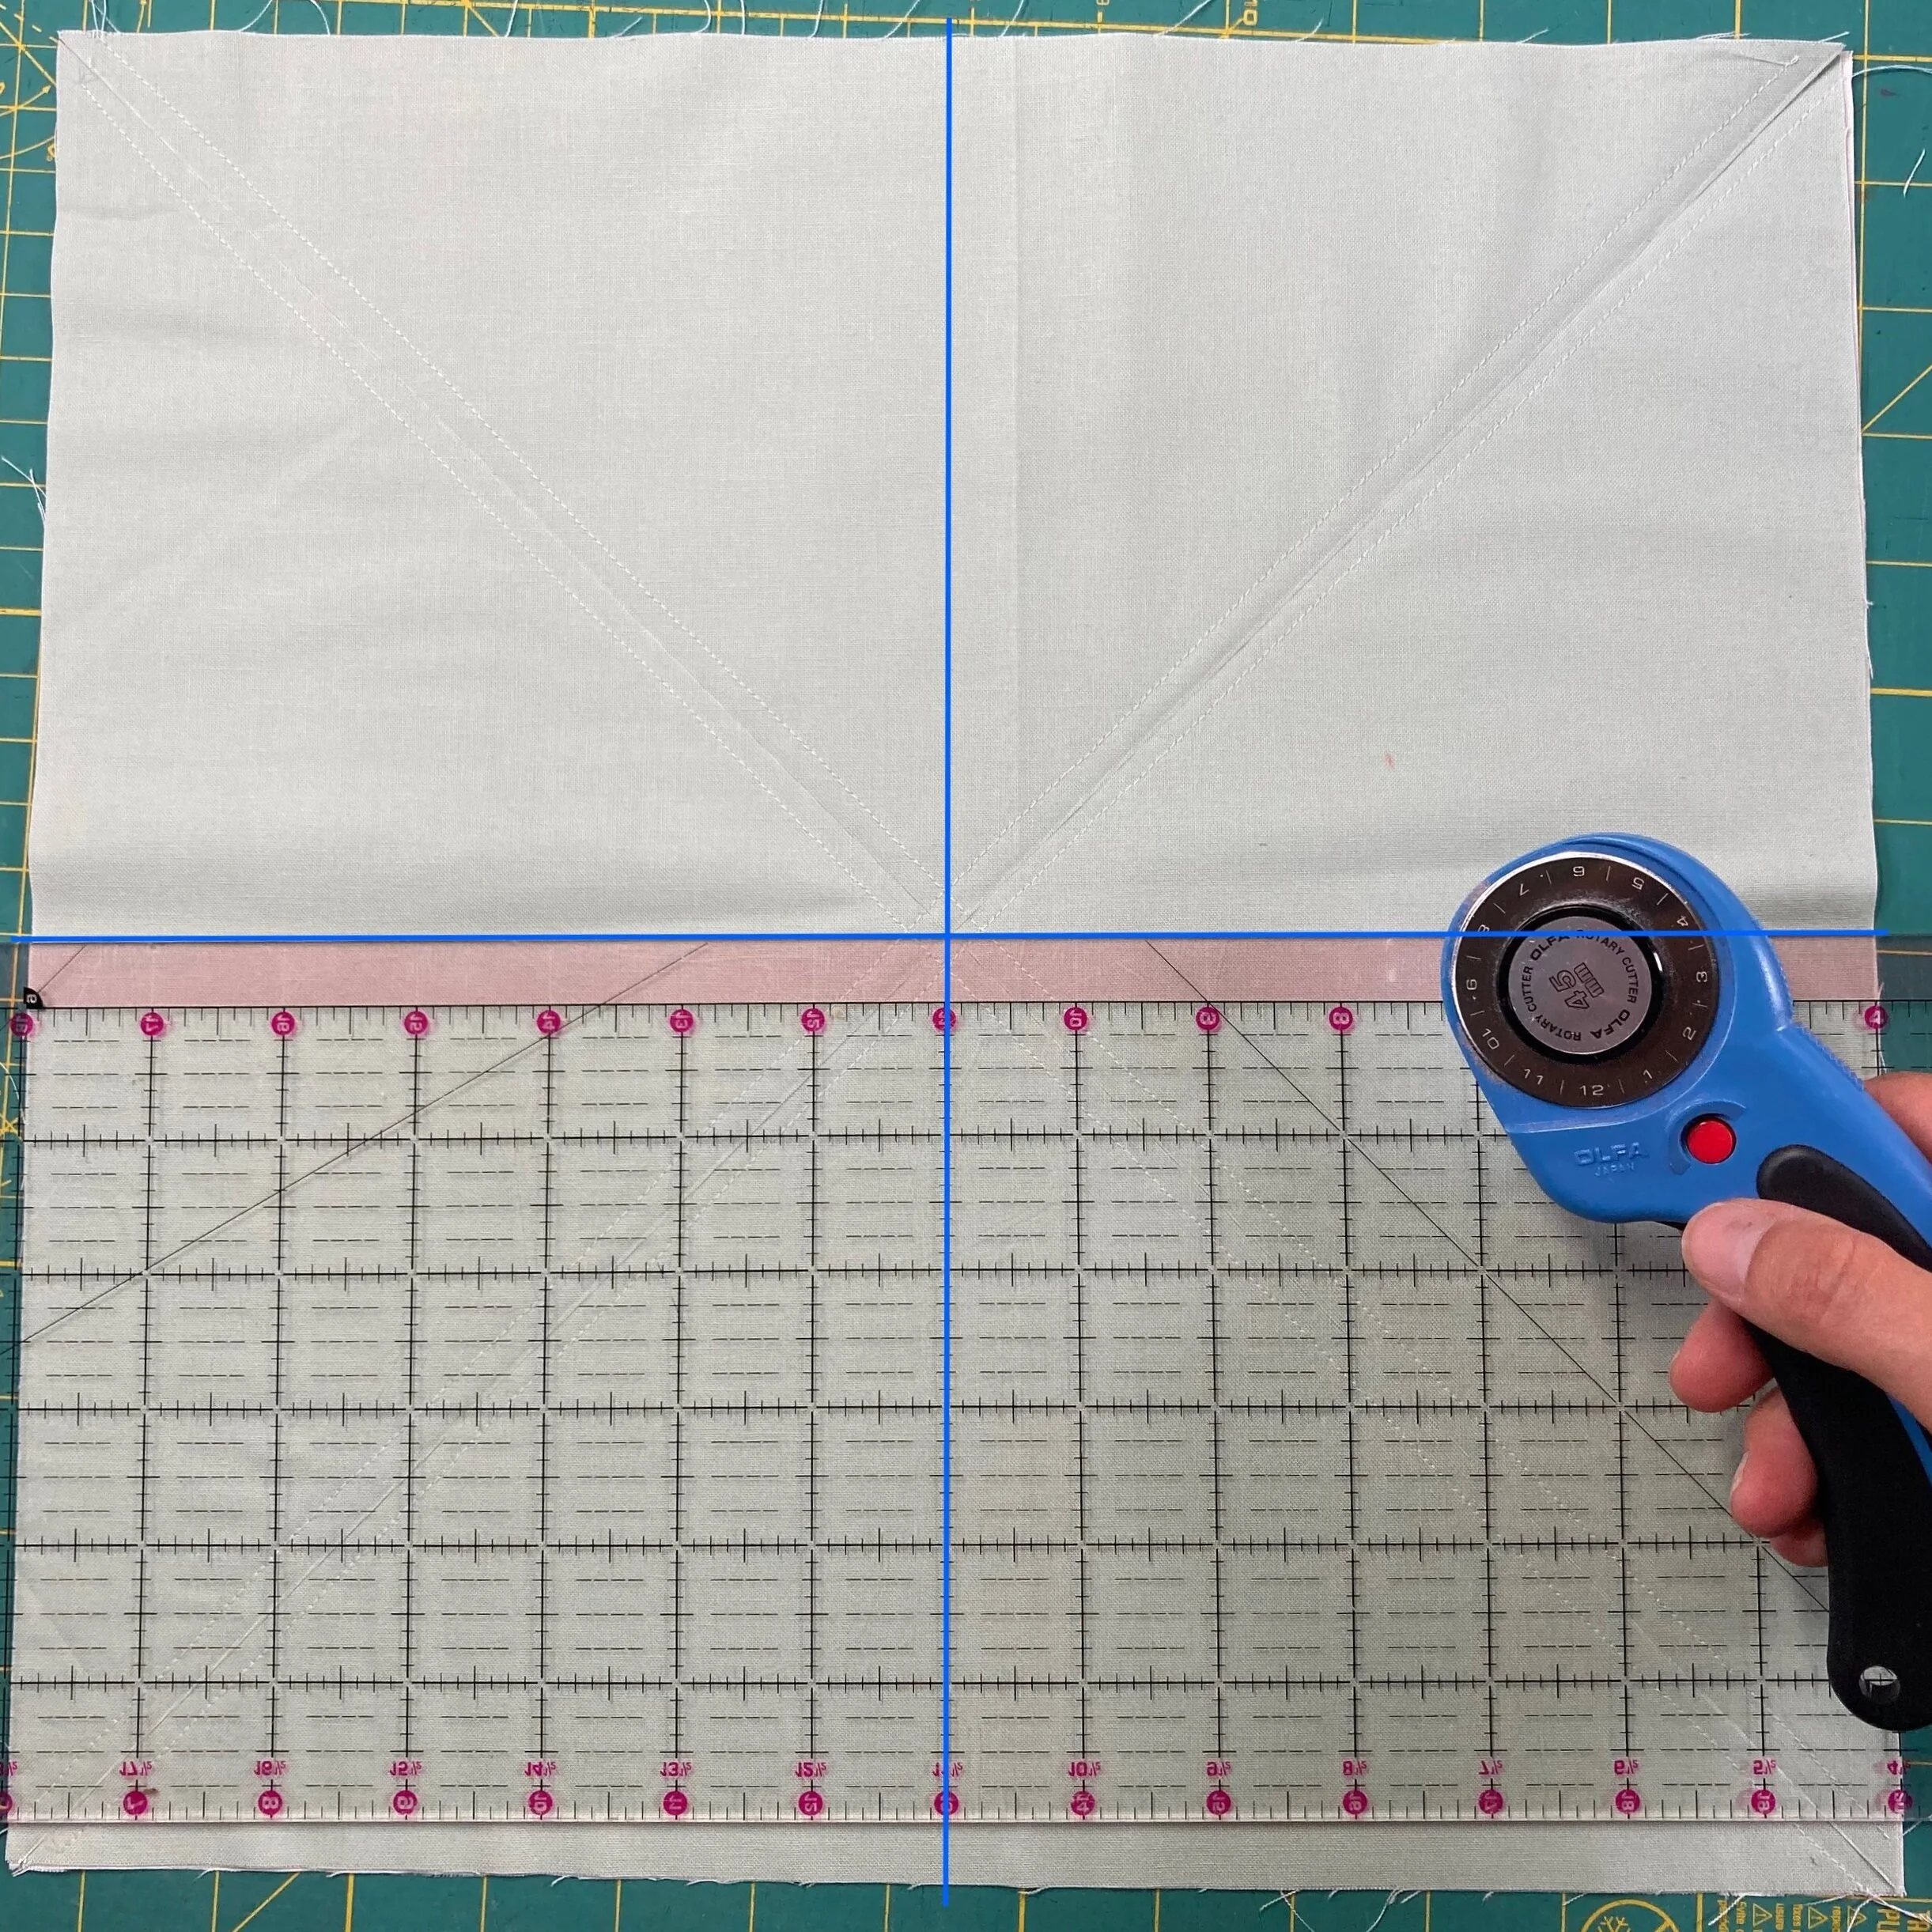
Step 5:
Using a ruler and a rotary cutter, cut a horizontal and a vertical line, shown as blue solid lines in the photo to the left. Make sure the cut lines intersect the center of the X.
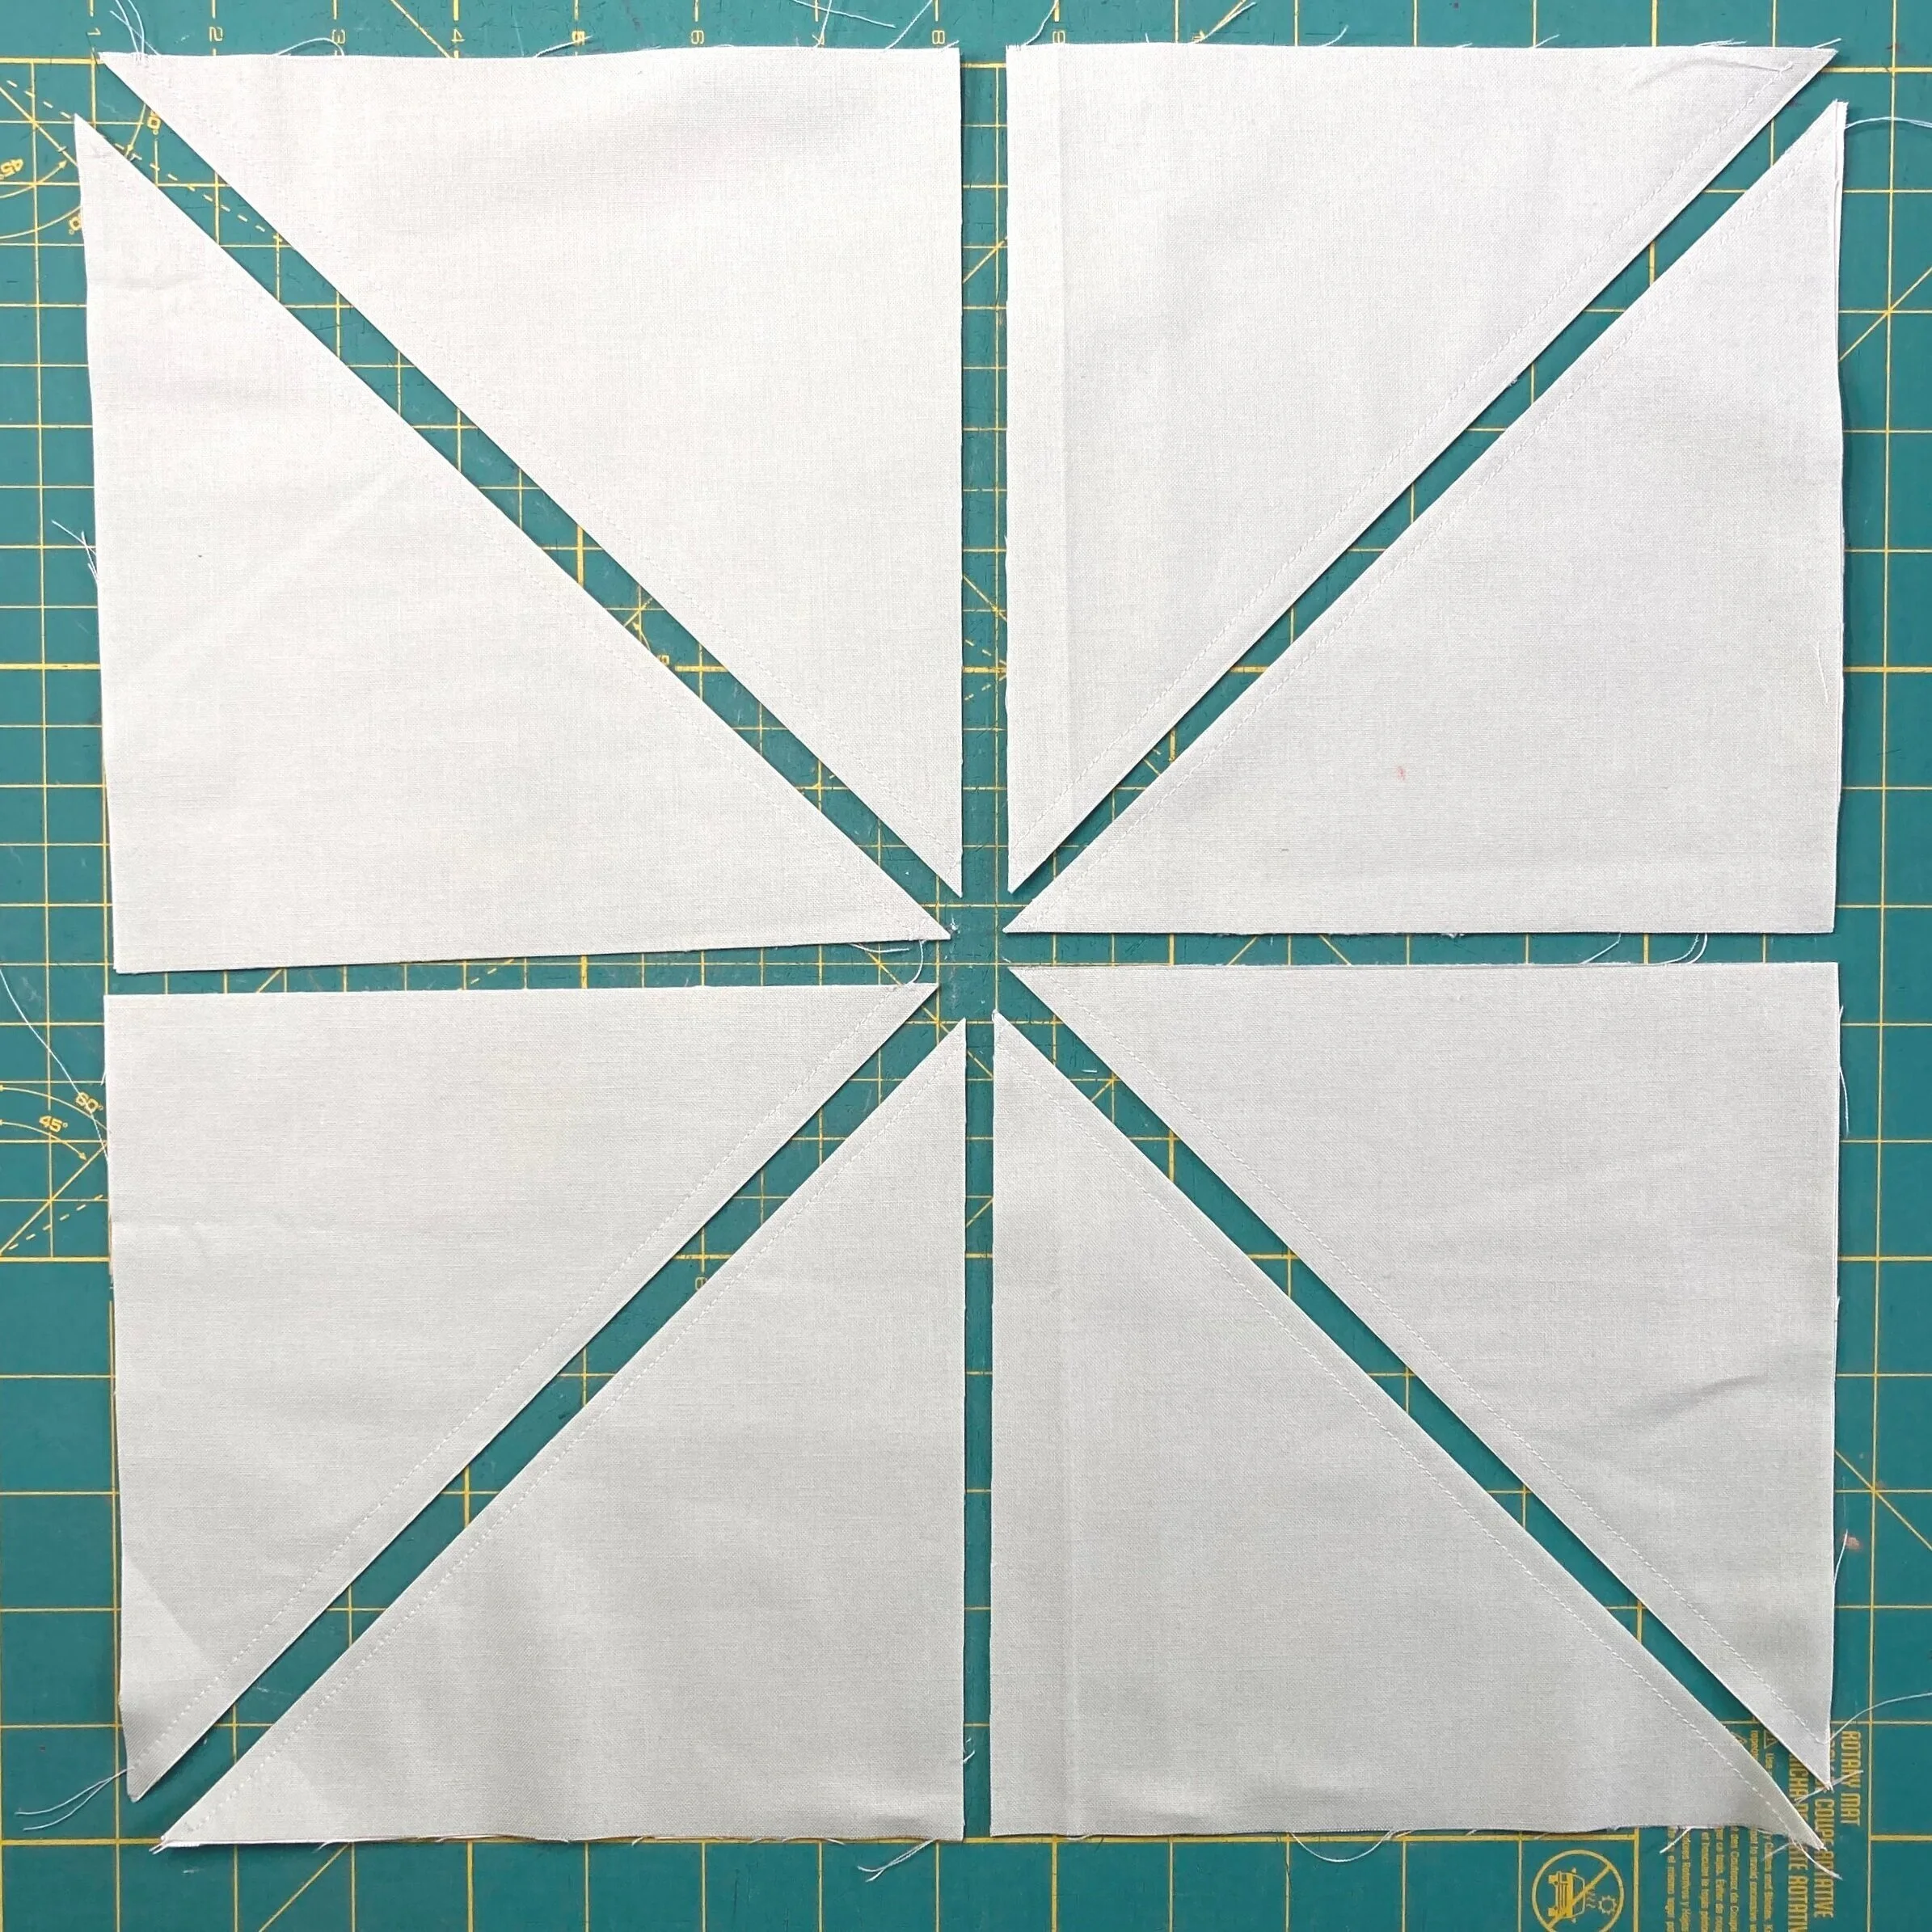
You should now have eight pieces.

Step 6:
Open each square. Press seams open.

Step 7:
Trimming blocks accurately is the key to successful HSTs! It is important to use the seam as the guide to squaring up your blocks rather than the edges.
Line up the 45º line of the square ruler with the seam. Be sure to have a bit of fabric extend beyond the edge of the ruler and beyond the line marking the desired trim size. (In the photo to the left, my desired trim size is 6-1/2”).
Using a rotary cutter, trim off the excess fabric that extends beyond the edge of the ruler.

Step 8:
Turn your block around so that the untrimmed edges of the block extend beyond the edge of the ruler. Line up the 45º mark with the seam. Then line up the edges you trimmed in Step 7 with the markings indicating the desired size (in this case, 6-1/2”).
Using a rotary cutter, trim off the excess fabric that extends beyond the edge of the ruler.
Repeat Steps 7 and 8 for all of the HSTs.
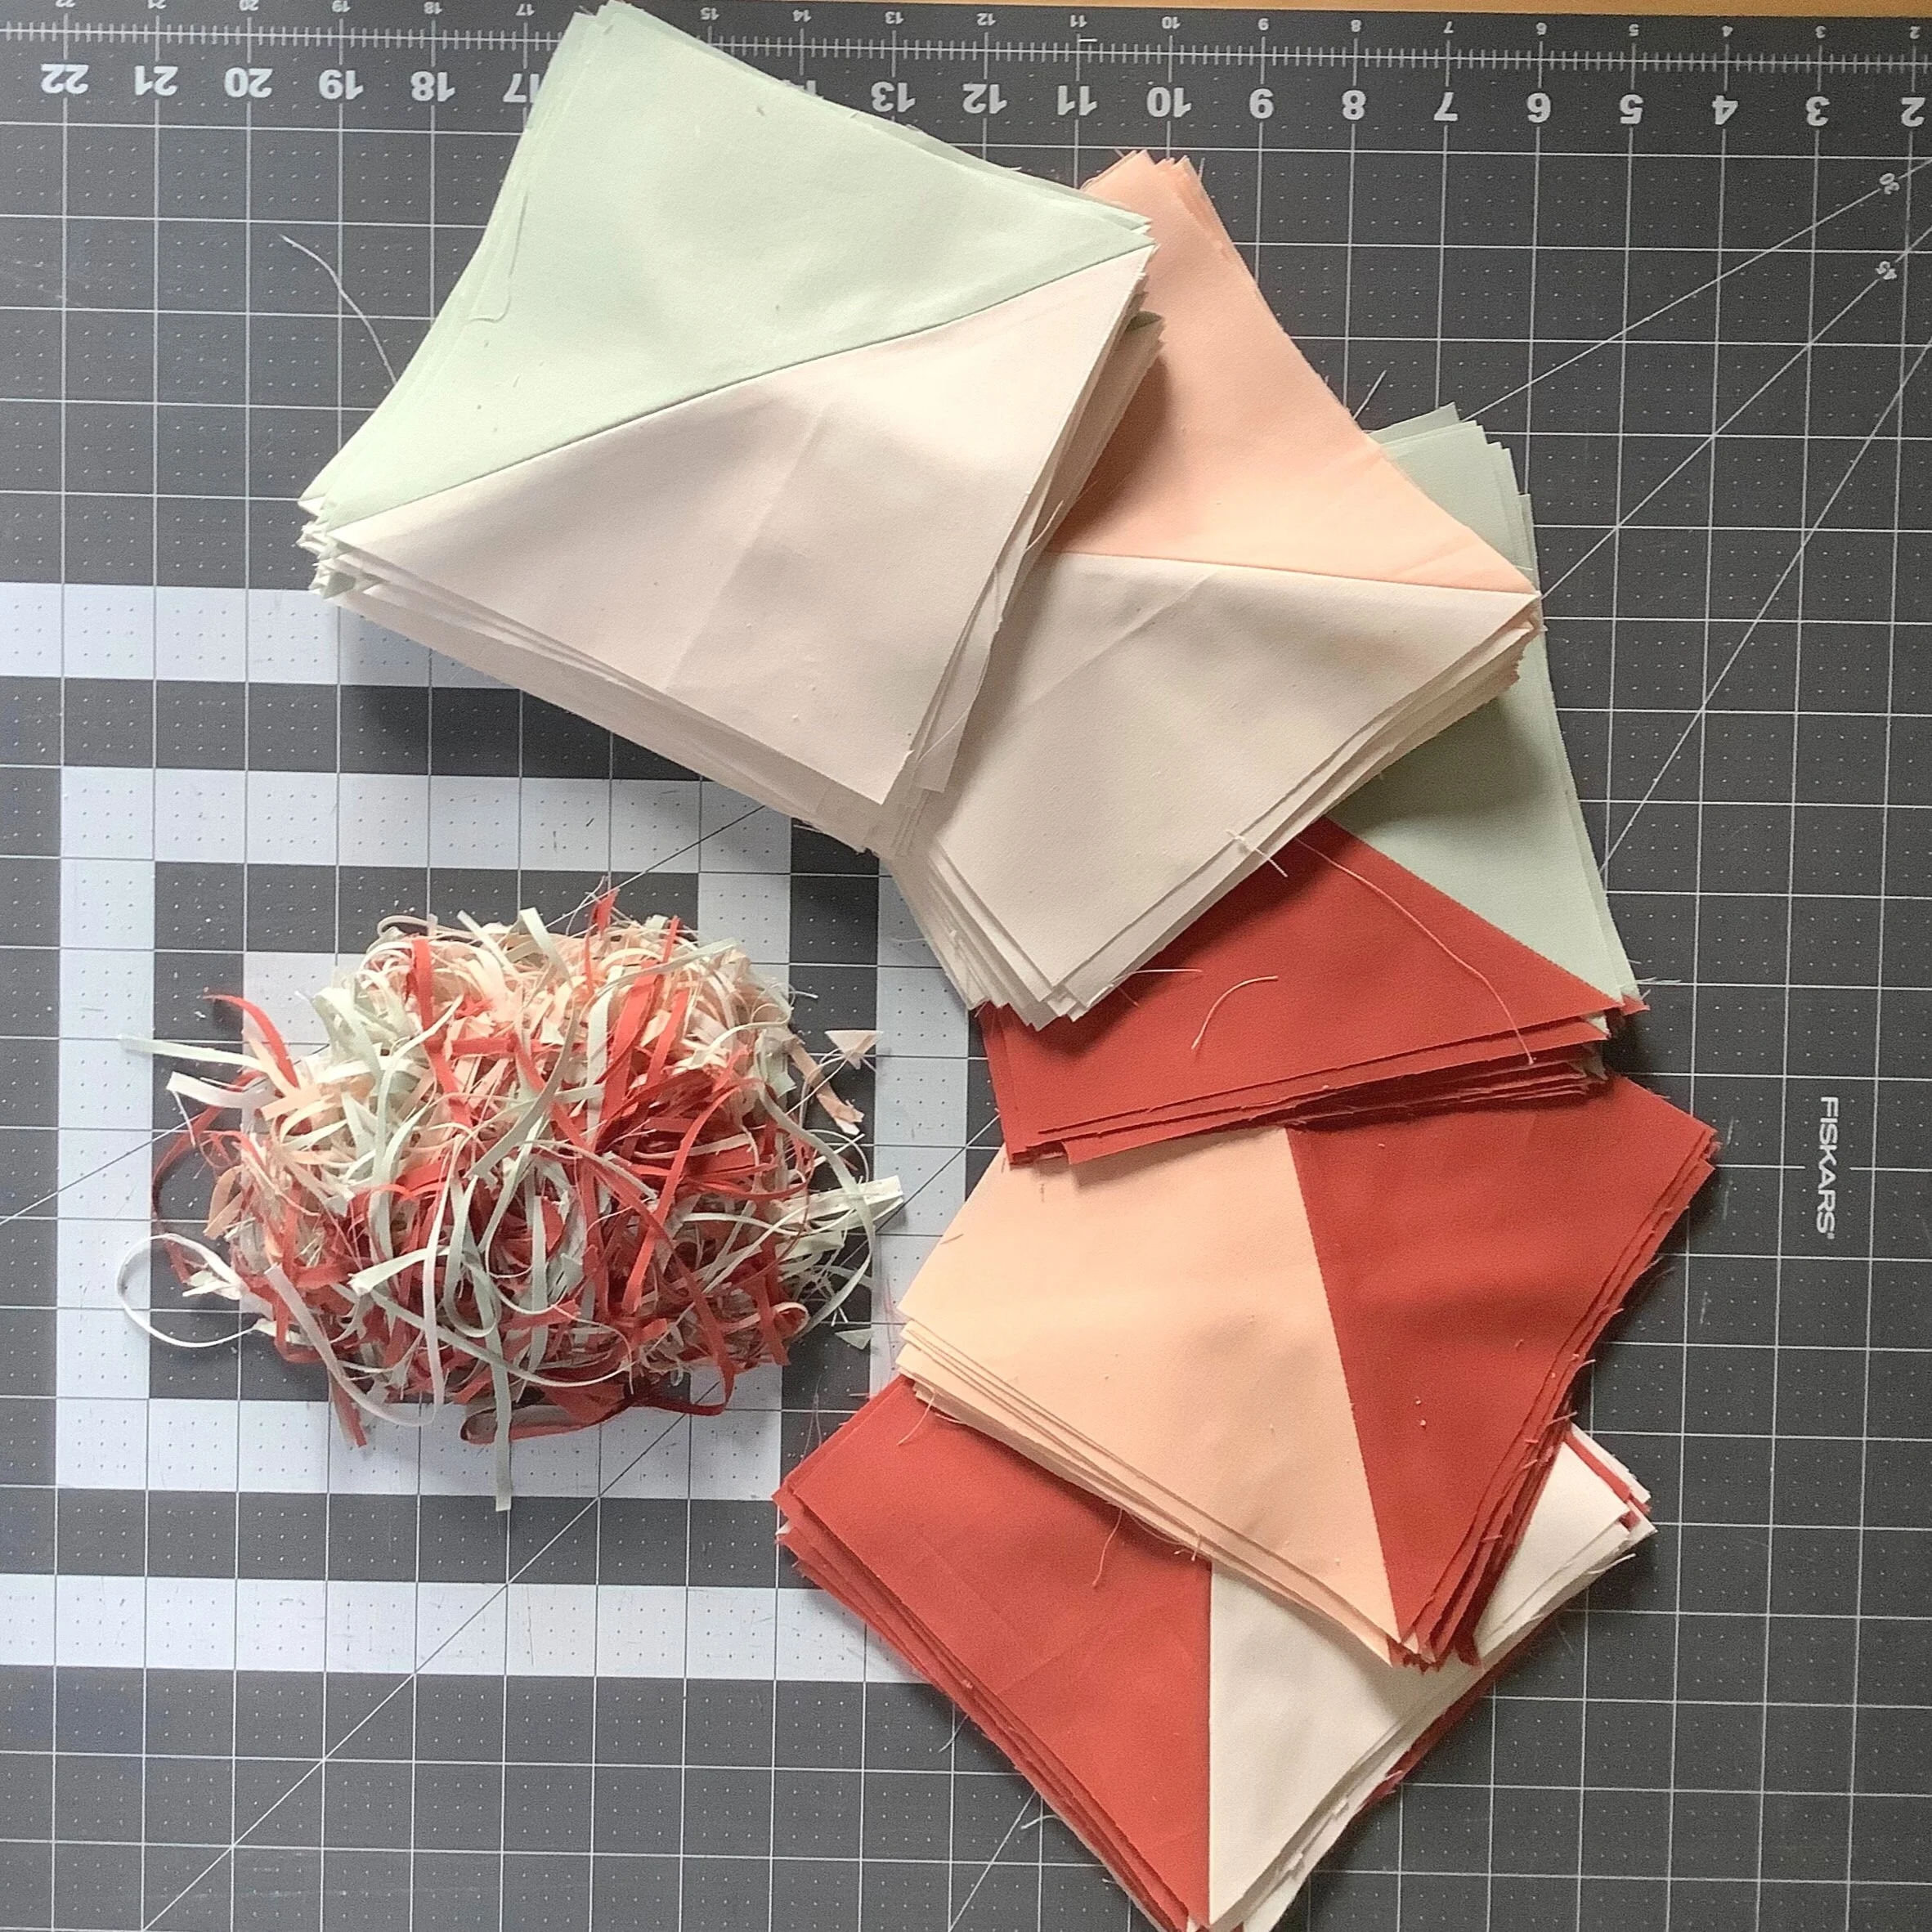
You’re done! What will you make with your HSTs?
Share your projects with me @luzysombrafiberart. I’d love to see your makes!
Happy sewing!